Over the years, we’ve become increasingly serious about the photos we take of architecture— of our projects here at BUILD, and designs by other design firms. Over time, our knowledge about photography has improved, we’ve invested in better and better equipment, we’ve kept up with the software advances, and our understanding of architectural photography has flourished. Gradually, our photography skills have matured, and by default, the final images have become distinctive from other types of photography.
The key characteristics of architectural photos may be best understood through a comparison with real estate photos, which are shot and calibrated with a different end-goal in mind. We’re not suggesting that architectural photos are better or worse than real estate photos, just intentionally different. In most real estate photos, the background, subject matter, and foreground are typically all in focus and all in full exposure together. Interior colors are often enhanced and the manicured lawns outside have a uniformity worthy of a golf course. Everything about these photos is bright, colorful, and consistent. Everything is amazing with real estate photos, and everything about the image hits you all at once. And that’s exactly their purpose—they are calibrated precisely for one reason: to compel a potential buyer to submit a competitive purchase offer before someone else snatches up that incredible house.
On the other hand, architectural photos are more nuanced. Certain aspects of an architectural photo might be intentionally dark, others deliberately over-exposed. In order to create depth of field, an architectural photo may maintain focus in one area while blurring another. These photos sometimes highlight the inconsistencies of a scene by bringing out the grittiness and patina of materials. There are a handful of reasons why an architectural photo might be calibrated in these ways, and in our experience, there are five different types of architectural photos. These are just BUILD’s categories, as different architectural photographers will have their own. Here’s an explanation of each:
THE EXPERIENCE OF A PROJECT
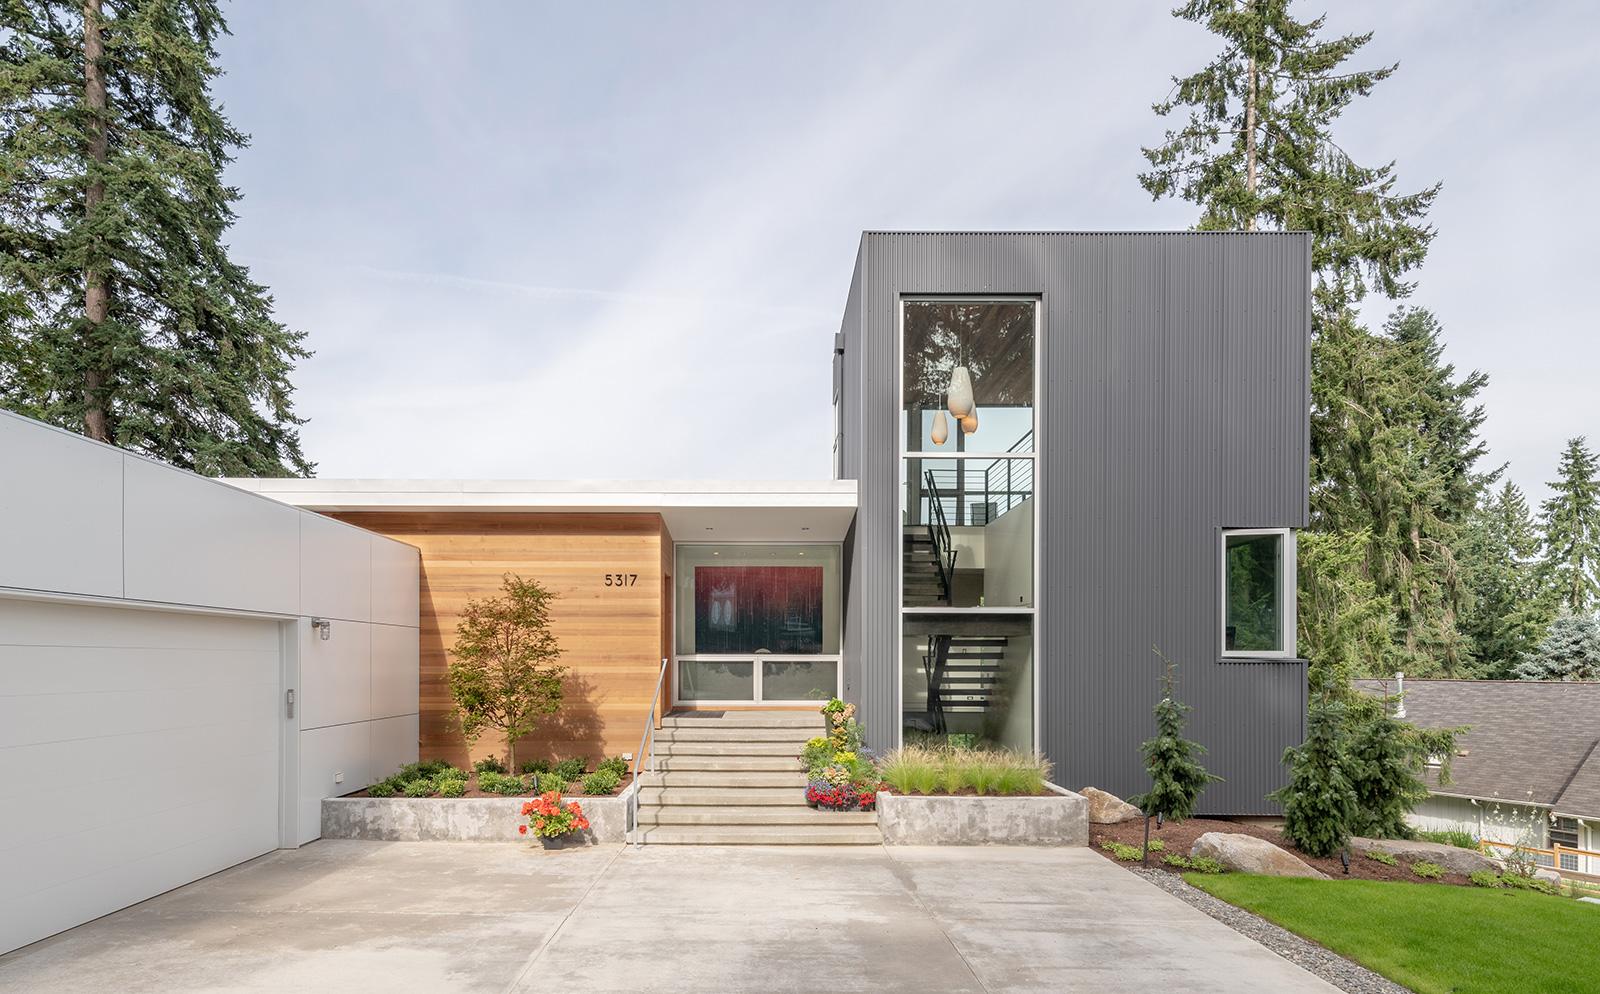
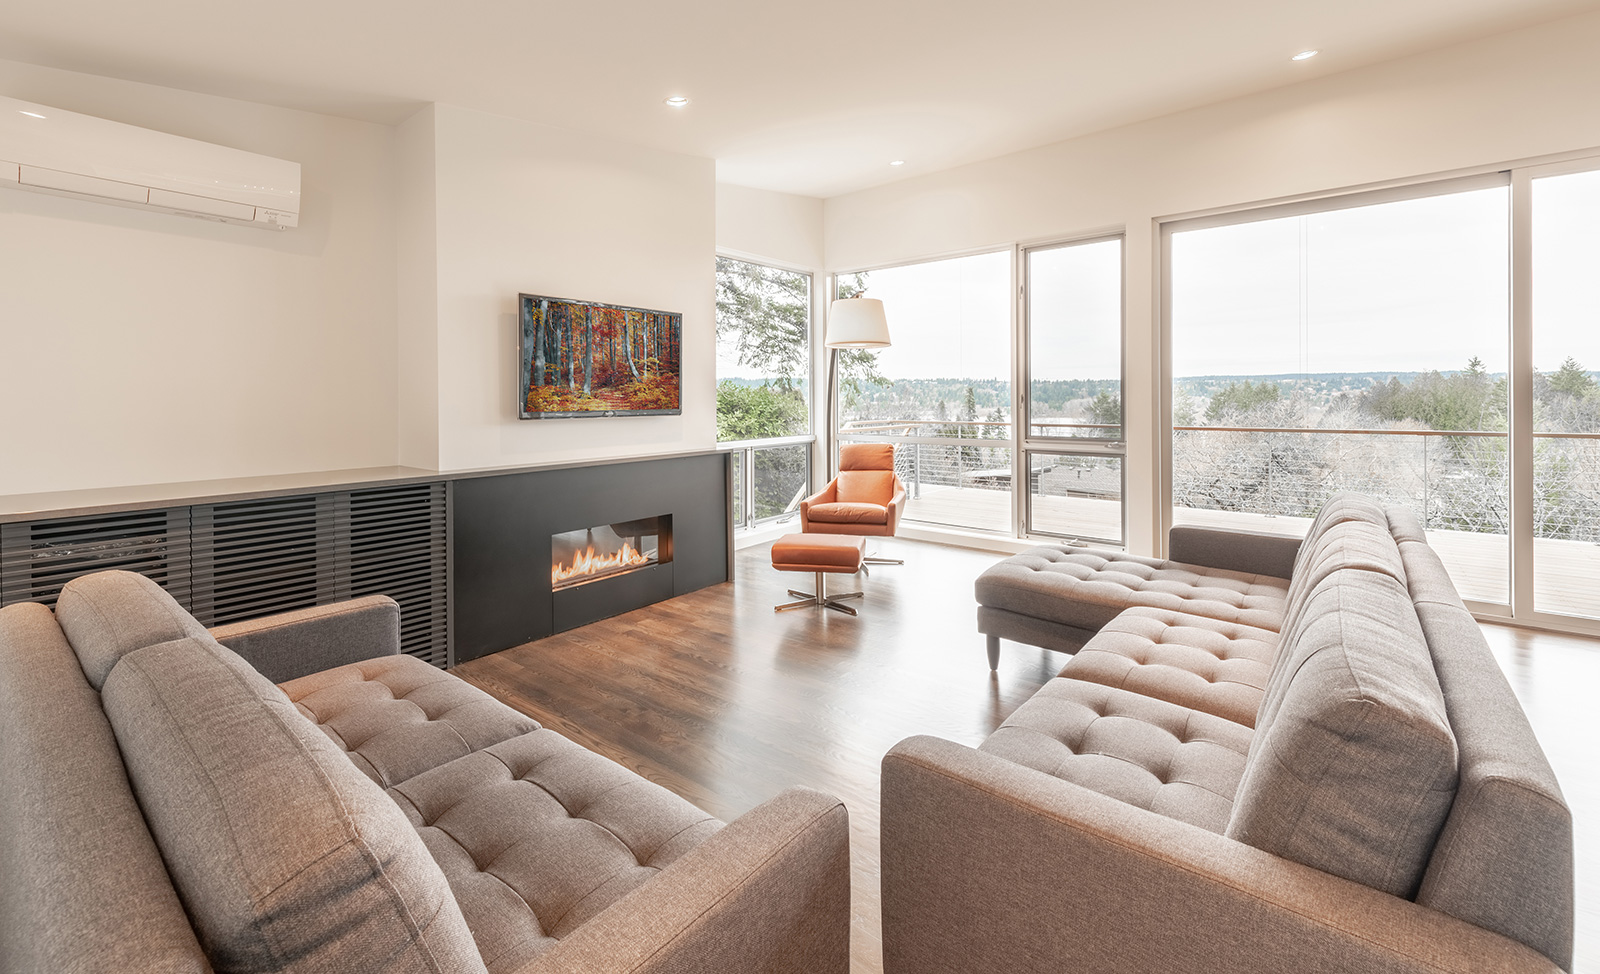
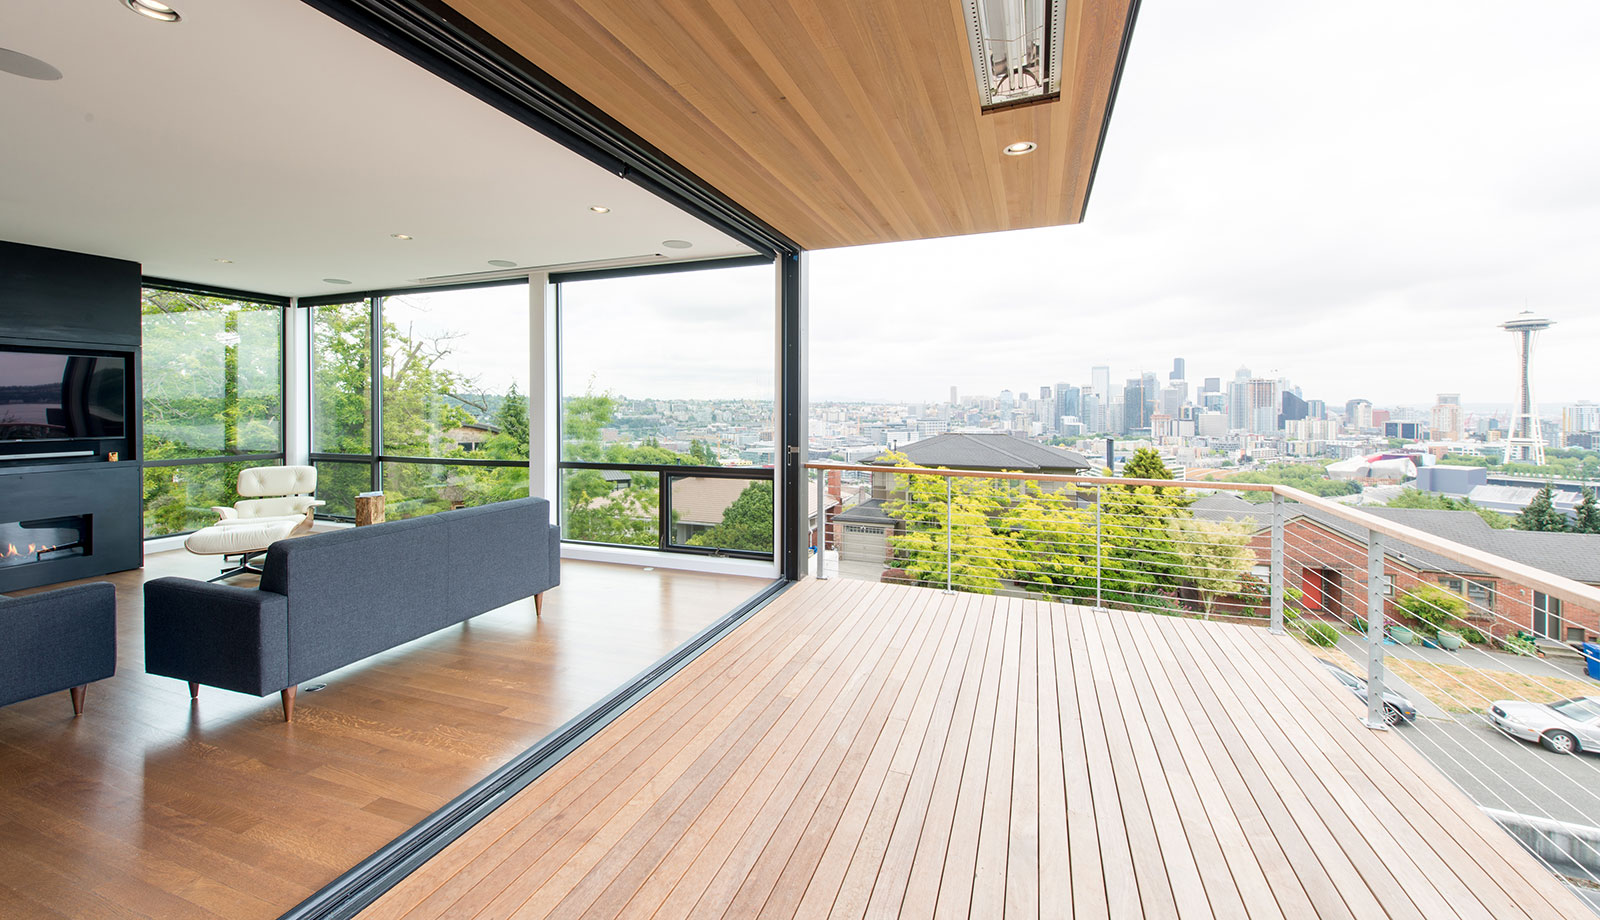
These photos are intended to give the viewer a sense of what it’s like to be at a project or inside a space. They are often calibrated for a likeness of how the human eye experiences an object or an interior. Interior shots might over-expose the outside background a bit, directing the viewer’s attention inside to the subject matter of the shot, as in the Sammamish Residence shown below.
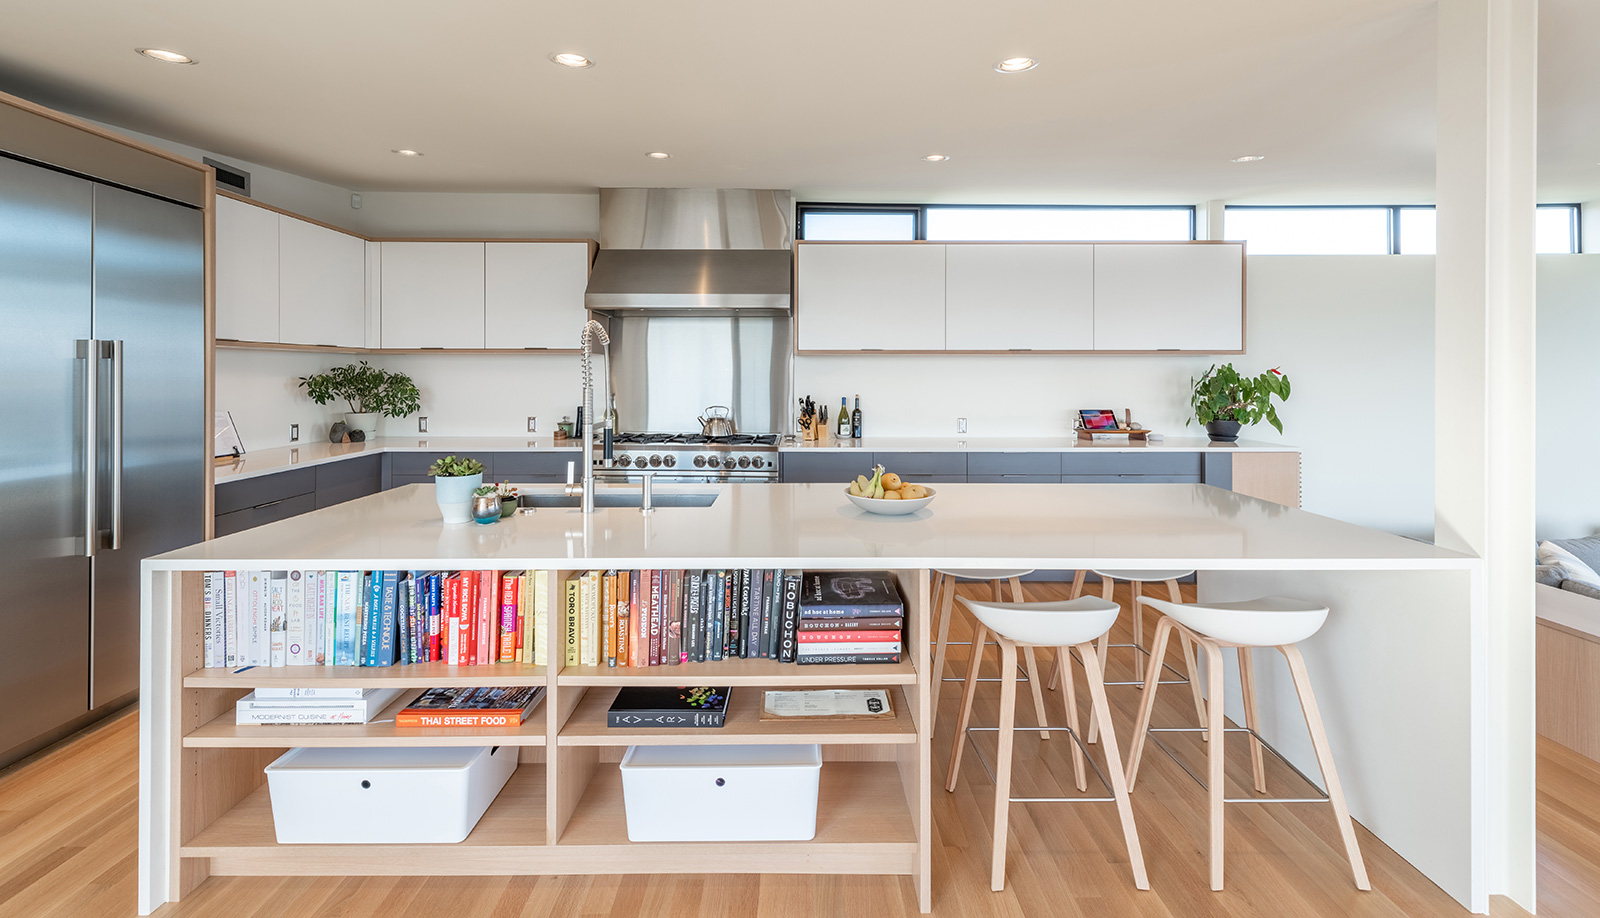
These shots may also illustrate how the space is actually used, or gesture to the lifestyle of the owners, as in the Admiral View Residence shown below (yes, they really organize their cookbooks by color—and we couldn’t be happier about it)
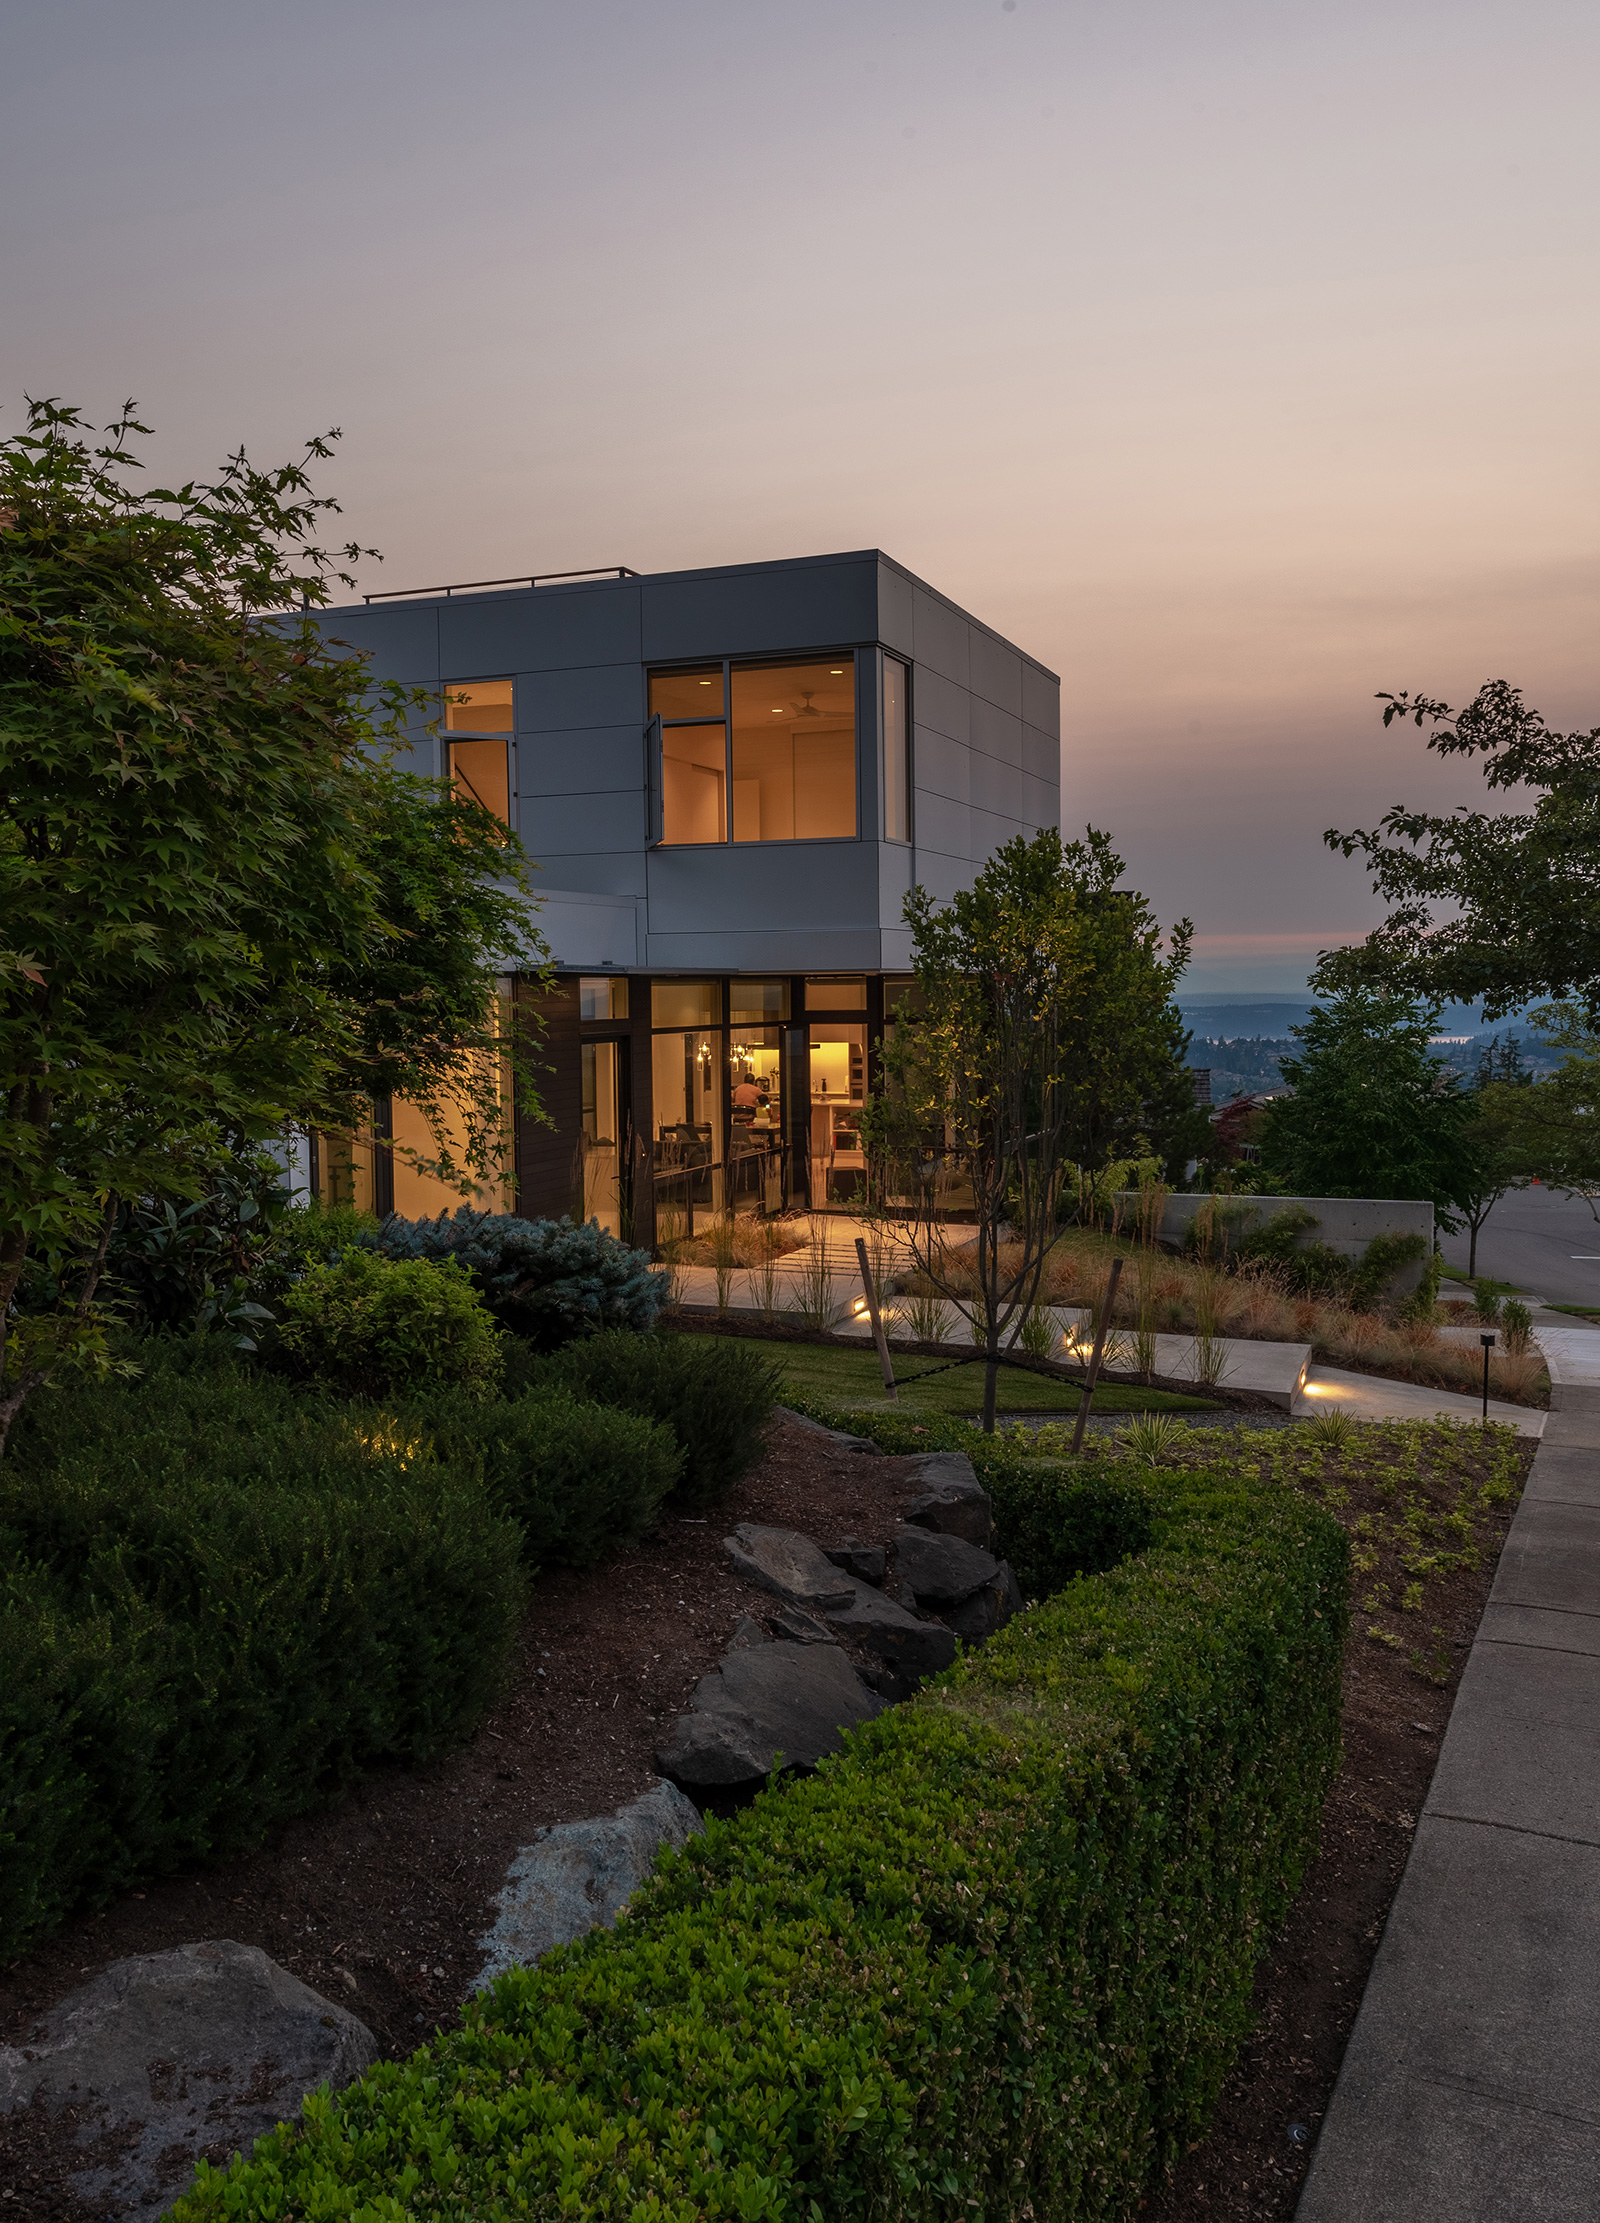
Exterior experience shots may hint as to what it feels like to approach a project, as in the dusk shot of the Harrison Street Residence below.
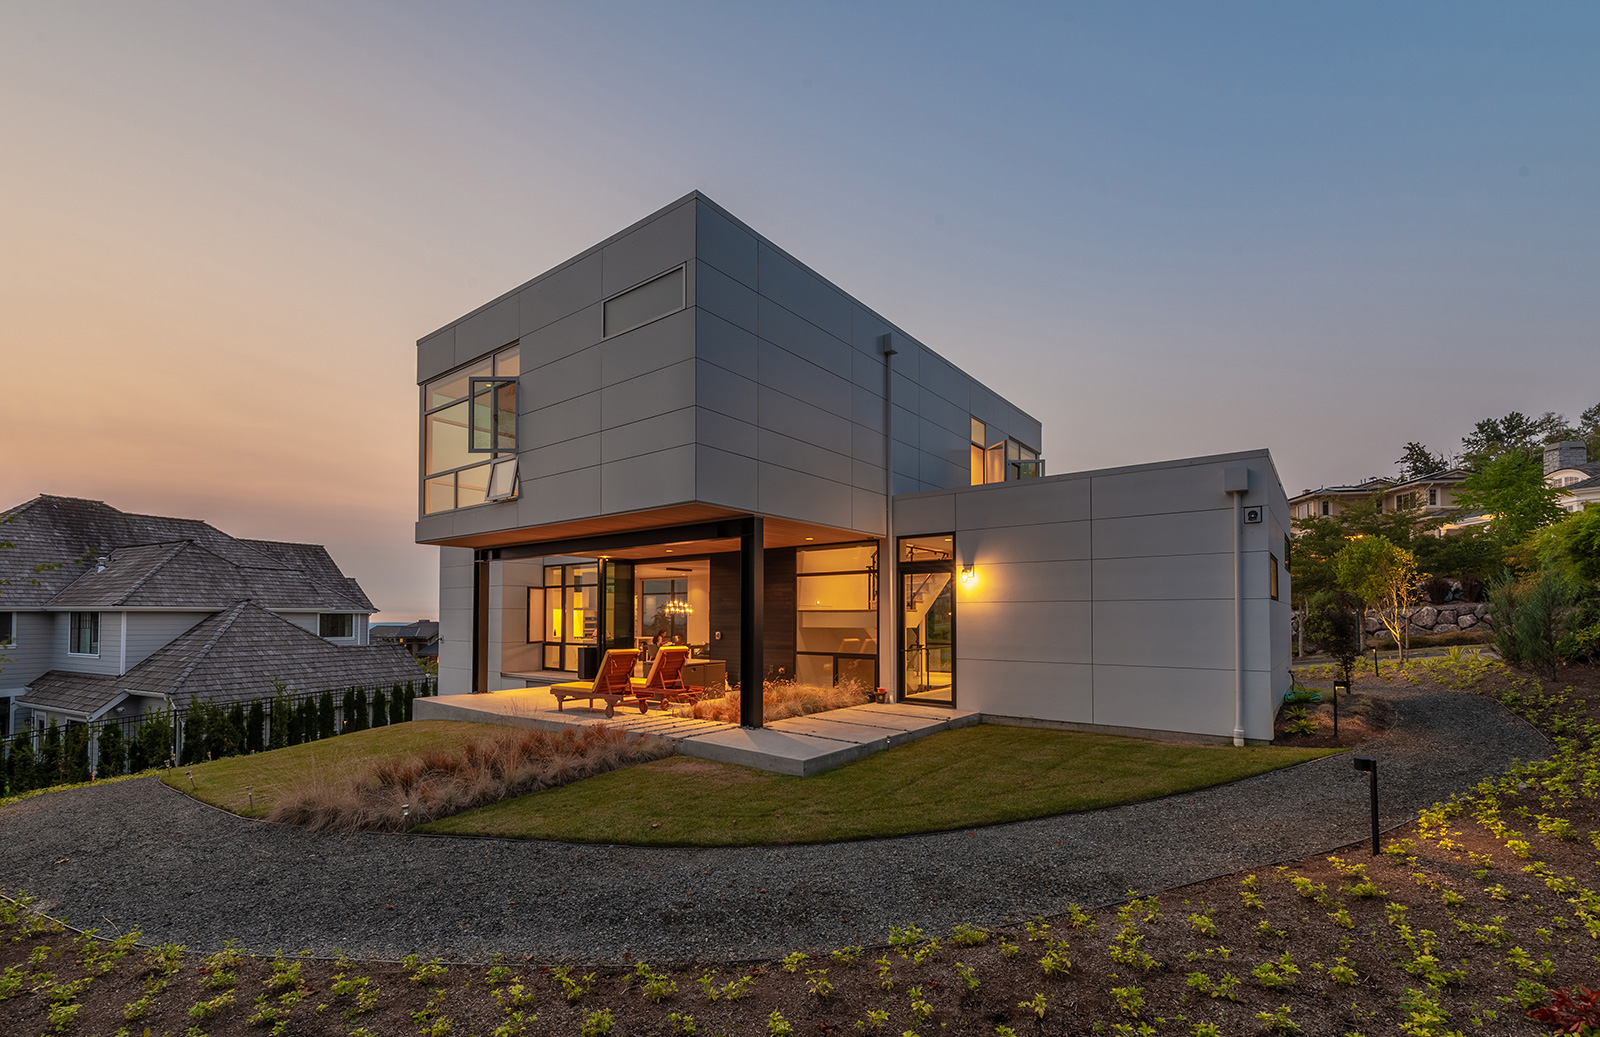
If the home was designed around an outdoor terrace in order to enjoy the sunset, the finished photos will often replicate the design intent and the feel of that moment.
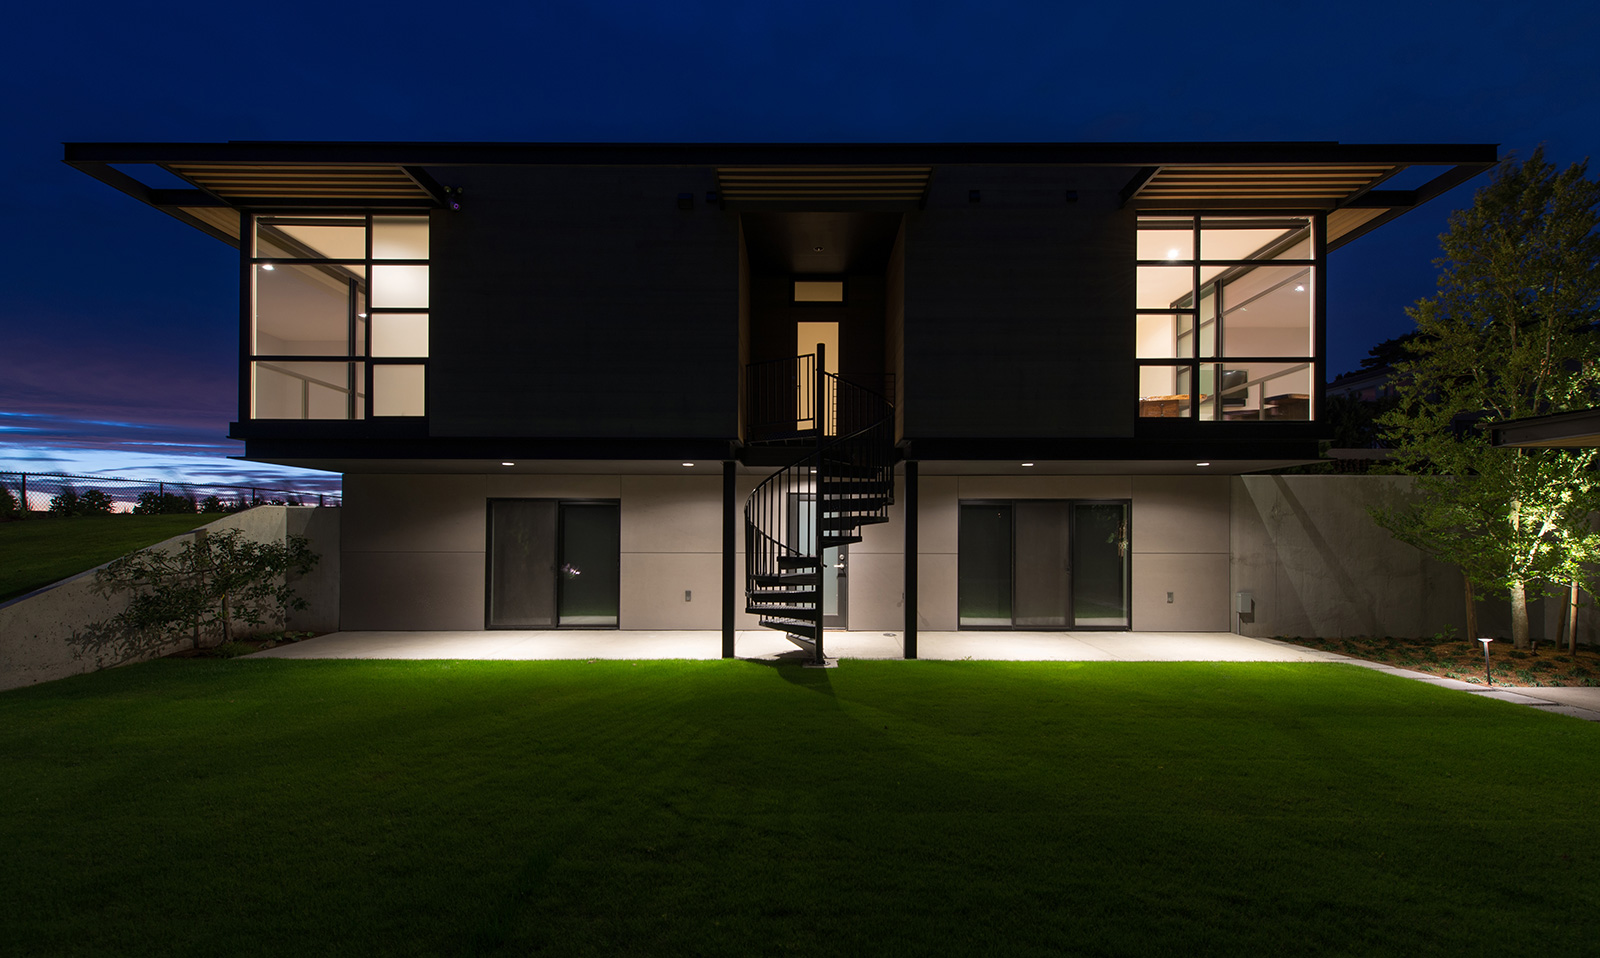
Or, perhaps, the project was intentionally designed with a night elevation in mind. Such photos may capture this environment as in the Magnolia Bluff Residence shown below.
PROJECT DOCUMENTATION
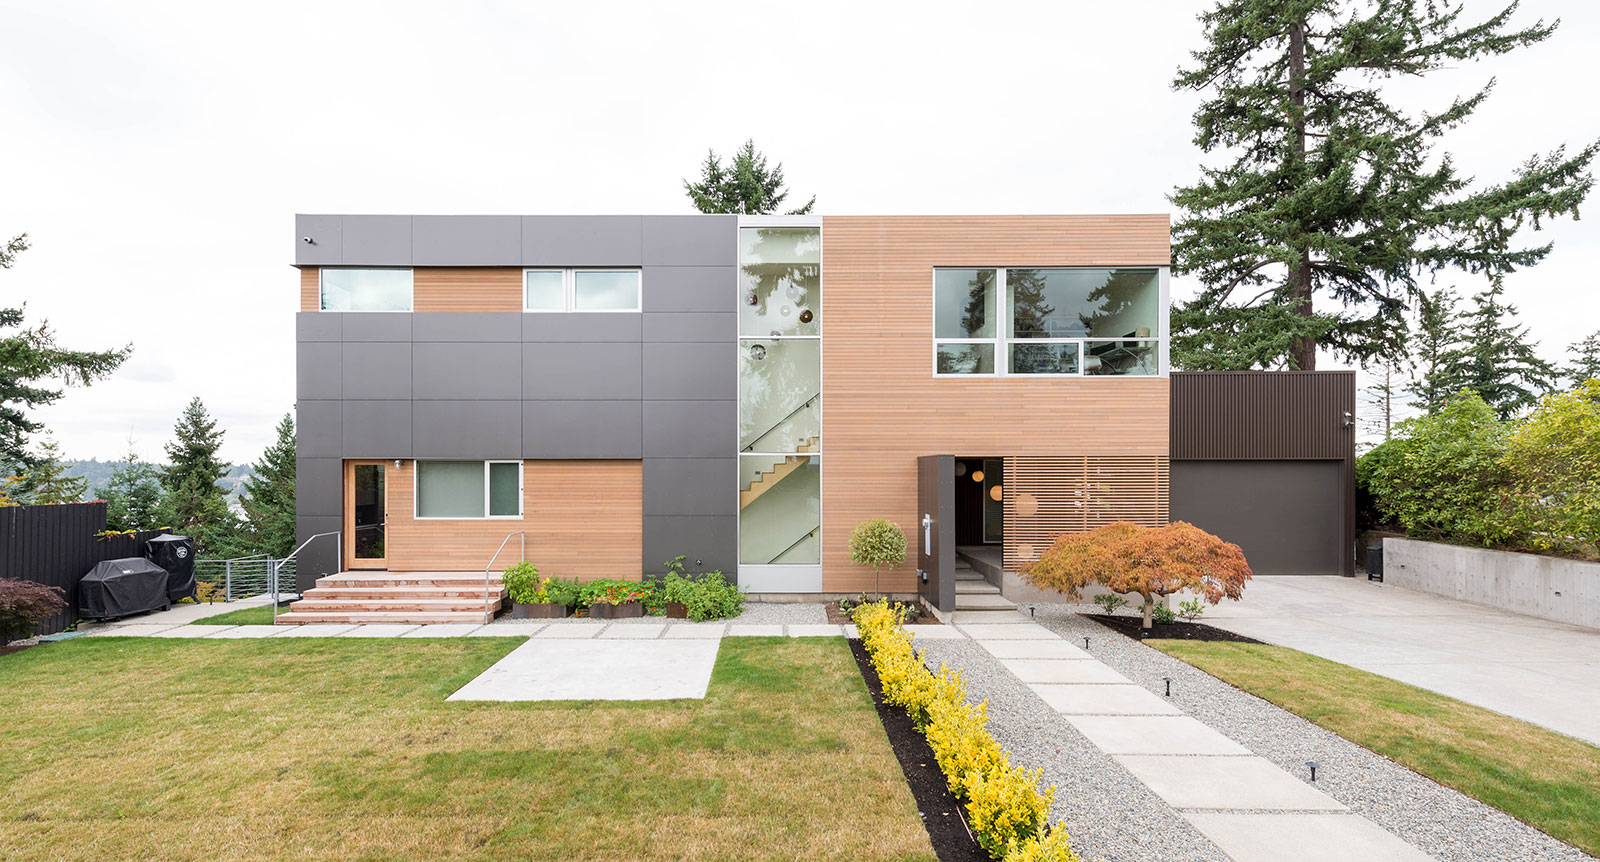
With most of our projects, we take a full round of finished photos simply to document each exterior elevation and every room inside. These are useful photos to review design concepts with current and future clients, and to have as a record of the decisions made on a project. While these photos may not emulate how these projects are actually experienced, they accurately record the geometries and compositions of each project, as in the south elevation shot of the Meydenbauer Residence shown below.
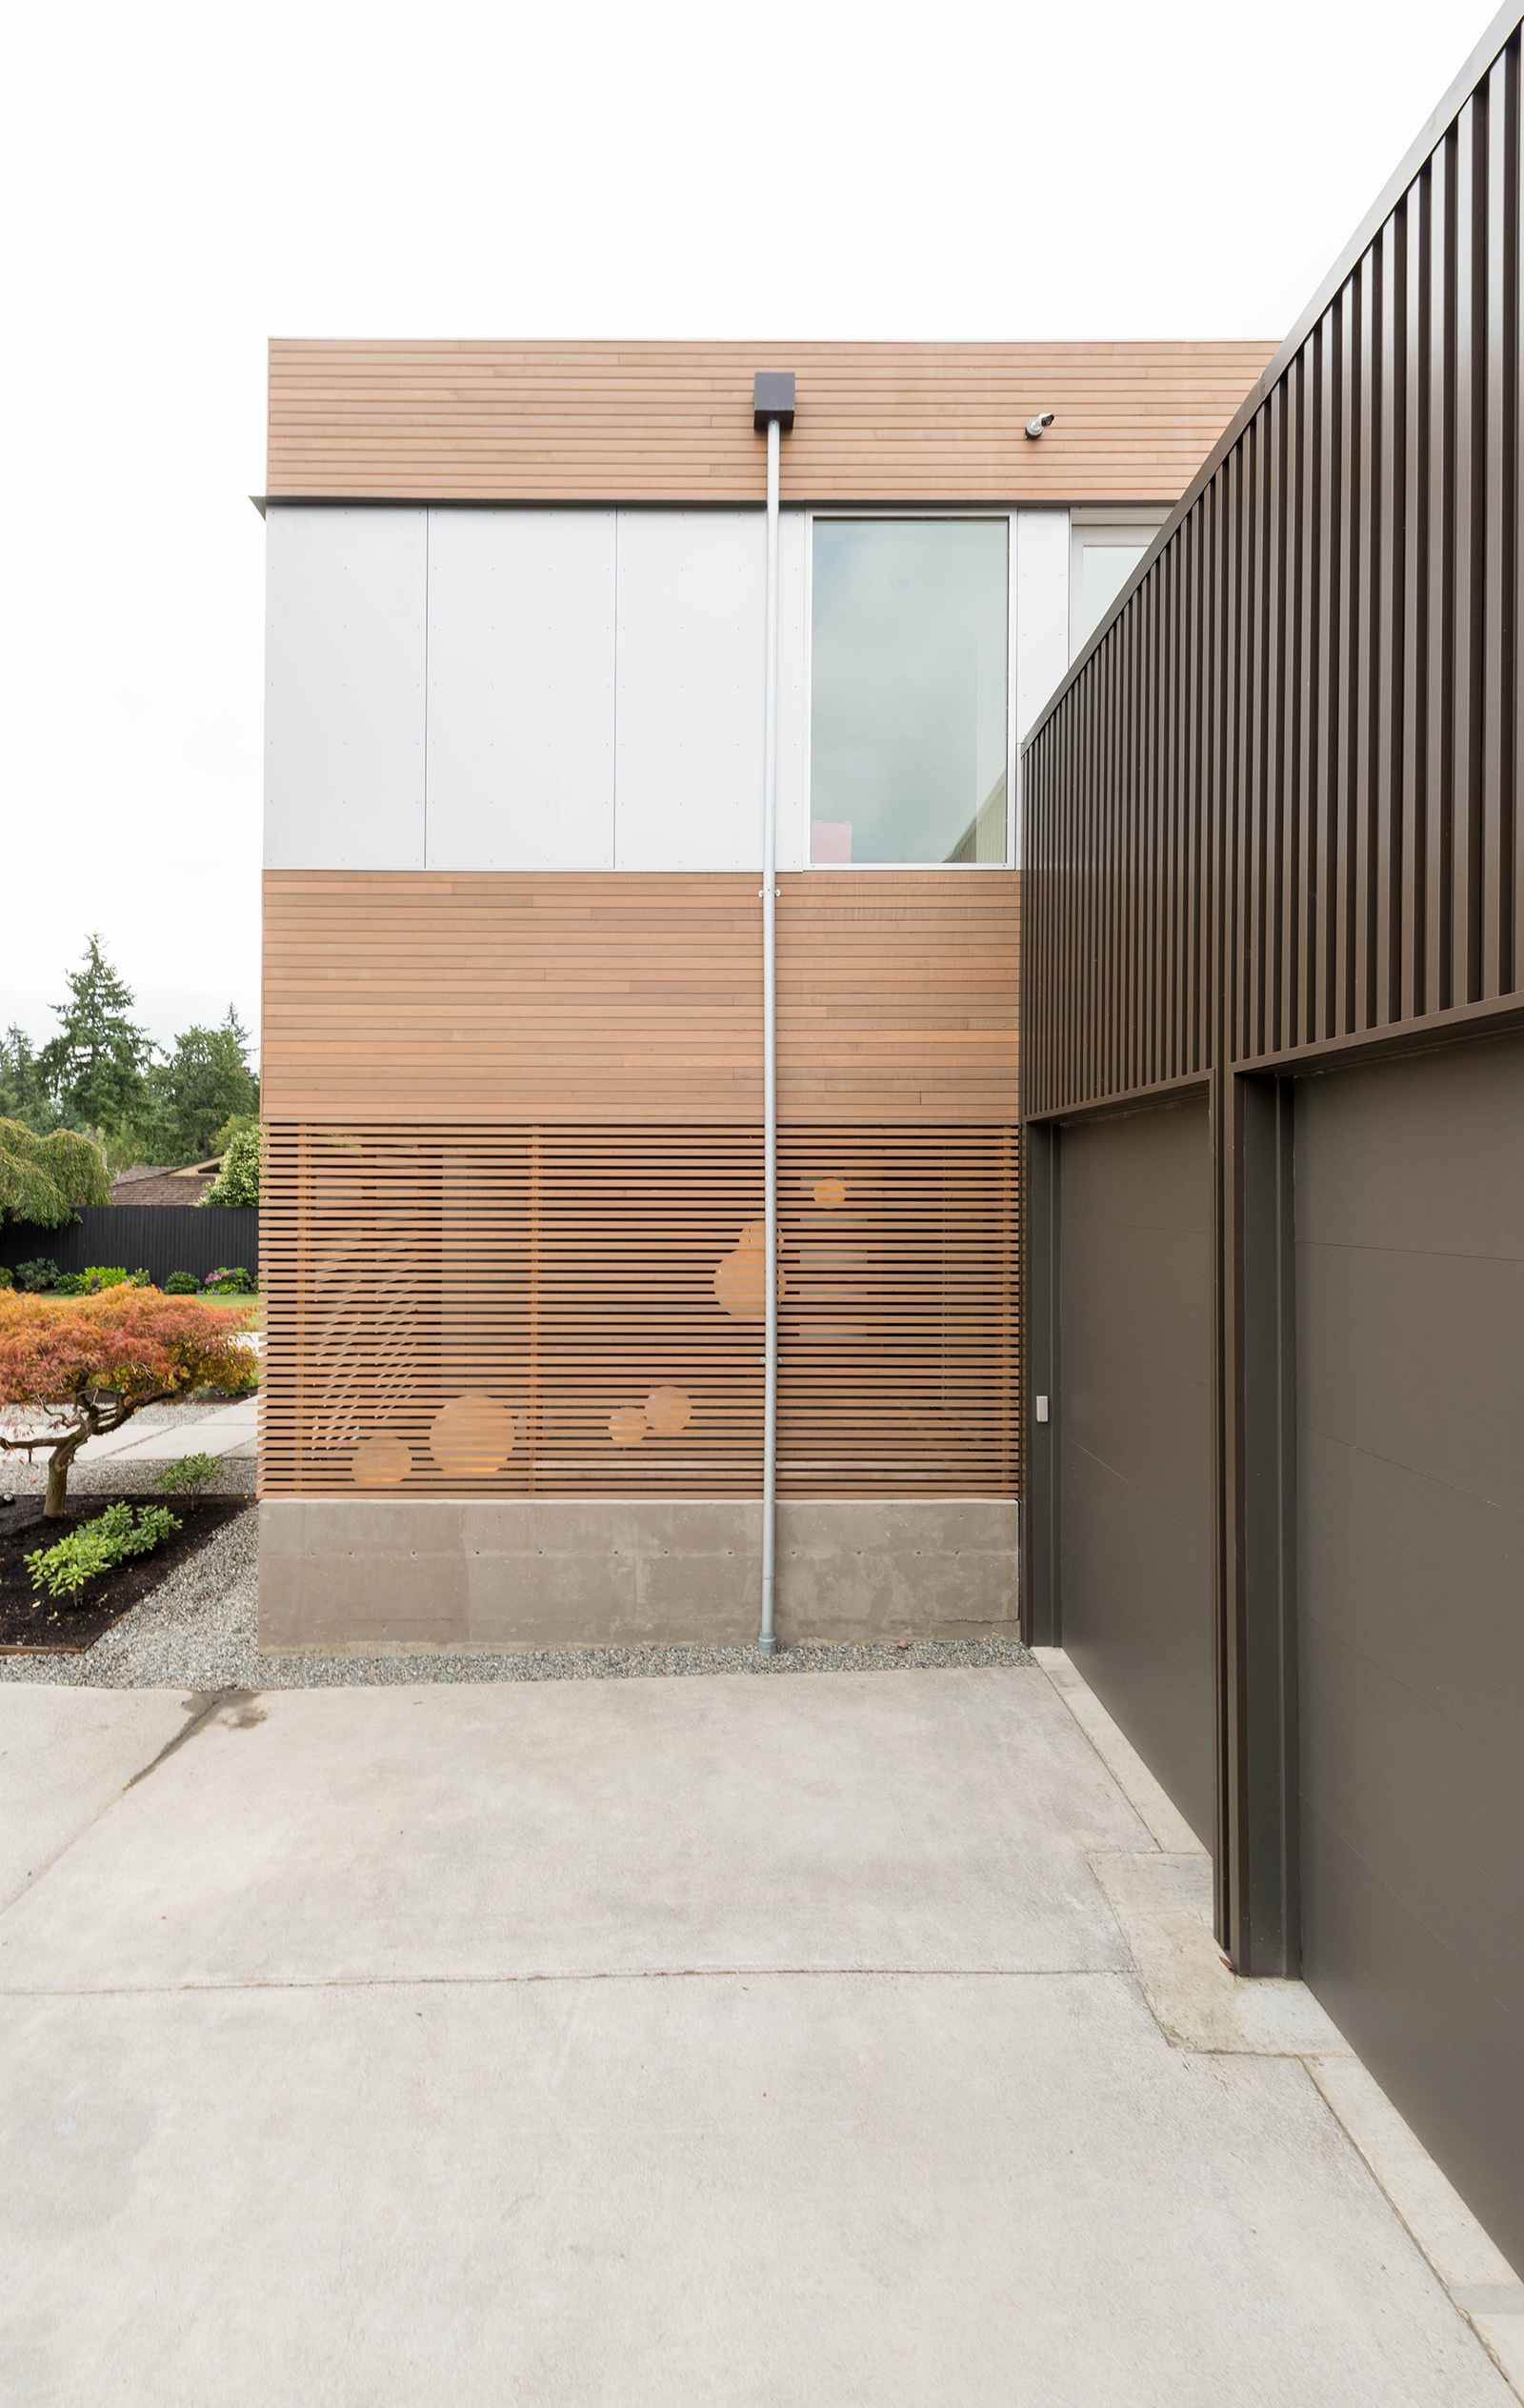
Closeup shots often describe how materials come together better than the drawings themselves, as in the house and garage siding transition of the Meydenbauer Residence shown below.
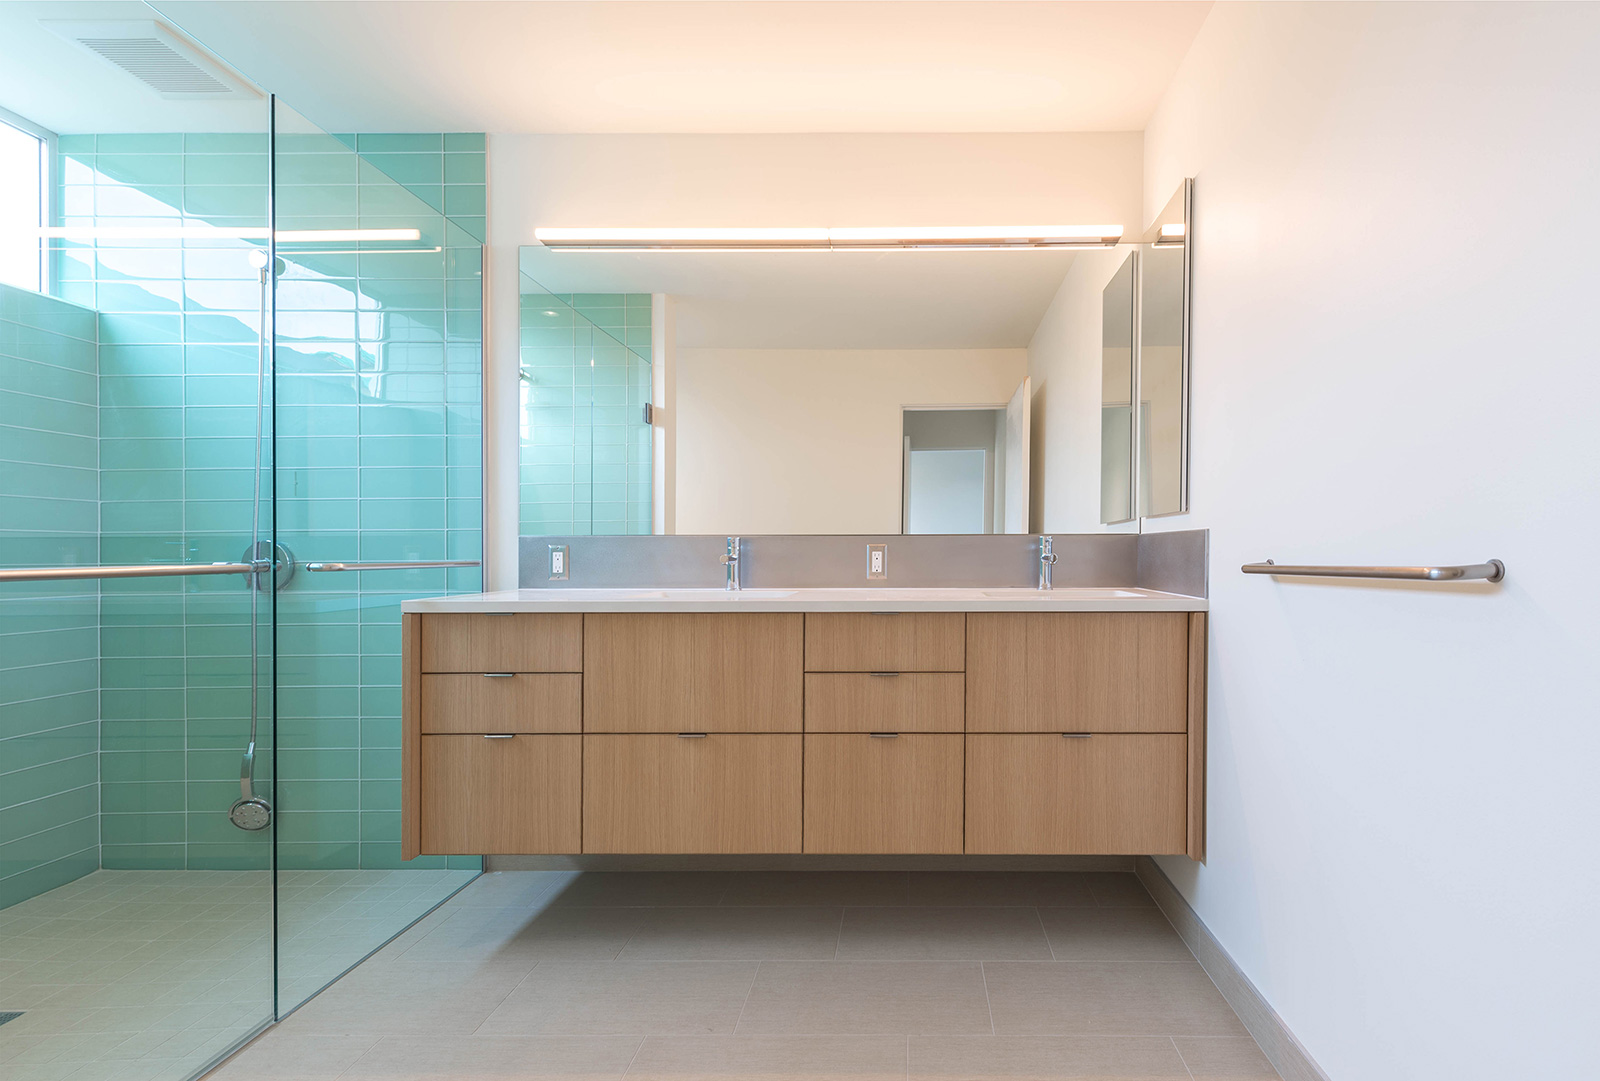
Inside, similar techniques are employed to capture walls and cabinetry in orthogonal elevation shots. These photos may lack drama, but they accurately document specifications, materials, and adjacencies, as in the Case Study House 2017 master bathroom below.
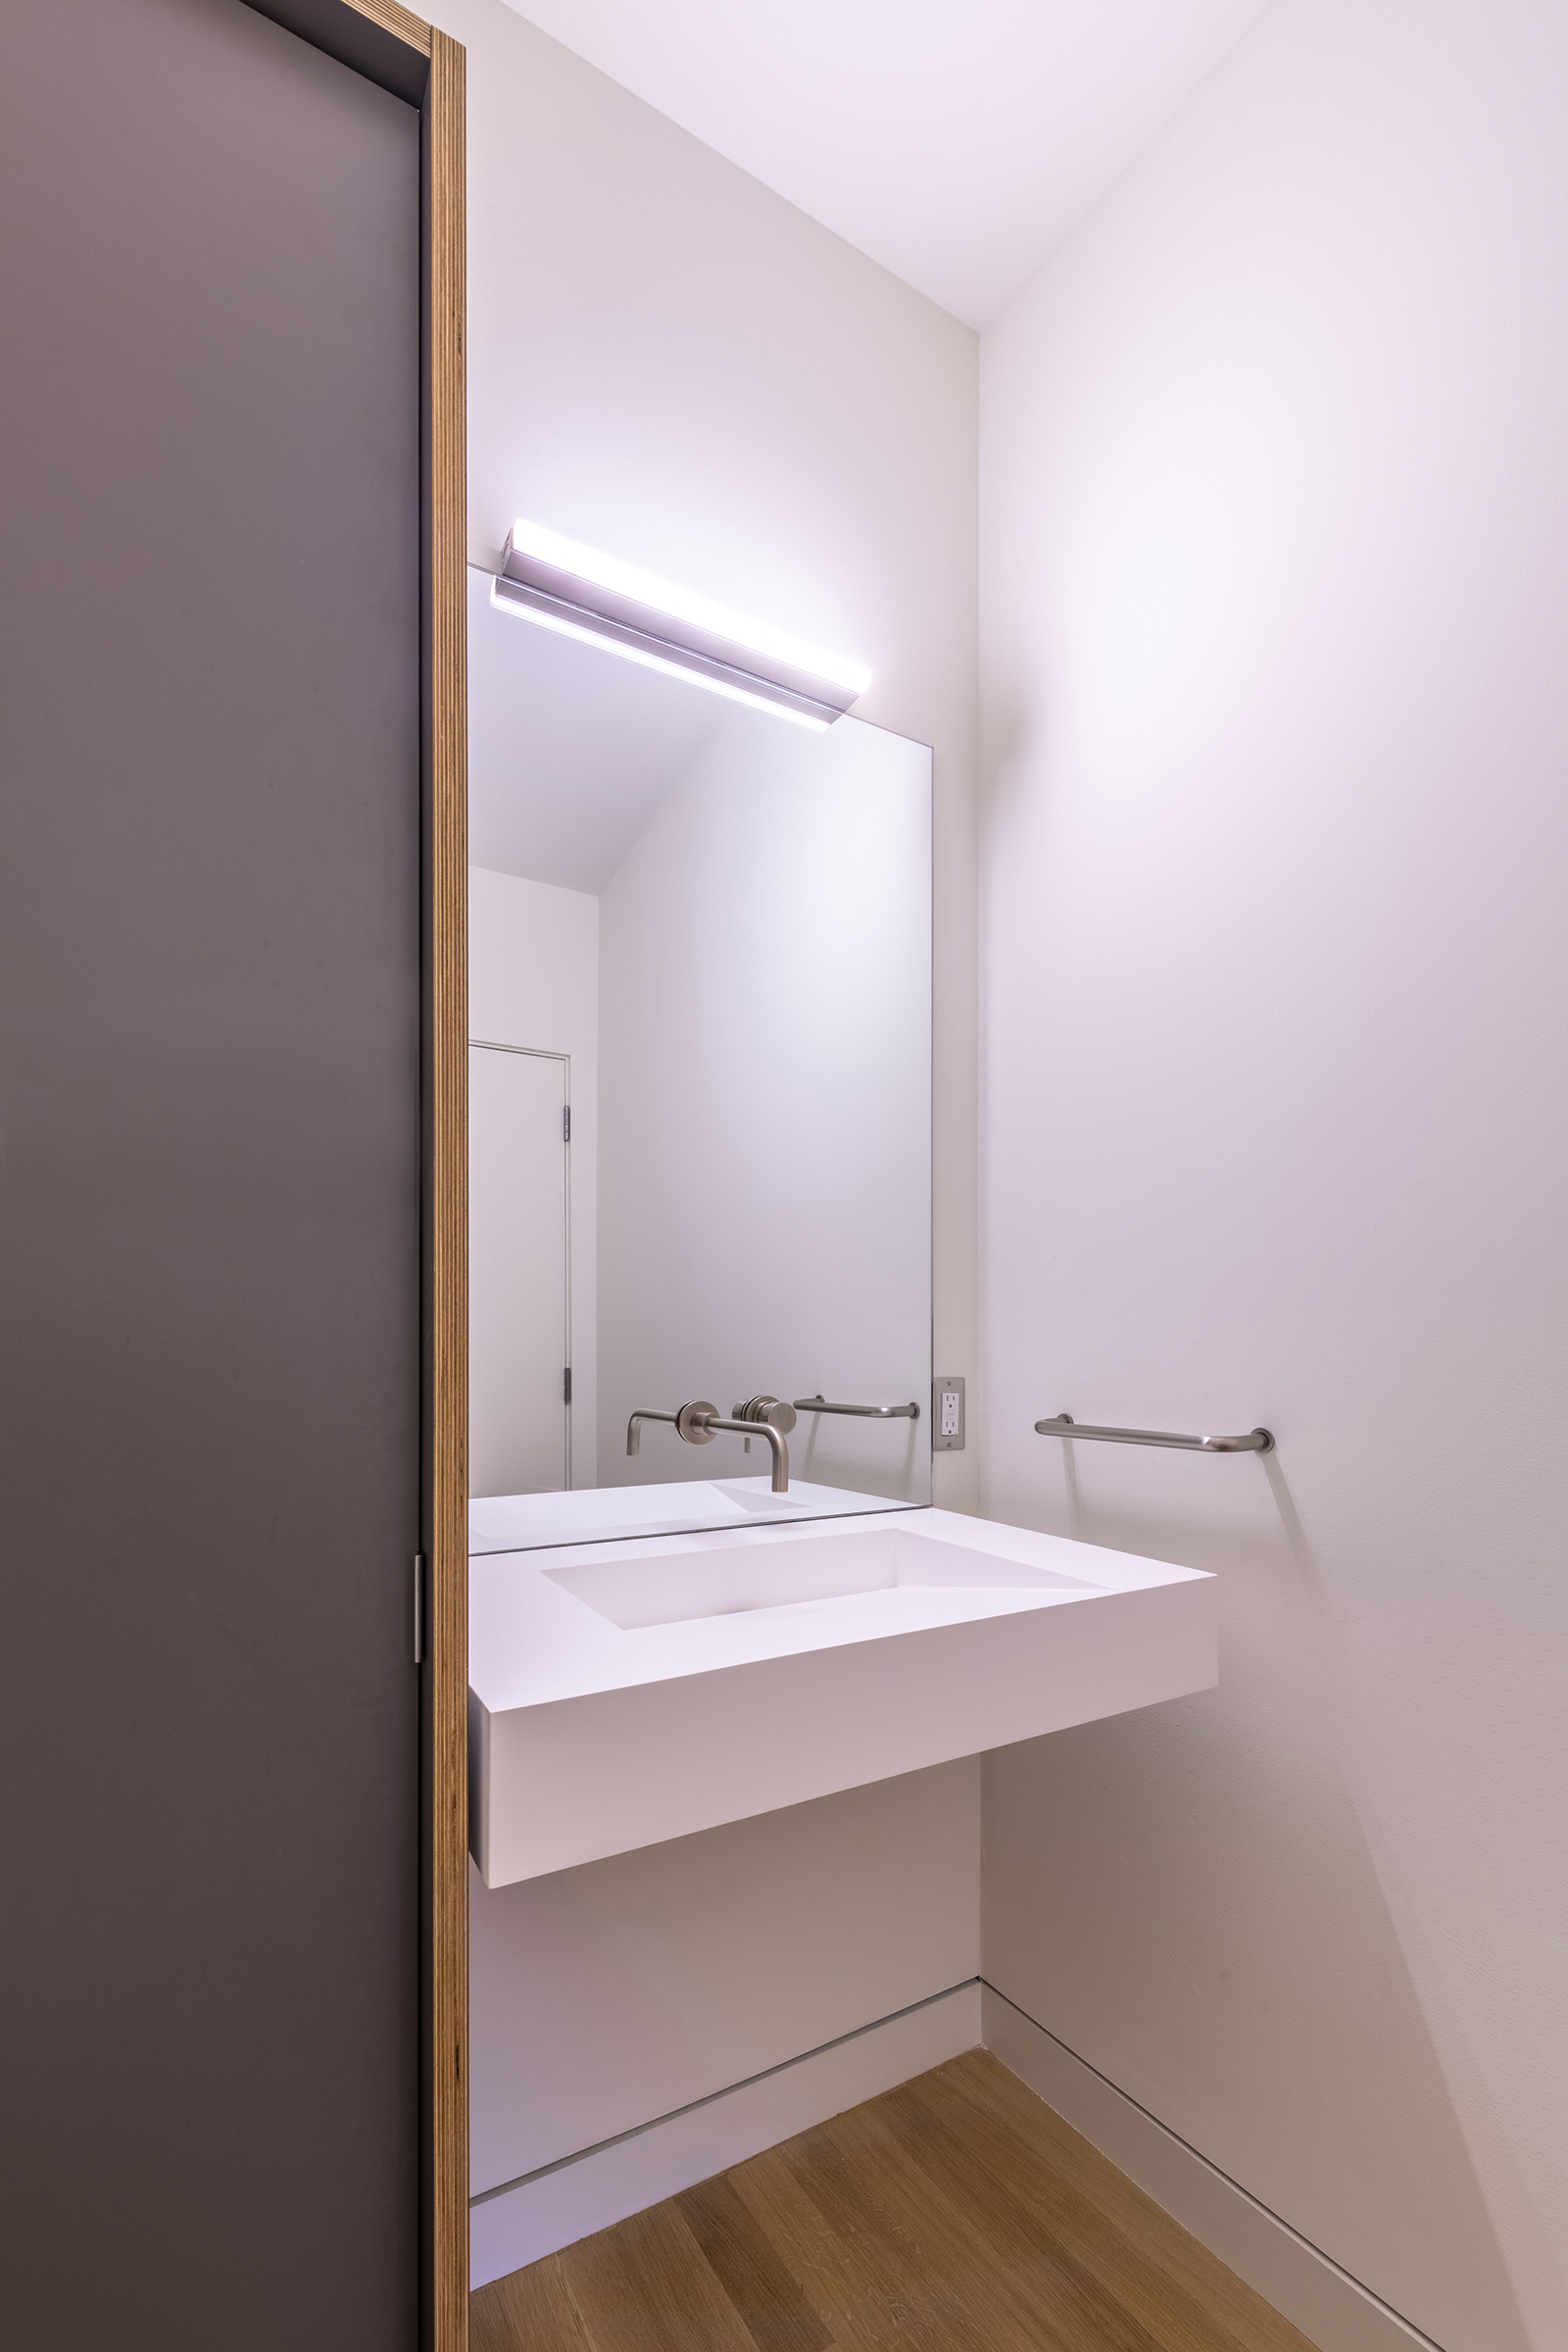
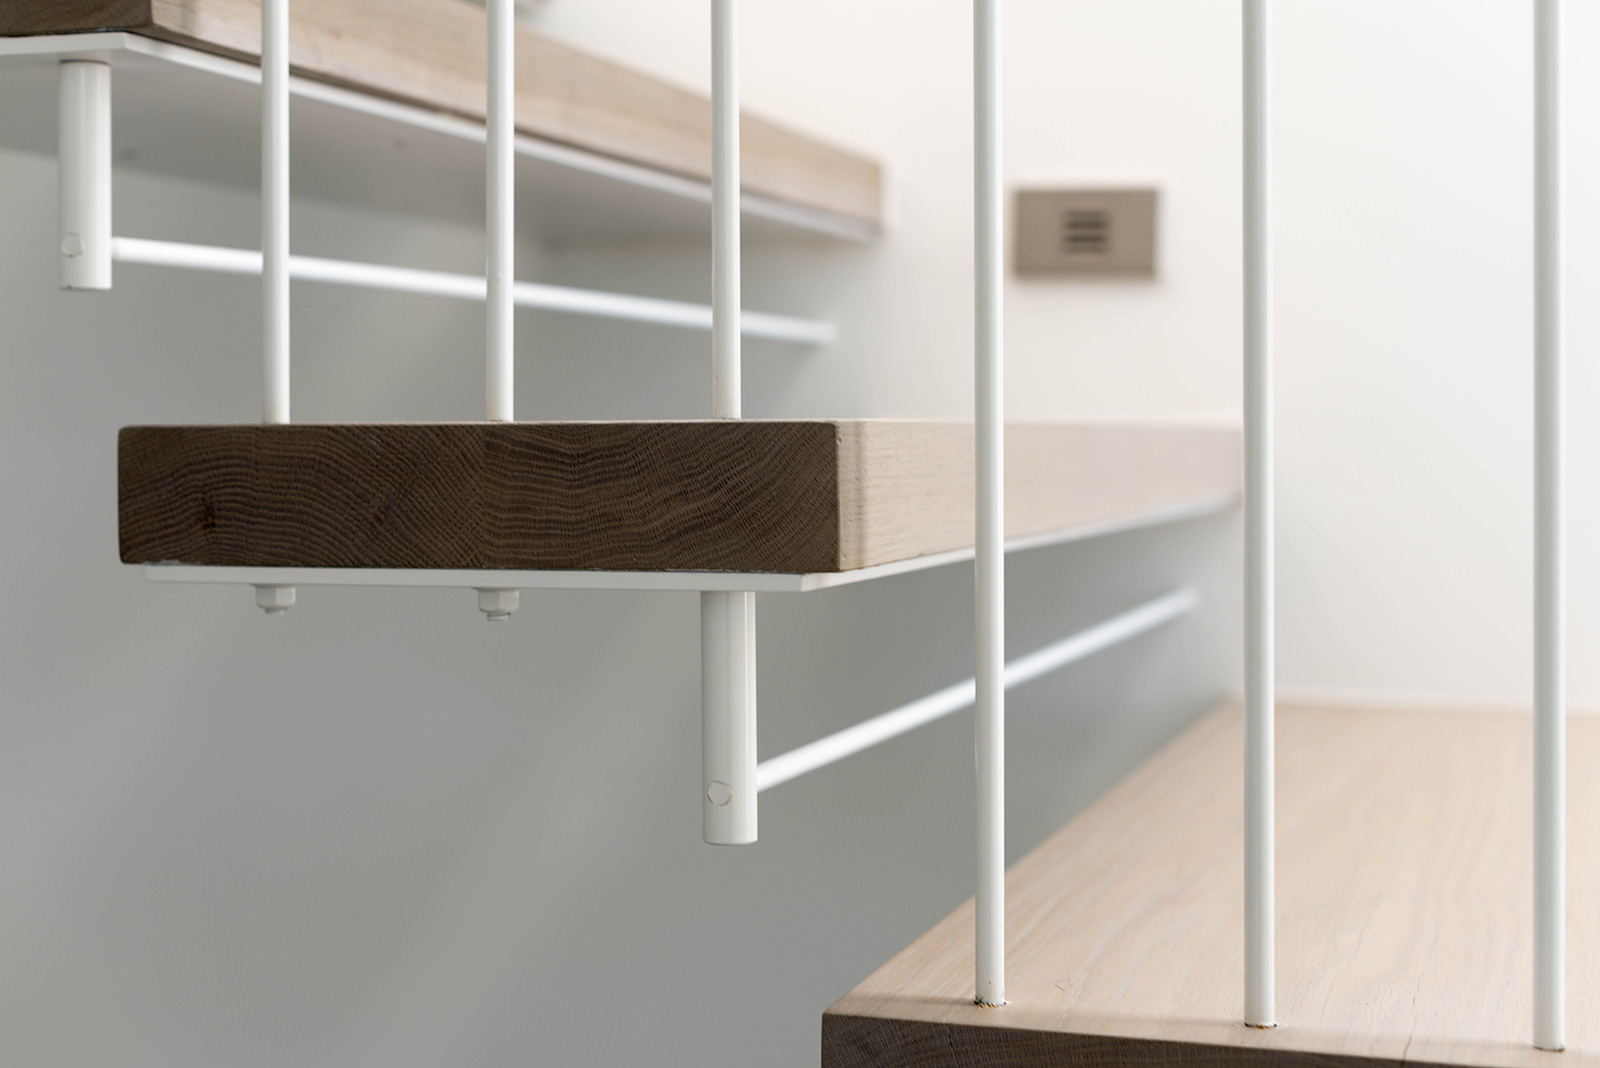
Detail photos are an indispensable part of documenting a completed project, and these images range from cabinetry, to closeups of plumbing fixtures, to the mechanical attachments of a stair. Calibrating the focal plane (and deliberately keeping background items out of focus) can help direct attention to the detail of interest.
Project documentation photos also typically include items that would normally be concealed, such as closets or millwork.
Some of the most important documentation photos pertain to behind-the-scenes functions, like utility rooms where every plumbing fixture and appliance is captured in high-resolution for future reference.
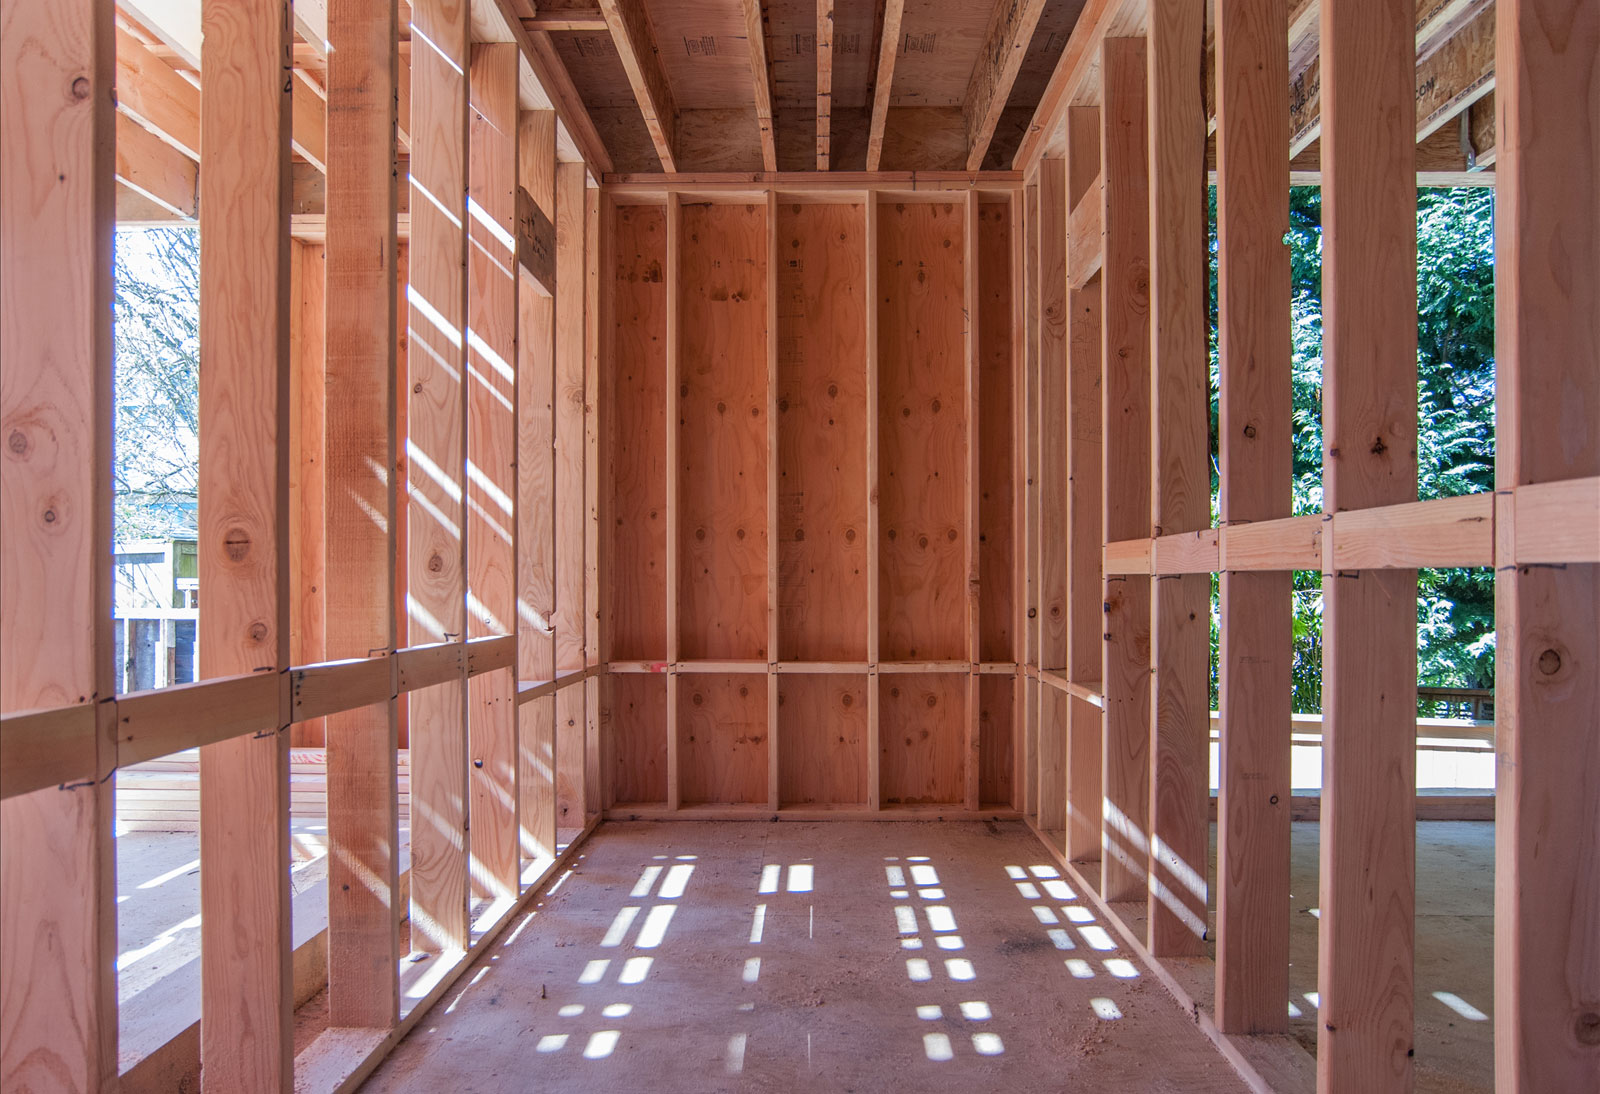
Last but certainly not least, and as unglamorous as they are, cover photos are an indispensable aspect of the project documentation. BUILD takes a full round of shots before the drywall goes up to record the location of blocking, plumbing lines, electrical wiring, and other important items inside the walls. While we’re taking these photos, it doesn’t hurt to compose the images, correct them for perspective, and quickly adjust for exposure.
COMPONENT OPERATION
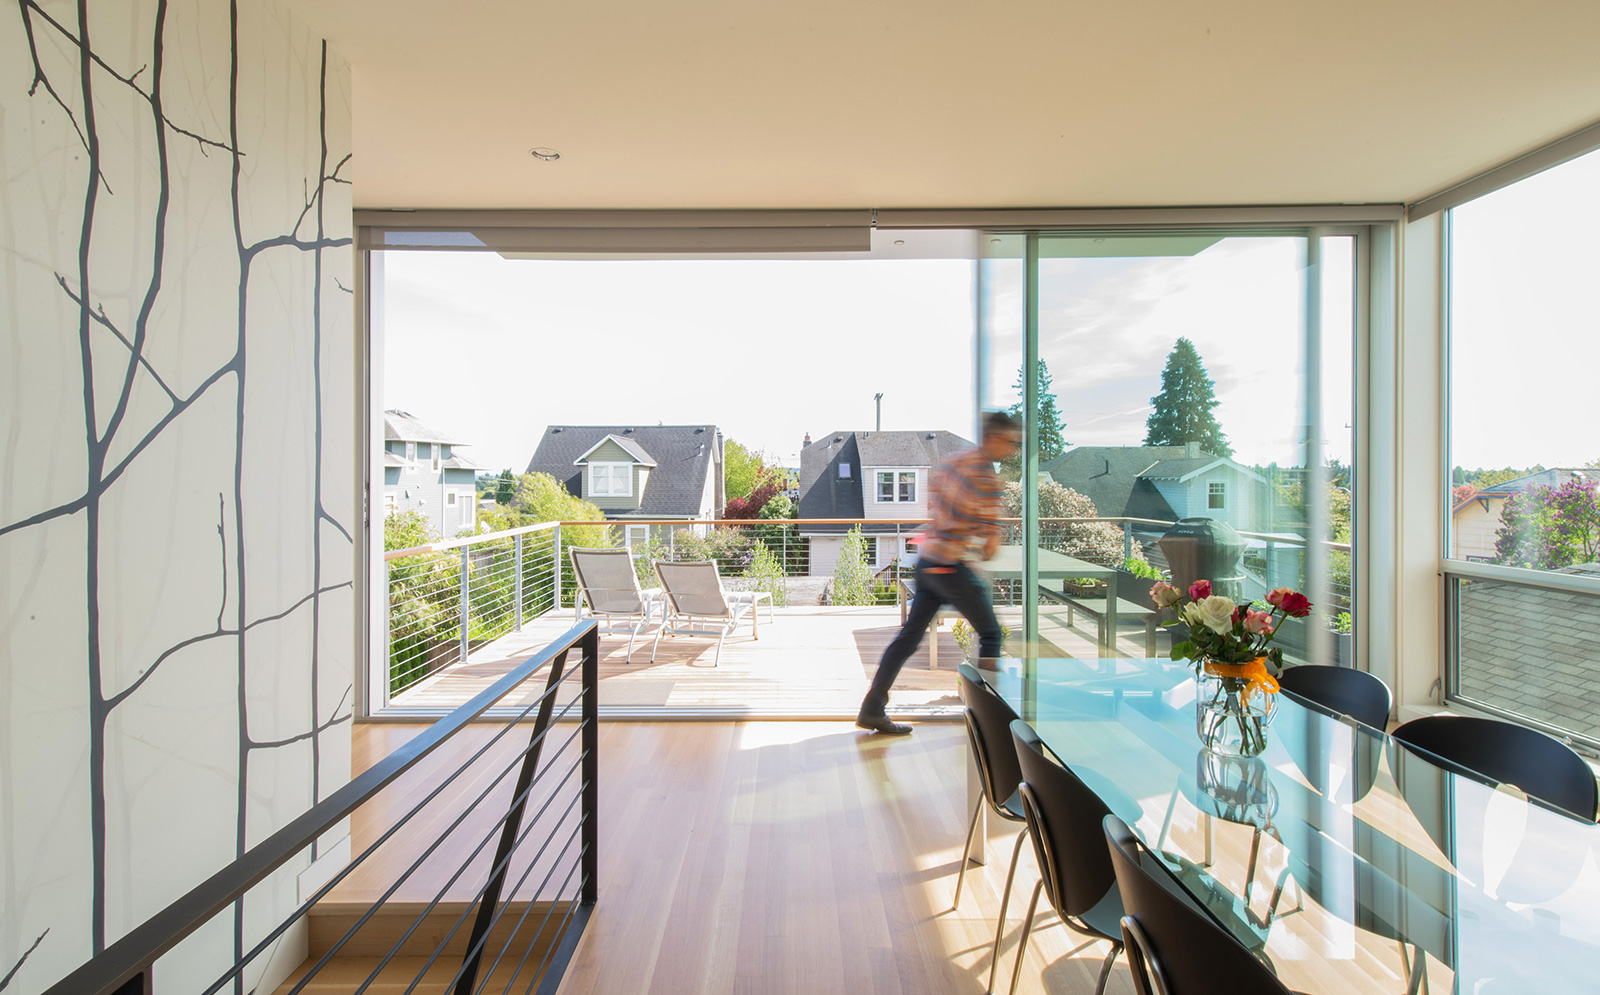
The operation and movement of the components of a project are also important to capture, and these photographs are achieved in one of two ways. Slowing the shutter speed to demonstrate movement, as a blurred object helps define moveable components, such as the large glass sliding doors on the Case Study House 2014 below. Placement and movement of people can also signal the direction of operation. Interior photography lights are typically used with these shots to help balance the darker interiors with the lighter exteriors.
A photo series or slideshow can emulate more complicated component operation, which may involve several steps or intricate motions, as in the five-panel accordion door at the Desai Residence below.
ILLUSTRATING THE DESIGN CONCEPT
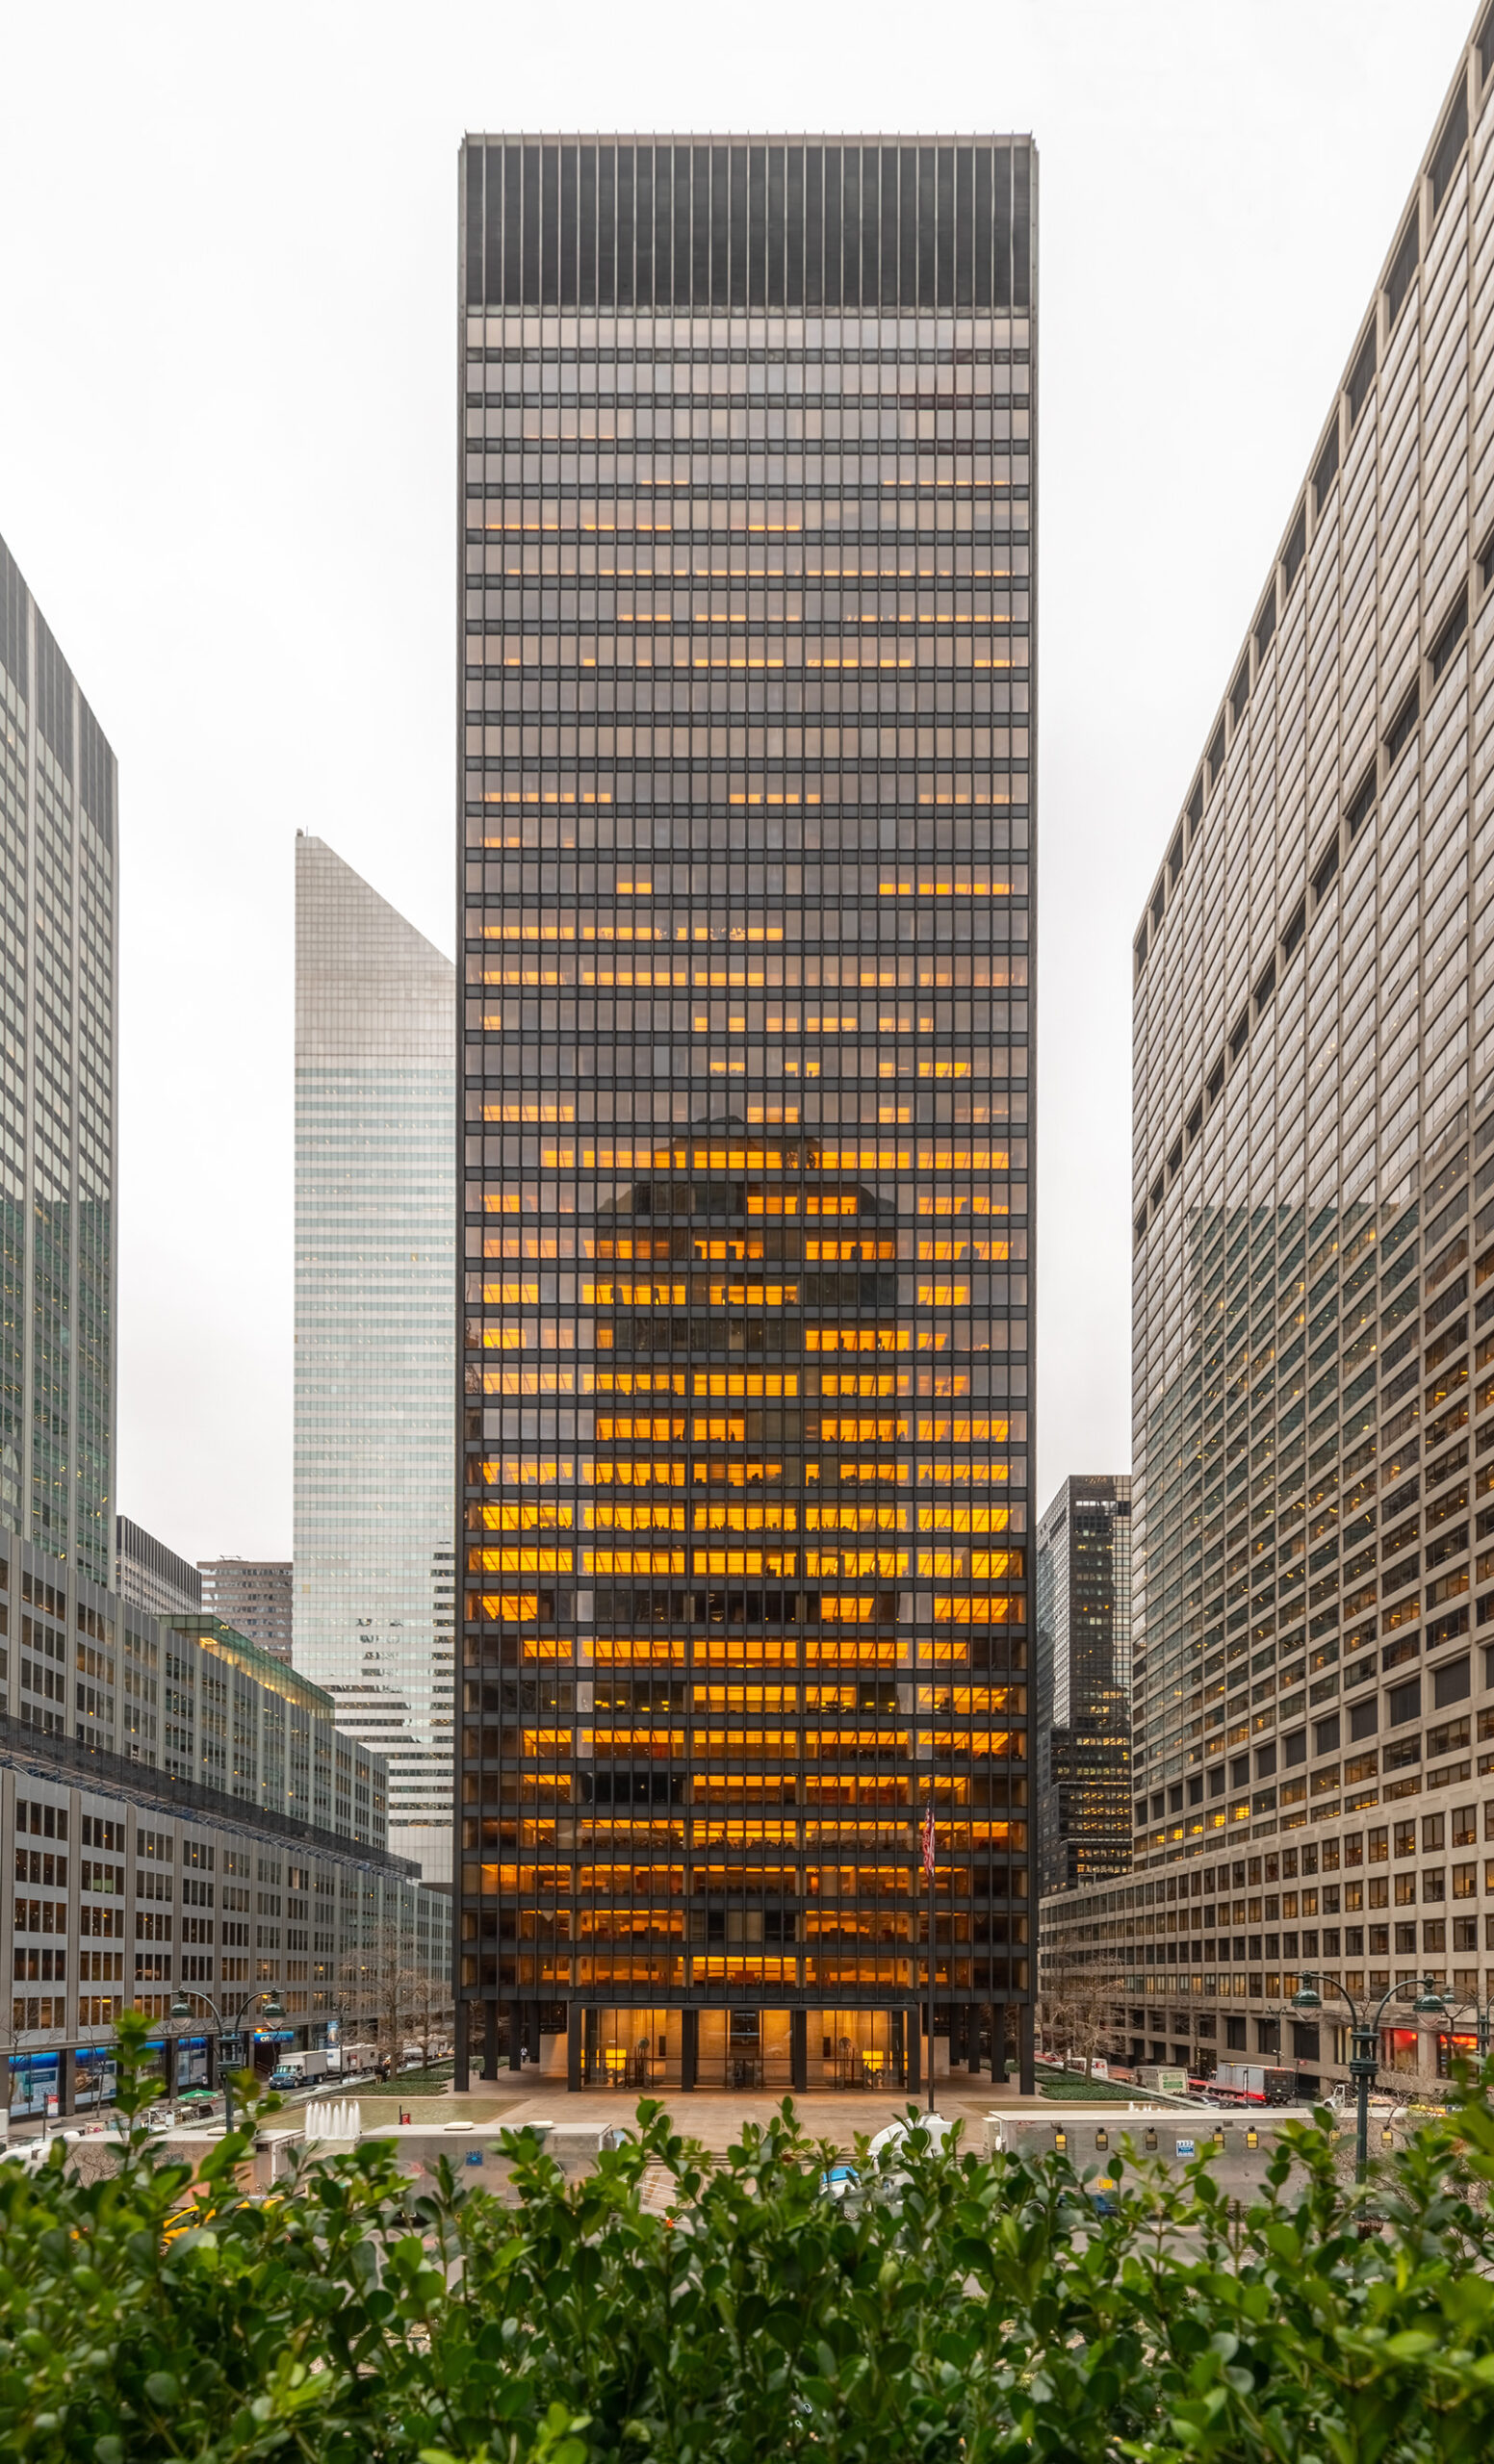
Think of this type of photo as seeing through the mind’s eye of the architect. This is how the project was conceptualized and formulated. It’s also likely how the project was originally drawn, and the photos can often emulate orthogonal line drawings by correcting the perspective, as in the image of the Seagram Building below.
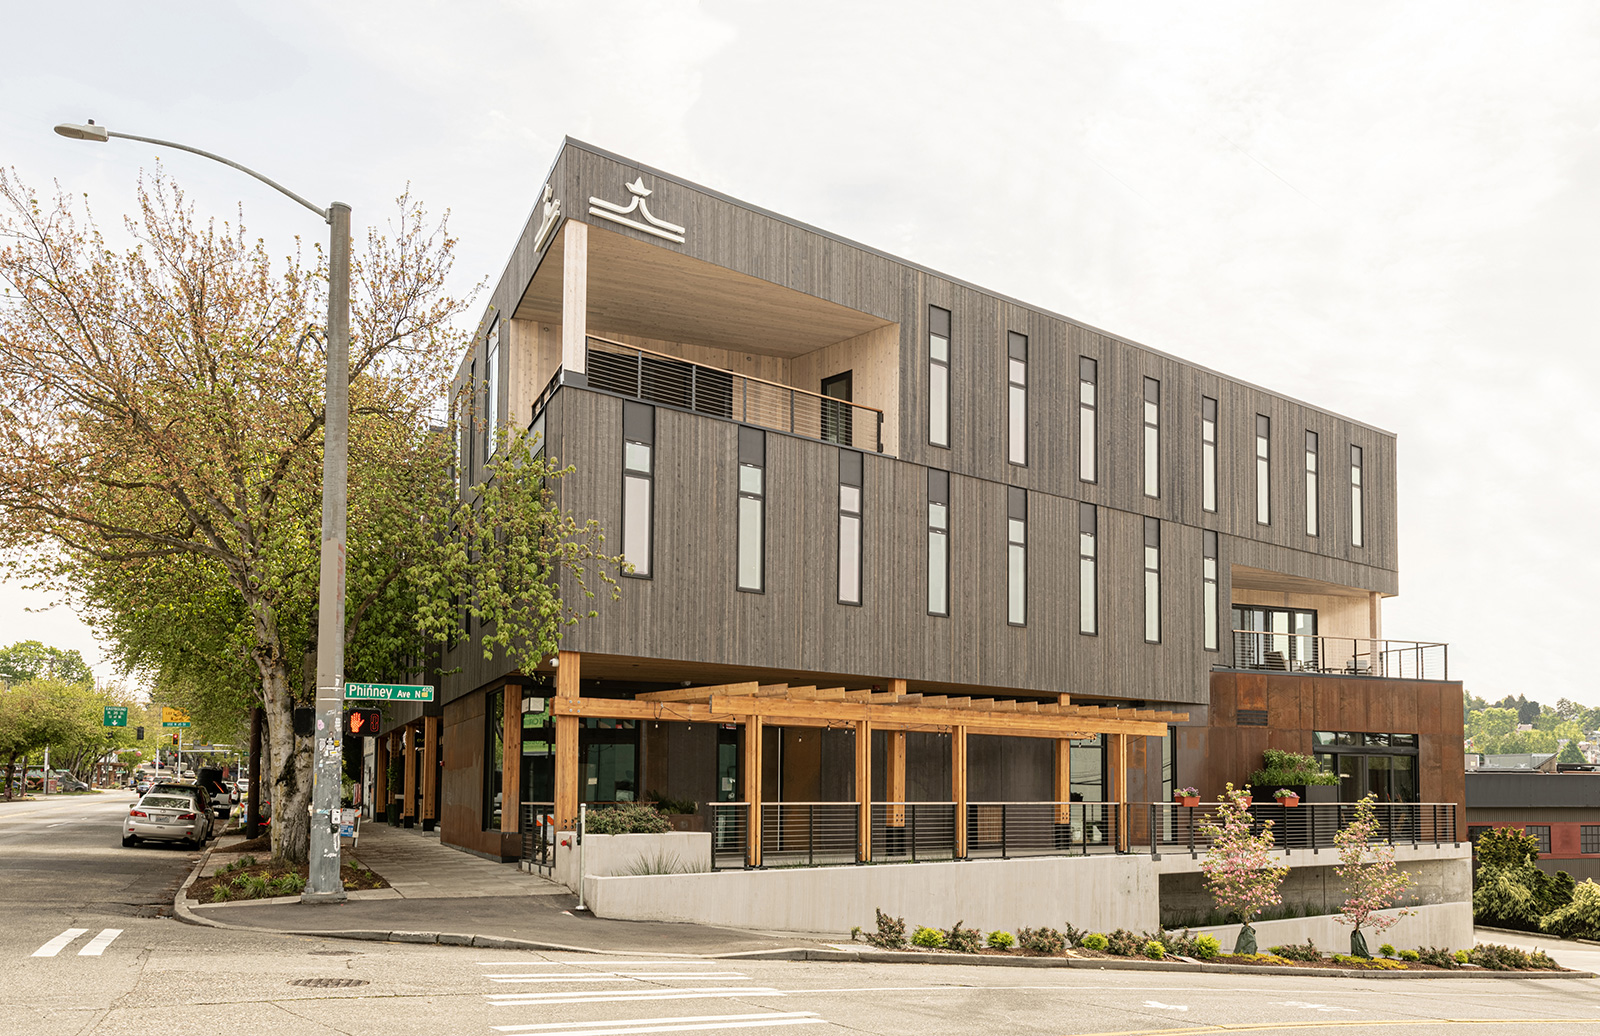
Other photography techniques to best illustrate the design concept may involve removing the distractions from the image, leaving more of the architecture itself. These items may include the myriad of power poles, powerlines, signs and other appendages, as with the Cedar Speedster Building below.
CREATING A NARRATIVE
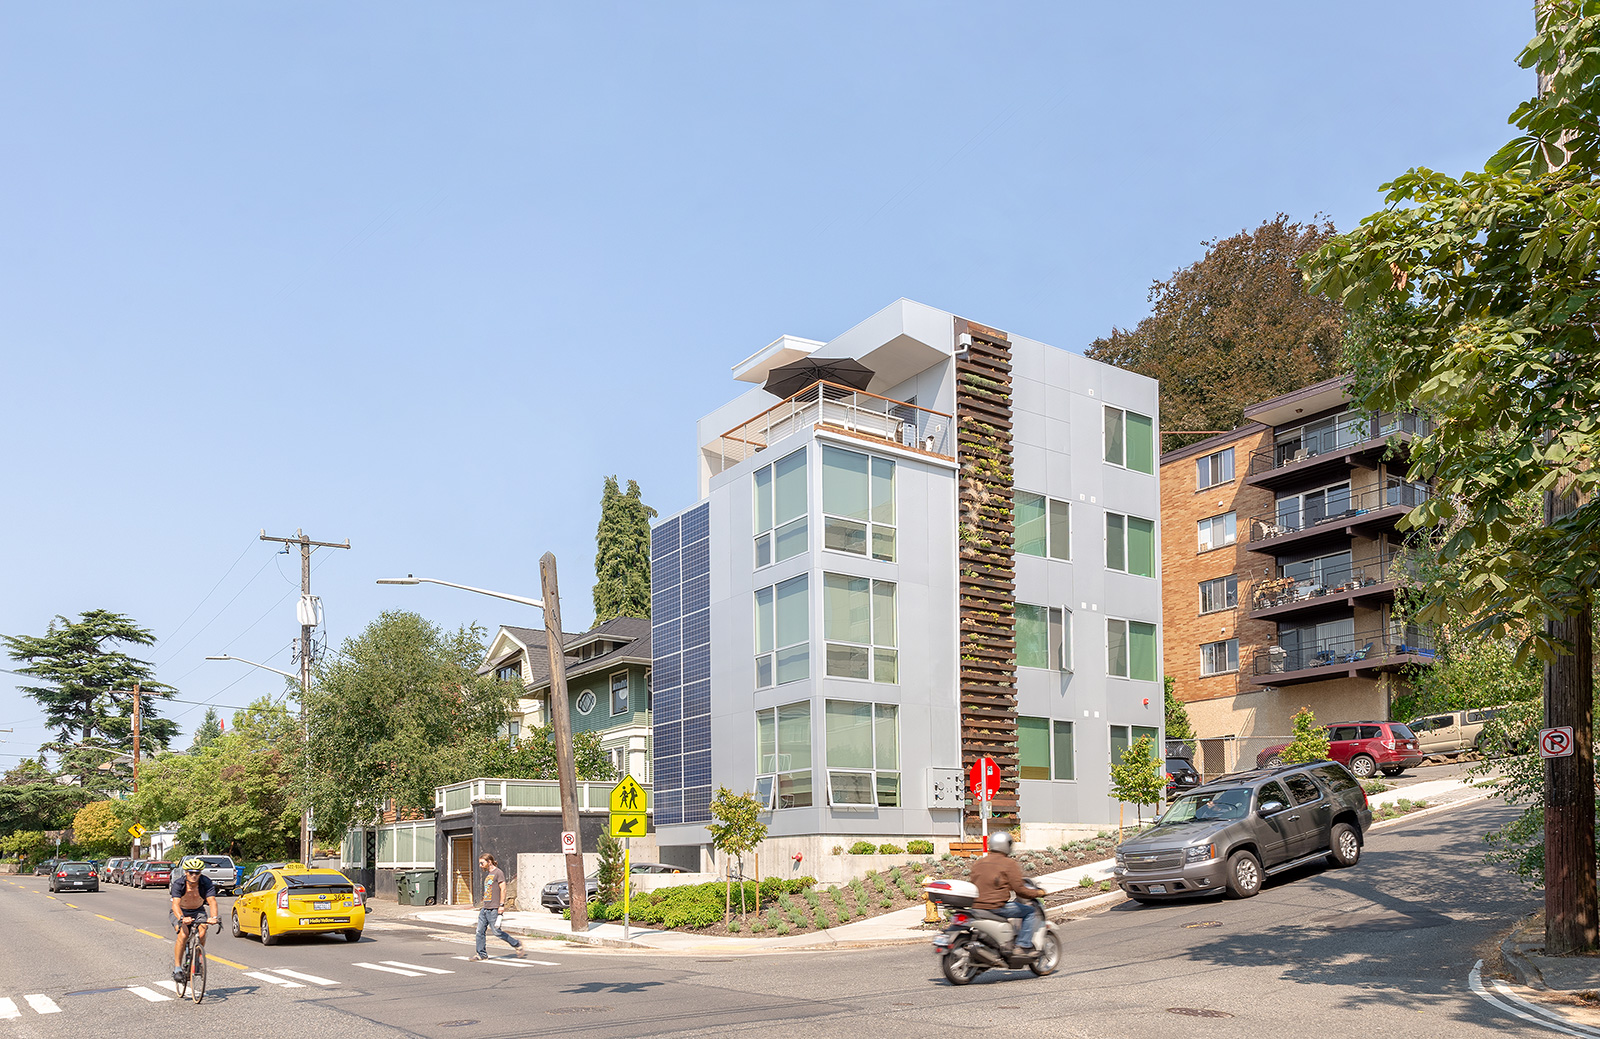
These photos go beyond the aesthetic of a project to tell a story of the place and the people. This narrative could be as simple as demonstrating the busyness of a place, as in the 602 Building below, which is located at the bustling Capitol Hill intersection of 12th Ave E & E Mercer St in Seattle. The final image is actually the result of nine photos that were carefully blended into one photo (one shot of each moving object and a few for the different exposures).
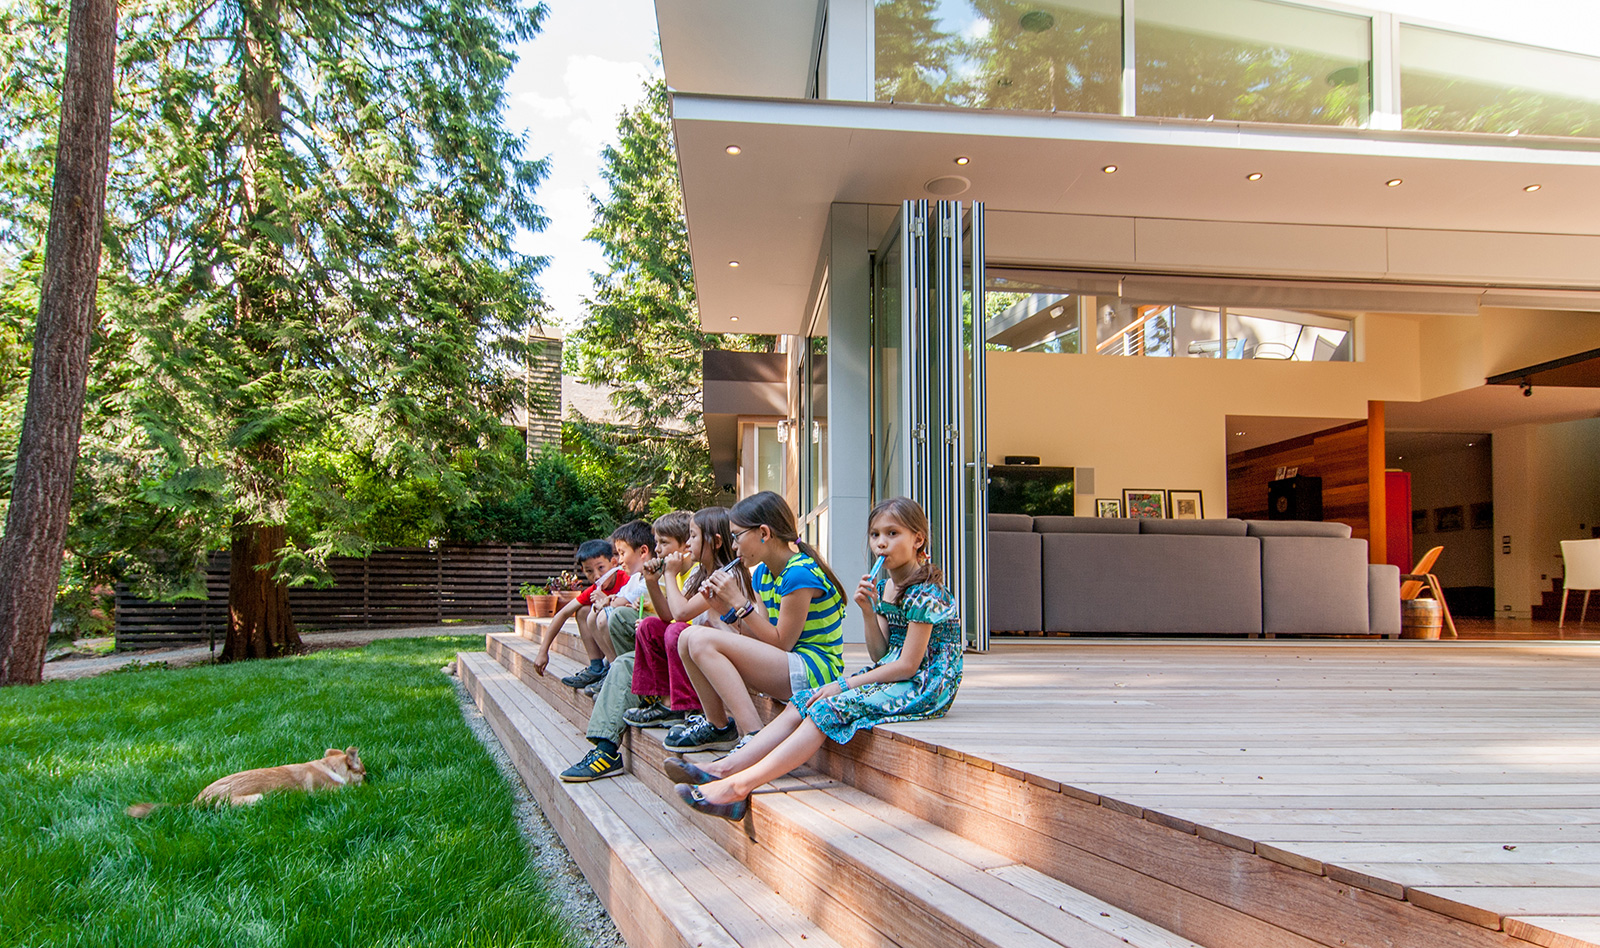
Other narratives might tell of a particular event, like snack time at the Beaux-Arts Village Residence below. The architecture is the backdrop in shots like these, allowing the people and activity to take center stage.
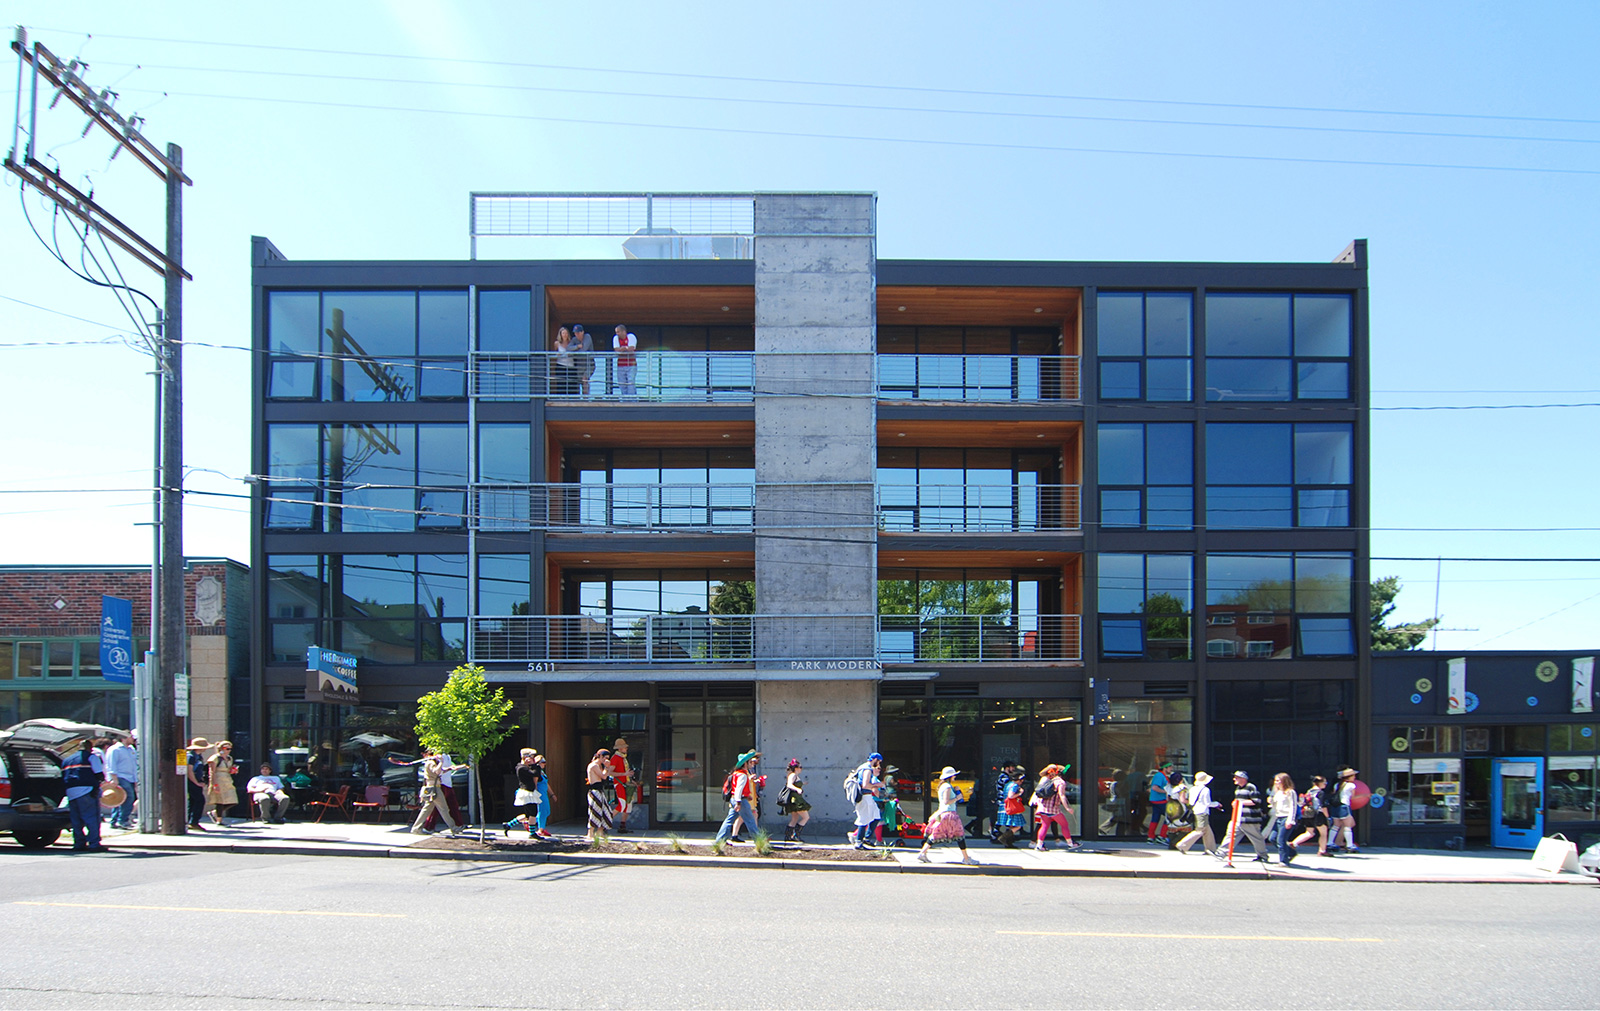
Others might communicate urban liveliness and a sense of community, as in the Park Modern building in Seattle’s University District.
Though we’re constantly learning new techniques and are always curious about different methods to compose architectural photos, most of BUILD’s finished shots fit into one of the five categories above. Establishing these categories and calling out their characteristics helps us determine what types of photos are appropriate for each completed project. This tends to help us focus our time on the photoshoot, and it saves us some bandwidth later. The time it takes to process the photos is about double the time spent in the field on the photoshoot, so limiting the number of final shots translates directly into time we can allocate back to the architecture.
These five categories have also served us well over the years with respect to marketing, publications, presentations, and, most importantly, social media. Each photo category is appropriate for specific promotional uses, and it’s important to know when to deploy a given photograph in order to gain the most traction.
It’s a common philosophy here at BUILD that if you don’t get good photographs of a completed project, it doesn’t exist, and the social media age has exponentially reinforced this. The number of opportunities we’ve been given as the result of sharing our images is prolific, and the education we’ve received from studying the work of other photographers has been exceptional. There is a healthy list of architectural photographers who we’d like to thank for their ongoing inspiration, and if you enjoy masterful design photos, we highly recommend following the individuals listed below:
Ben Benschneider
Iwan Baan
Nic Lehoux
Kevin Scott
Mike Kelley
Scott Francis
Janna Ireland
Matthew Carbone
Rich Stapleton
Simone Boss
And, while you’re at it, give the BUILD photography department a follow.
Cheers from team BUILD


