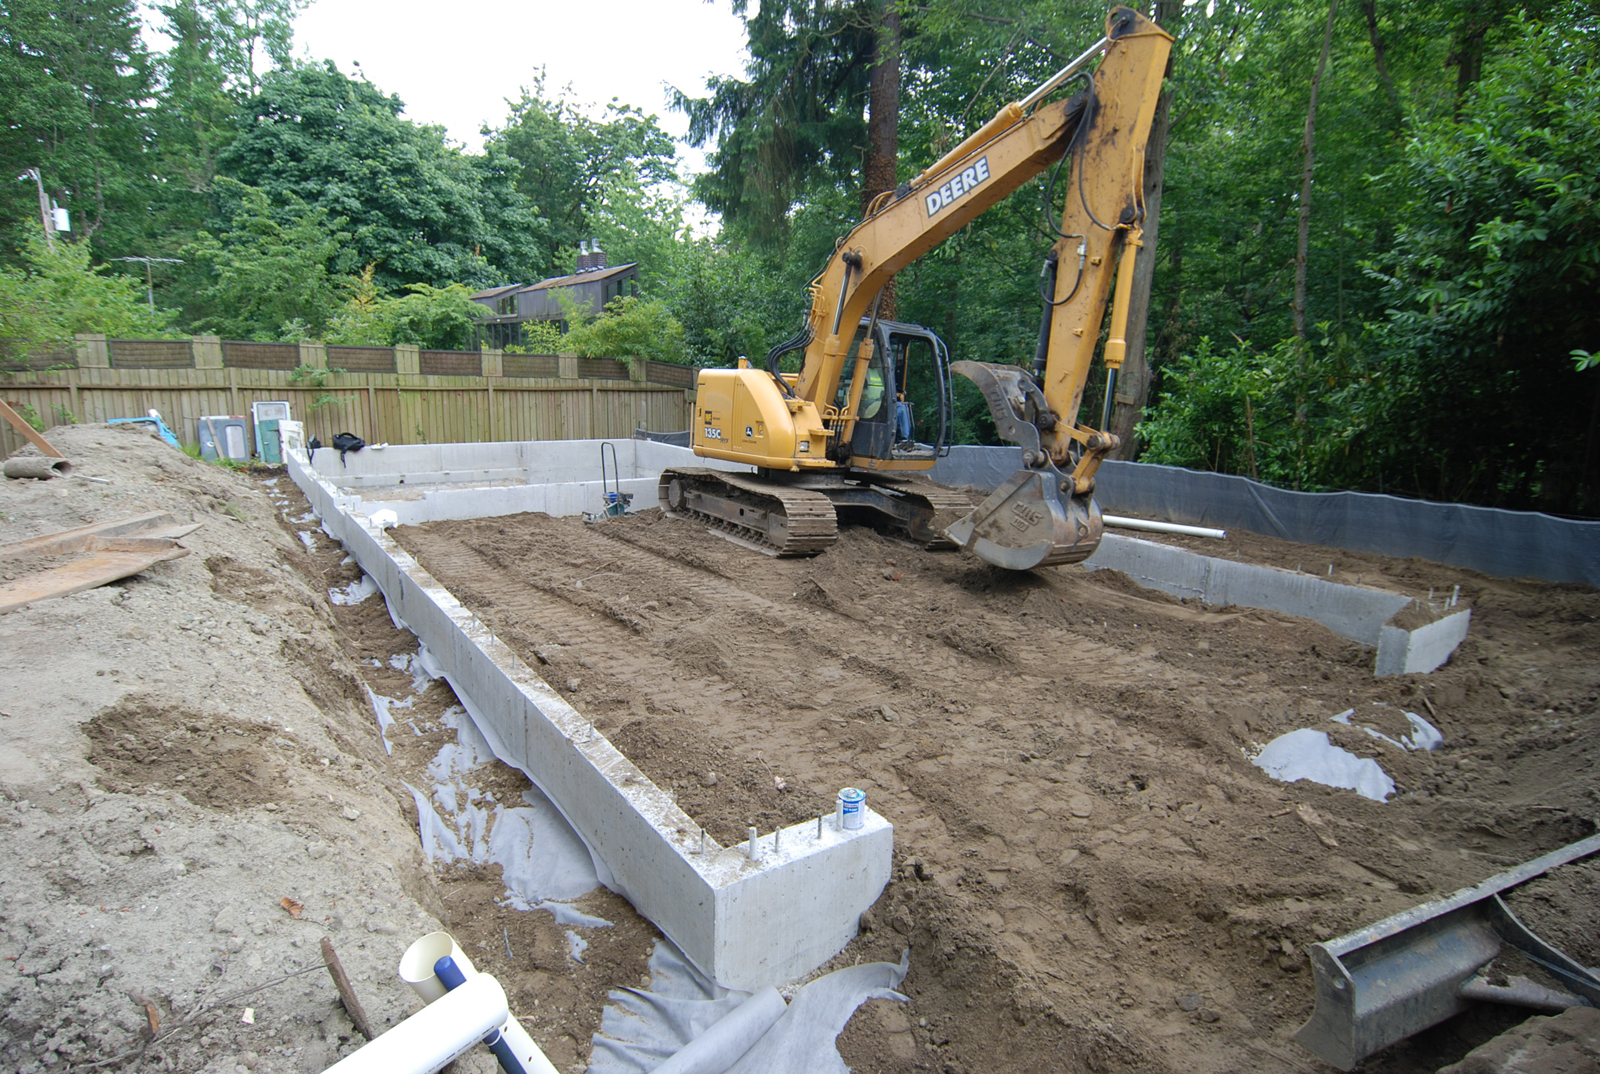
Our last installment of the Case Study House visited the key points learned during the demo and excavation portion of the project. Here are the top ten lessons we learned on concrete and plumbing installation.
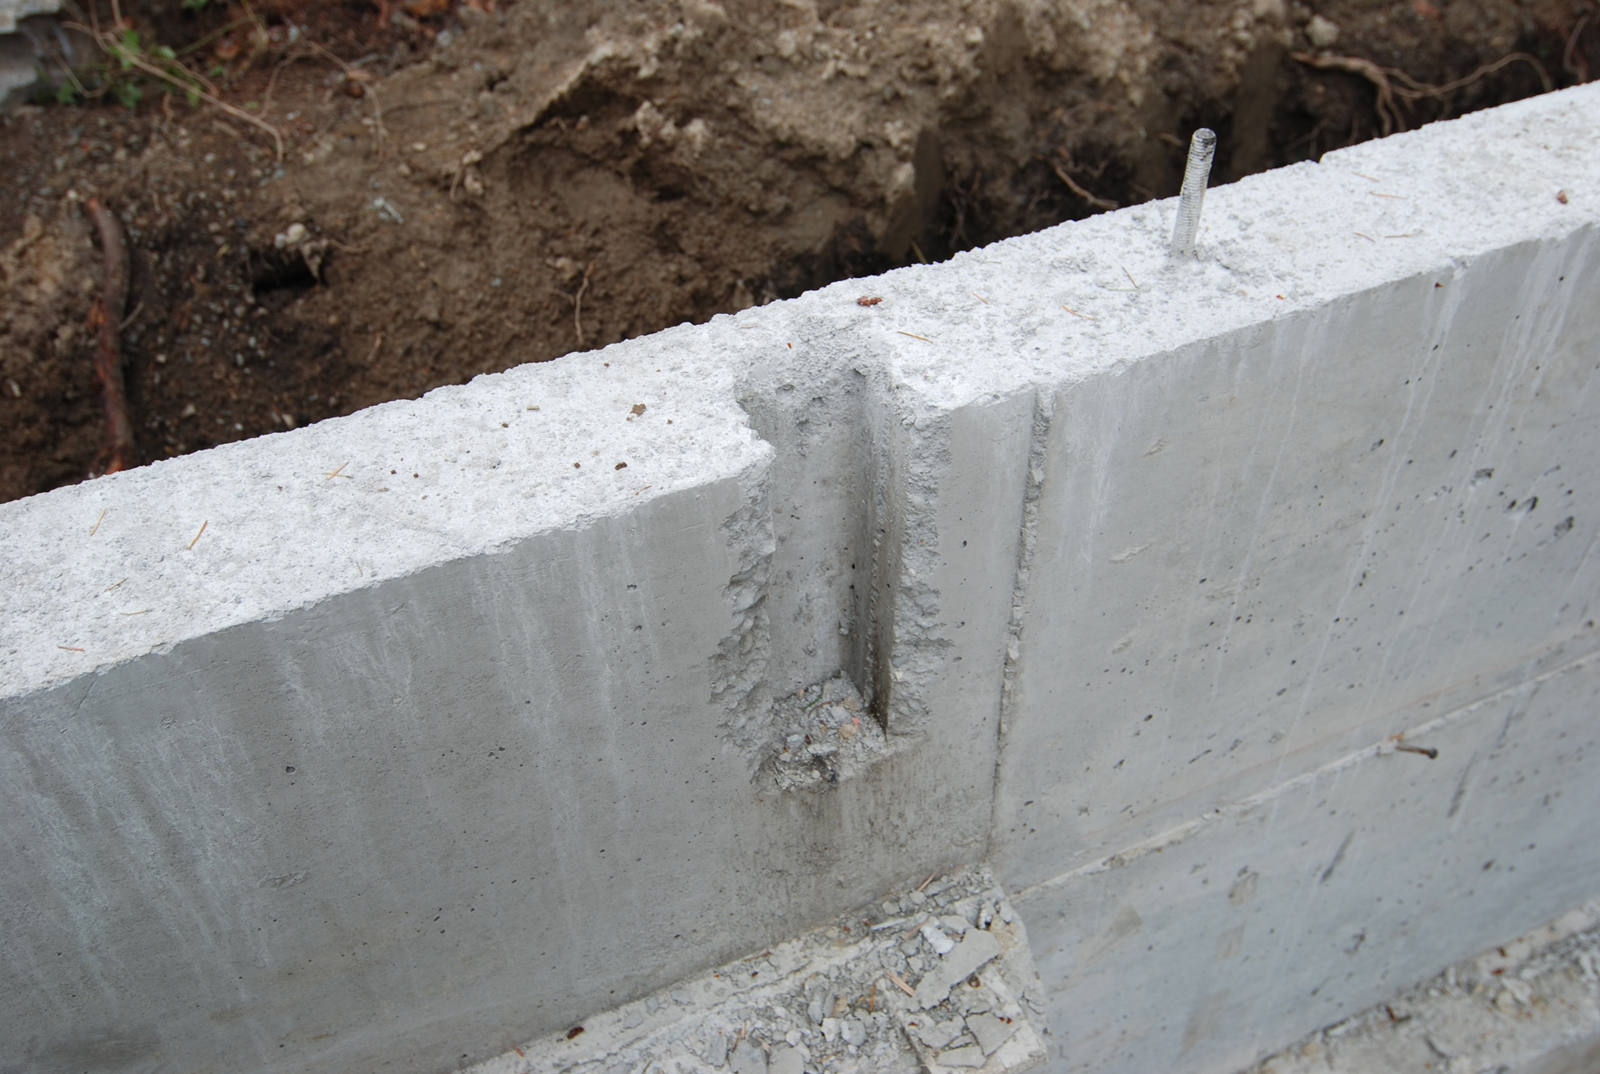
1. Making room.
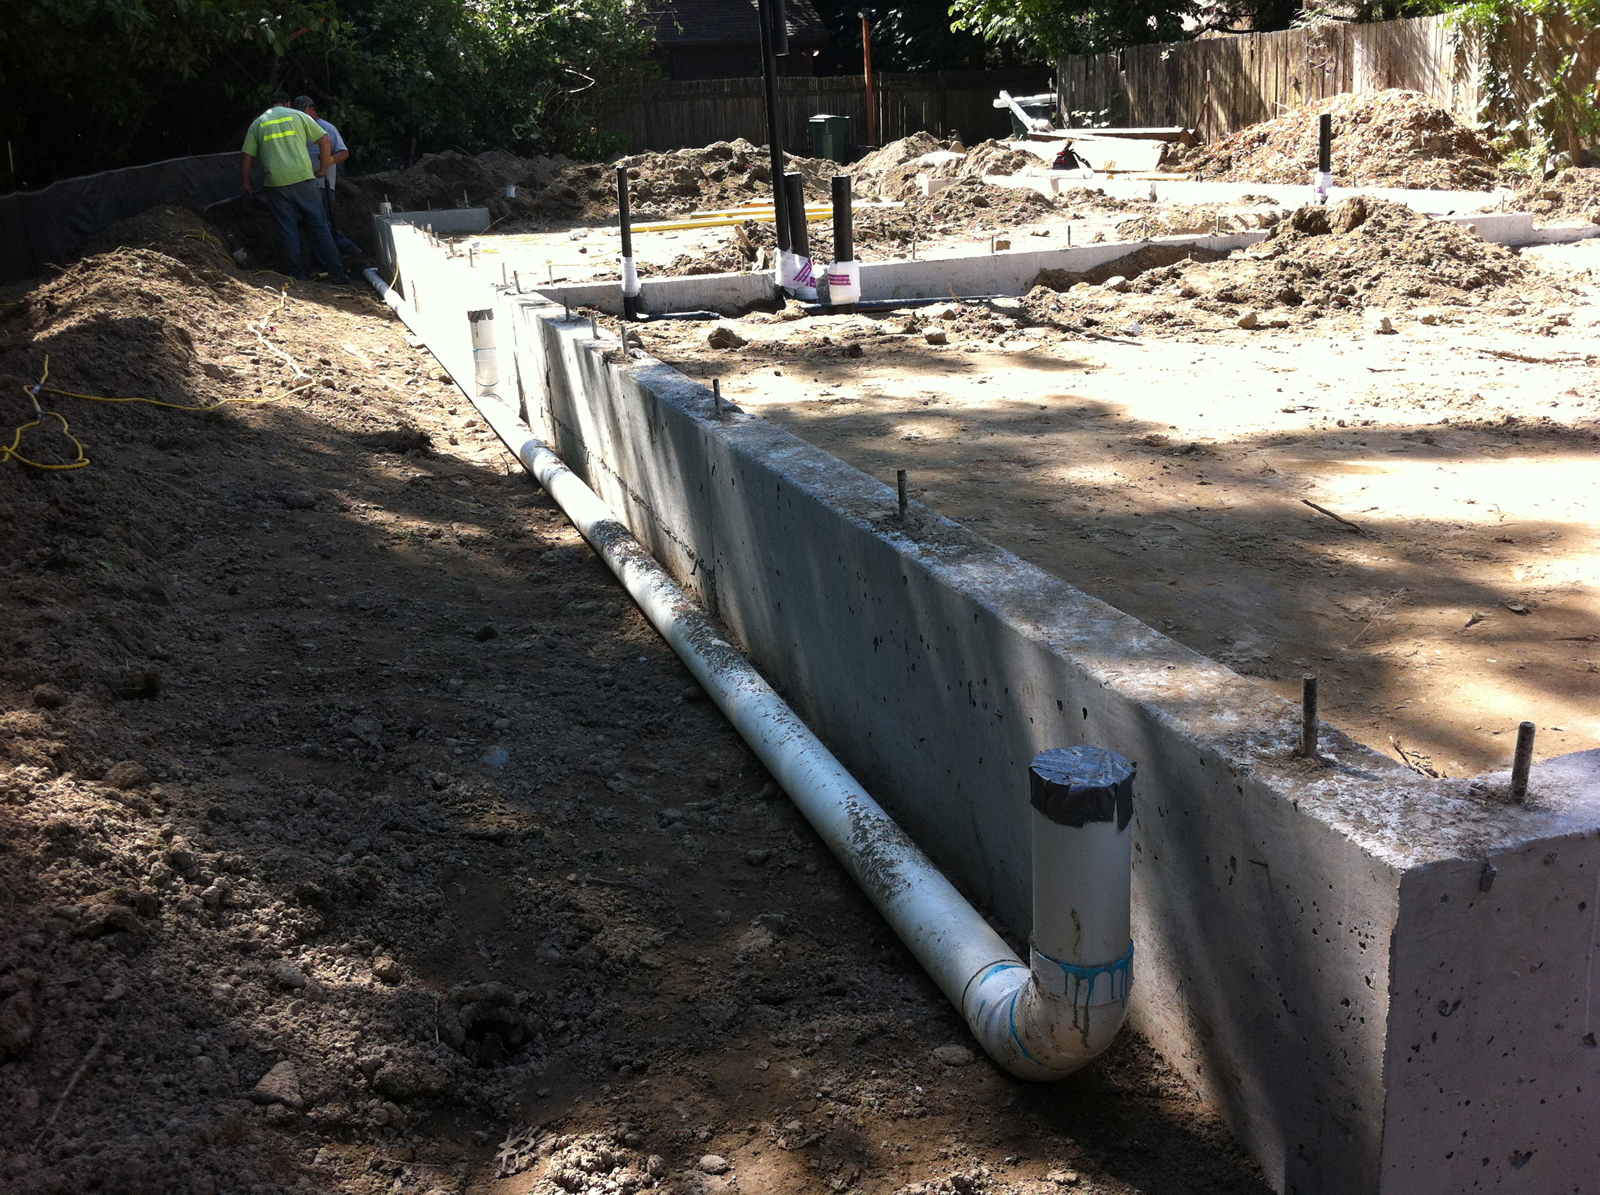
Take into consideration the hold-down placements and allocate enough room for utility buck-outs. Nobody wants to tear out concrete work that’s just been poured.
[All images by BUILD LLC]
2. The key is in the sequencing.
The sequencing of the construction work has proved to be spot on for the CSH. It’s made for a relatively smooth sail so far on the project—swift yet steady. That sort of orchestration doesn’t happen purely by chance; it requires a significant amount back-end planning and preparation.
3. Know where you’re coming and going.
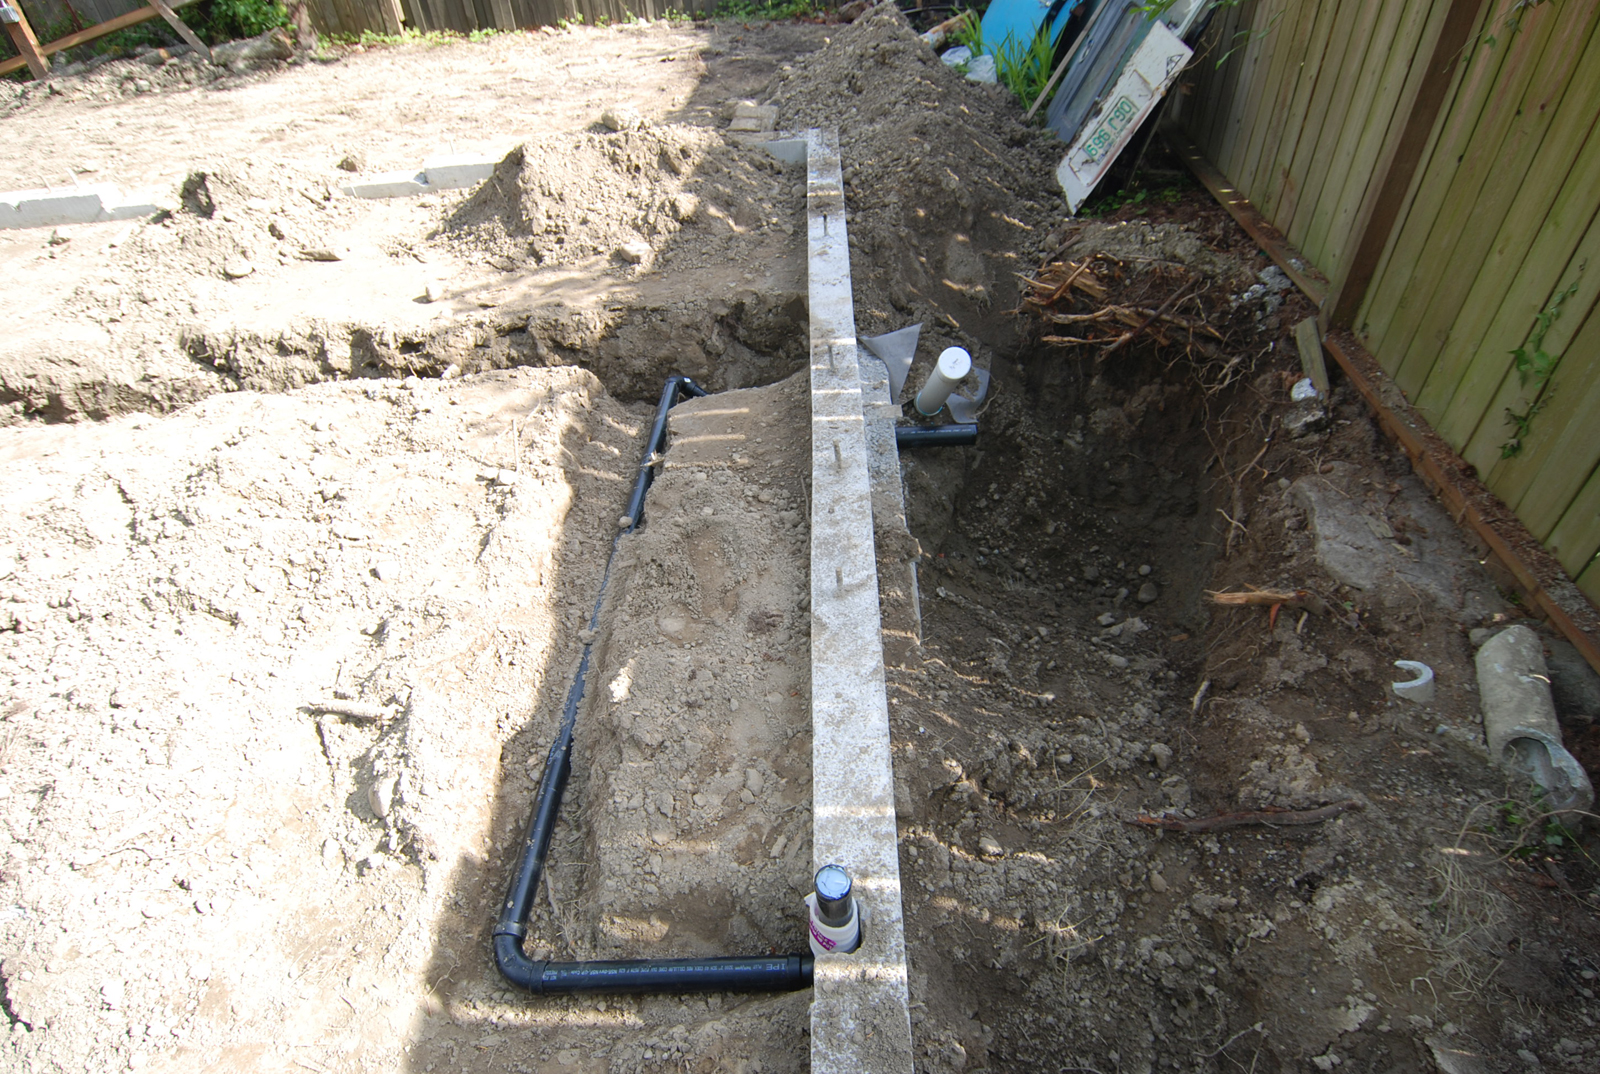
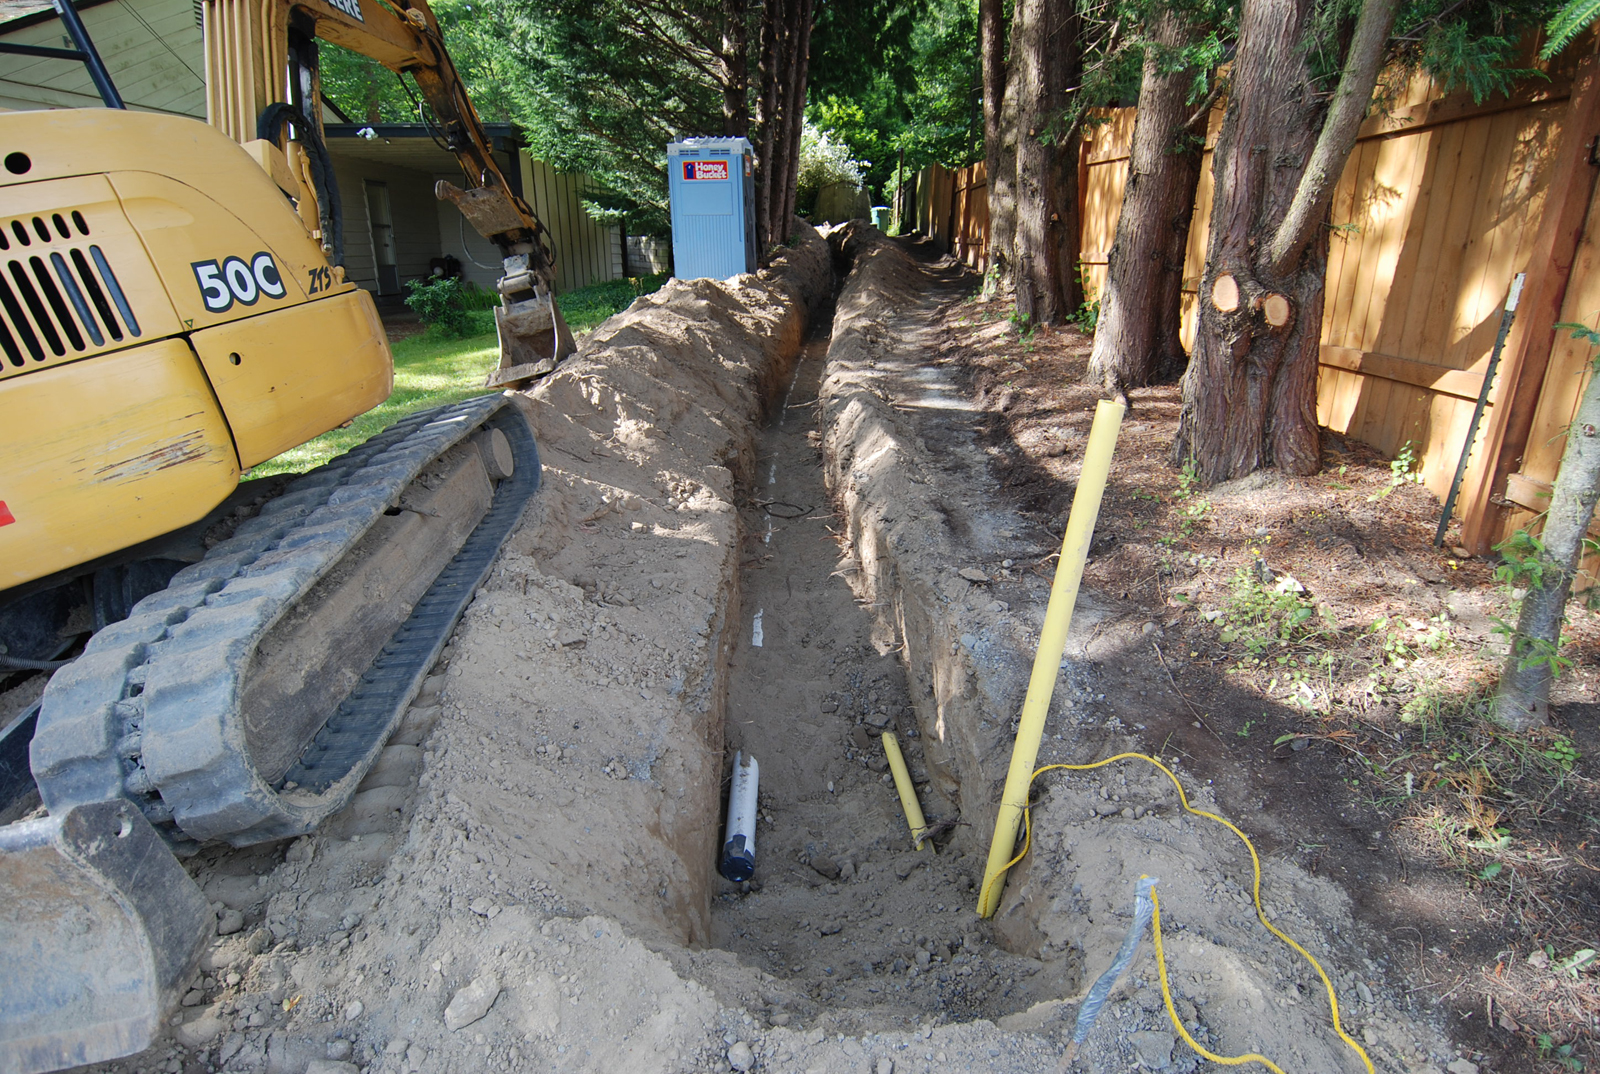
Basically, do your homework. Get as much information about existing utility locations and conditions as possible. And equally important, know where those utilities will be entering your building.
4. Embrace the pleasant surprises.
We lucked out. The existing sewer line was in great condition when we dug it up. No unruly entanglement with roots or other deteriorating factors, which meant we didn’t have to tread into neighboring properties. These things can be out of your control, but it’s worth stepping back and recognizing the pleasant surprises when they come along. A sewer line in great condition may not be an exciting topic, but it is important to a well-functioning, completed project.
5. Roll with the unpleasant surprises.
Of course we did also encounter a hiccup. Bureaucratic hoop-jumping to acquire a permit can often take longer than doing the work itself. These seemingly minor snags can take quite a bit of extra time and money to deal with. In our case, another day of delay could have had a disastrous ripple effect of a weeks-long delay on the whole schedule. We were able to rally and get all our Is dotted and Ts crossed and paperwork turned in. Hiccup or not, we’re all about getting it done and moving on.
6. Know when to take a shortcut.
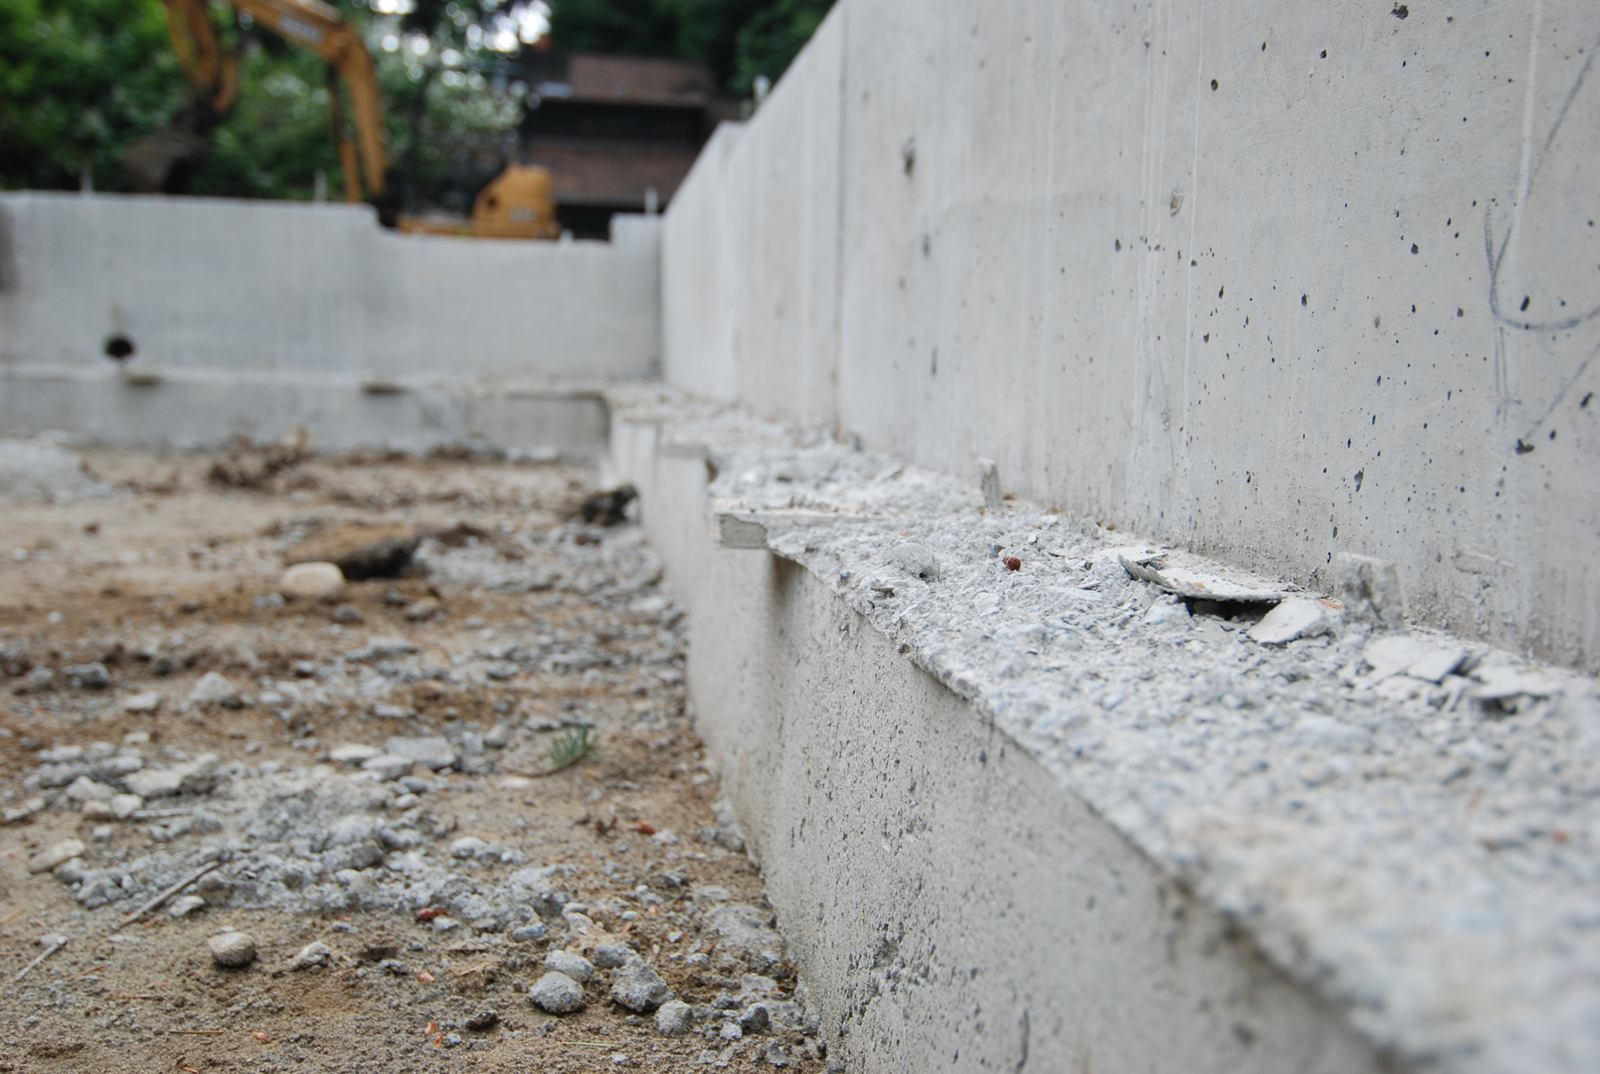
Generally on new foundations, we aim to accomplish a monopour of the footing and stem wall. Due to the single pour, it’s an enormous time, labor, and resource savings; the work of two days is consolidated into one. Just be aware that it’s recommend for foundations with simple geometries. The footprint of the Case Study House is simple and straight-forward, so it worked, and is literally a strong foundation to build upon.
7. Know when to skip a shortcut.
Though it’s possible to monopour the slab and foundation, we opt to do these as two separate pours. The main reason for this is the time saved isn’t worth the loss in flexibility. The last thing we want to see is an inferior slab as it is the finished floor at the ground level. Not to mention, we will be taking care with the radiant heat tubing in that slab so that the lower level, including the flexible garage/ shop space, provides the even warmth that will make this home so comfortable. Do it once, do it right. Sometimes that means taking a longer route.
8. Take the extra steps to ensure clear communication.
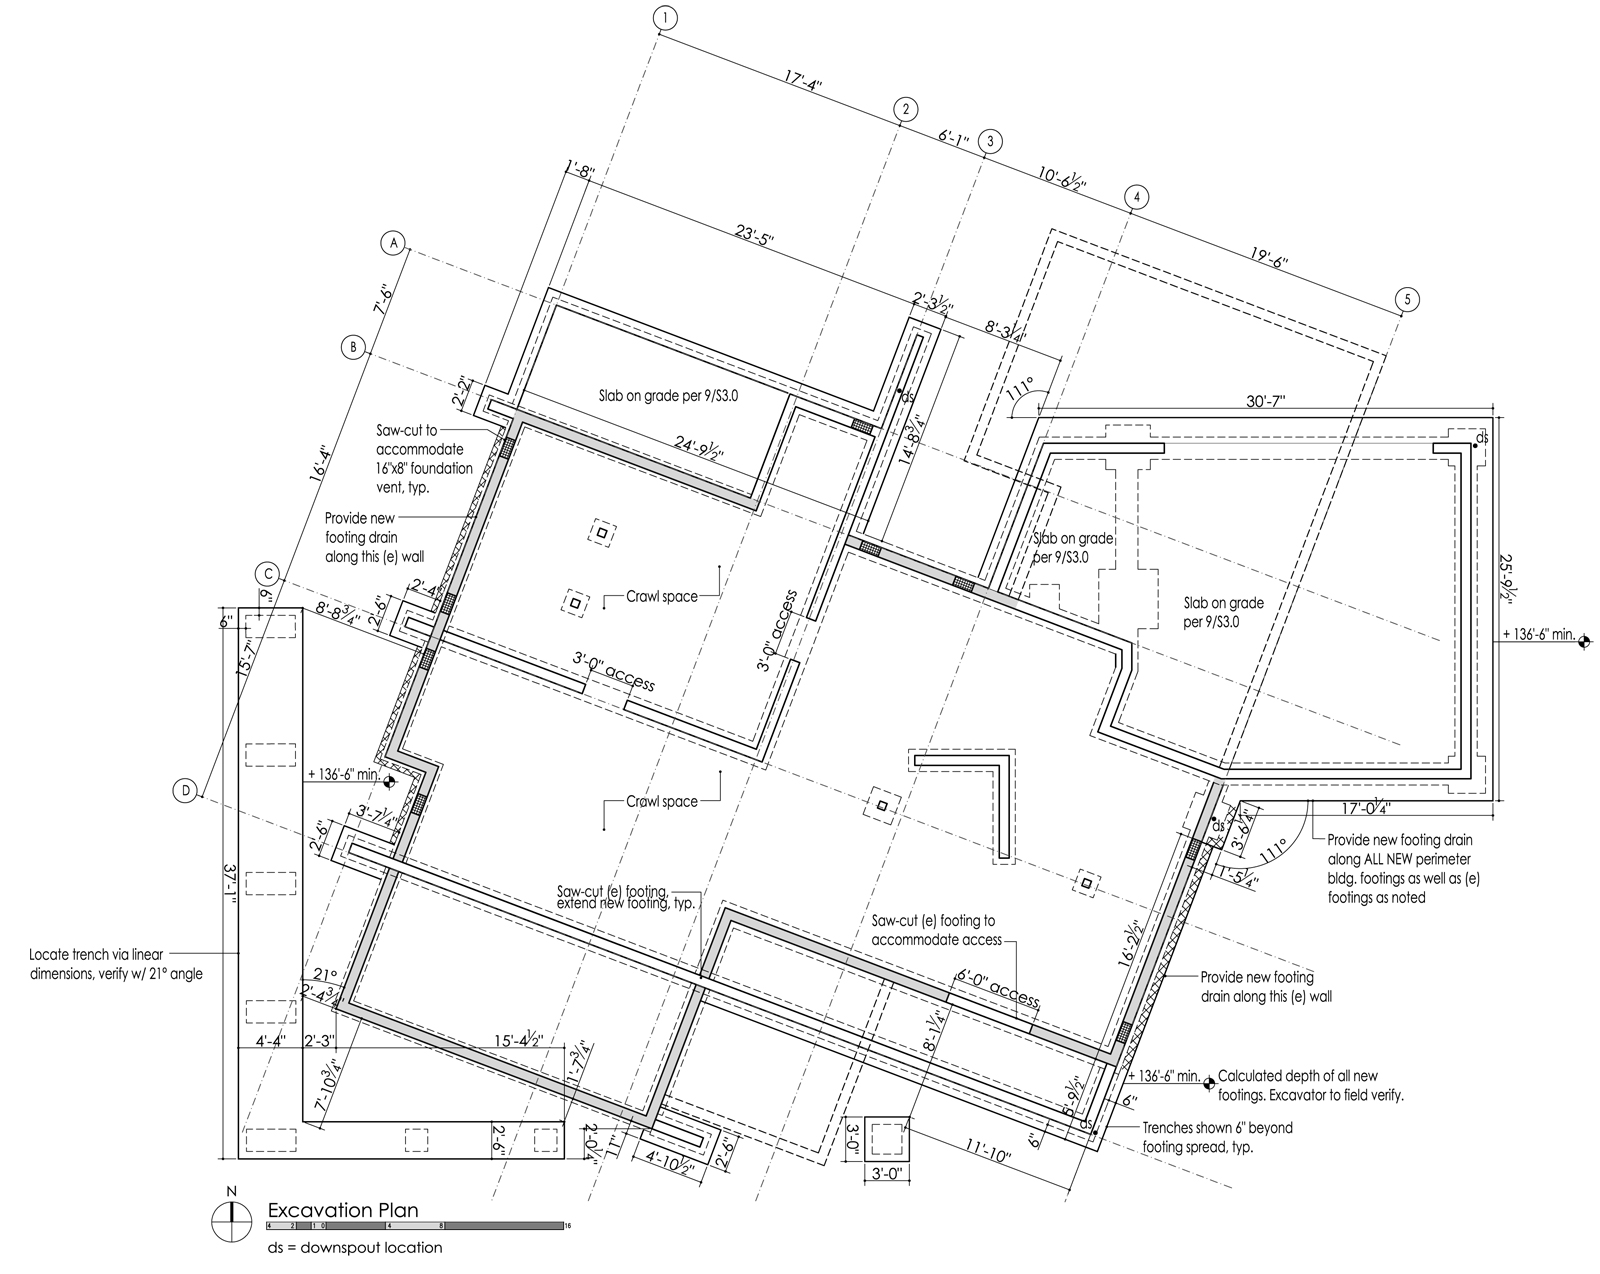
Taking the time to create a dedicated sheet with the basic info necessary for the excavation and foundation work is a good idea. This is separate from the officially issued documents, meant specifically to communicate all the pertinent information for these particular trades on a single sheet.
9. Mind your margins.
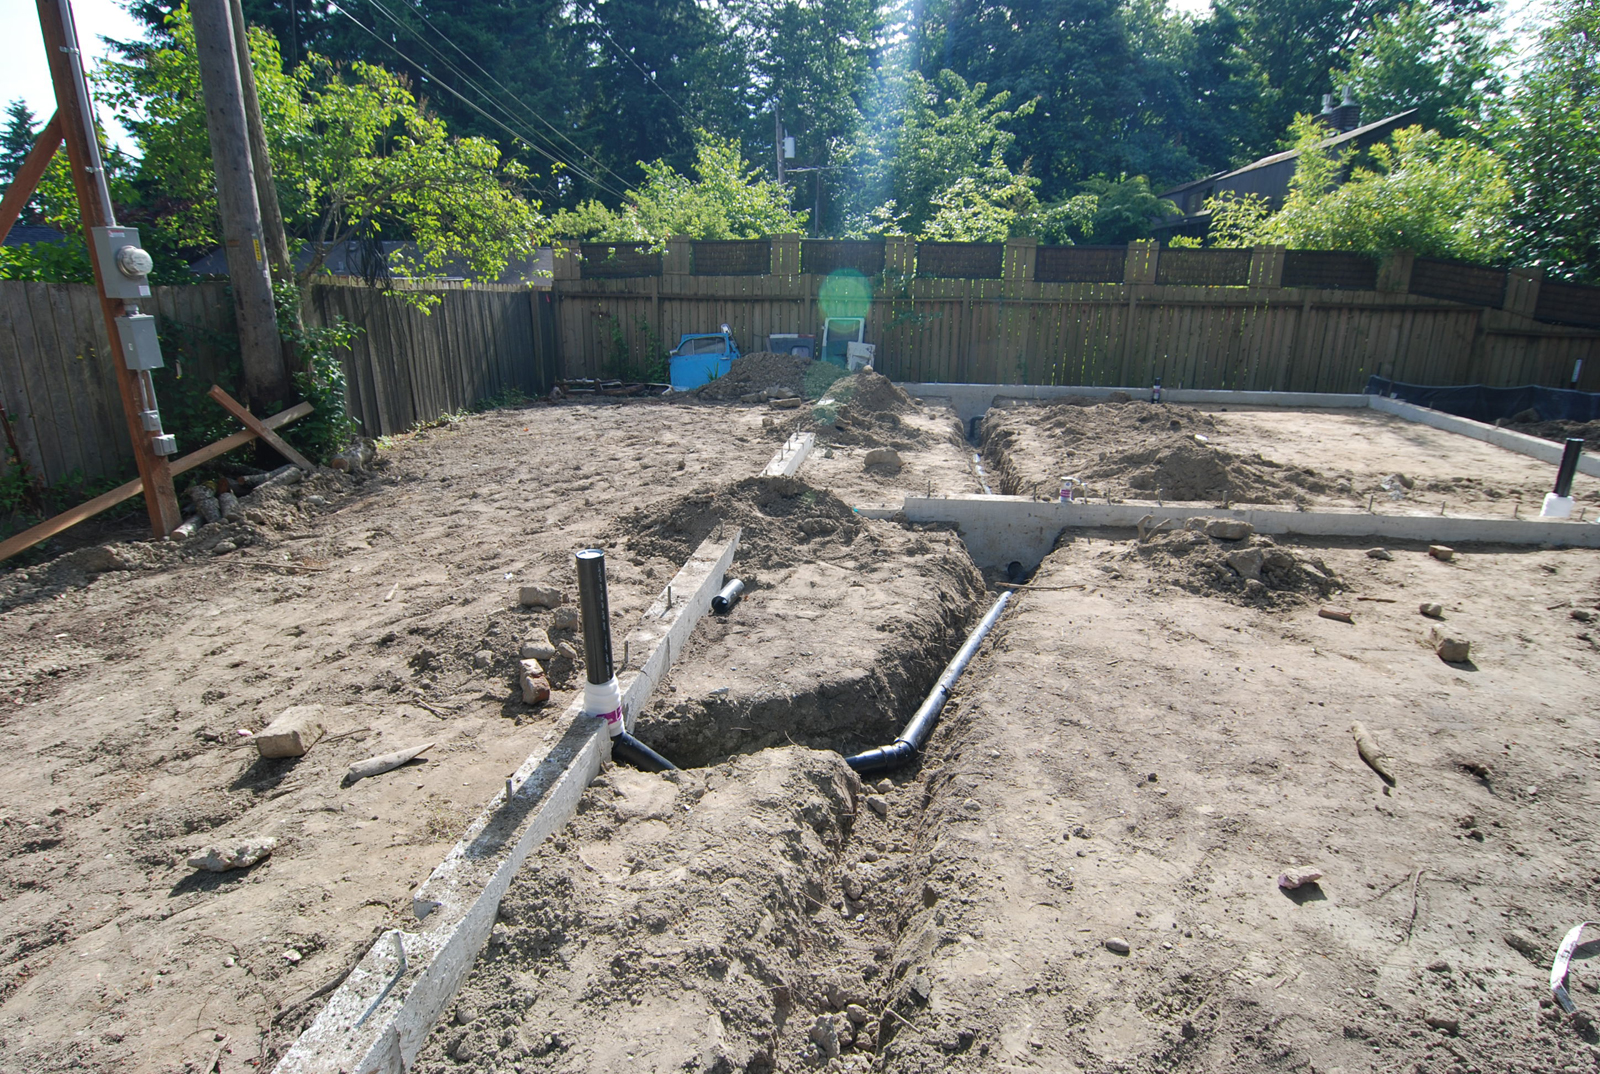
We mentioned it in our last post, but it’s worth repeating. Our building volume is tight. Tight to setbacks, tight to the height restrictions. We’re working with very small margins of error for the volume of this house. Precision is critical. We couldn’t risk assumptions on where the edges and datum points of the house were falling. To cover our bases, we brought our surveyor out to confirm the invisible box the CSH had to fit within.
10. Inspections, inspections.
When it comes time for work to be inspected, the request is generally placed the day prior. And it’s likely that as the work is being done, questions arise that need to be discussed with the inspector. We typically contact the inspector assigned to our site first thing in the morning and give a brief heads up on some of these items. The inspector then knows what to expect, and it keeps the meetings focused and efficient.
Cheers from Team BUILD


