[CreativeLIVE San Francisco]
Over the years, commercial projects have become increasingly important to our workload at BUILD. More than ever, our expertise has positioned us to take on various scales of commercial projects, and lately about a third of what we do at BUILD focuses on them. The range includes tenant improvements, start-up offices, restaurants, multi-family developments, and commercial feasibility studies. We’ve done enough projects of this nature now that we’ve crafted a consistent routine and a proven design process. And when we find something that works, we prefer to share what we’ve learned rather than keep it secret. So today’s post is a 10-point guide to our design process for commercial work.
STEP 1. INITIAL MEETING, PROPOSAL & WORKPLAN
The main objective of the initial meeting with potential clients is to make sure we’re a good fit for one another. New clients are typically familiar with BUILD’s work through the website and blog, and there’s often the benefit of a personal referral or previous interaction. Assuming we all find the project feasible, our personalities meld, and our methodology fits the client’s goals, we’re off to the races.
If an existing building is involved, the sooner we can view the structure in-depth, the better. This allows us to evaluate the possibility of renovating an existing space before we even generate an agreement. And if the building is in decent condition — has good bones, or at least a usable foundation (and solid general structure) — we can look at various levels of remodel scenarios in the Schematic Design phase.
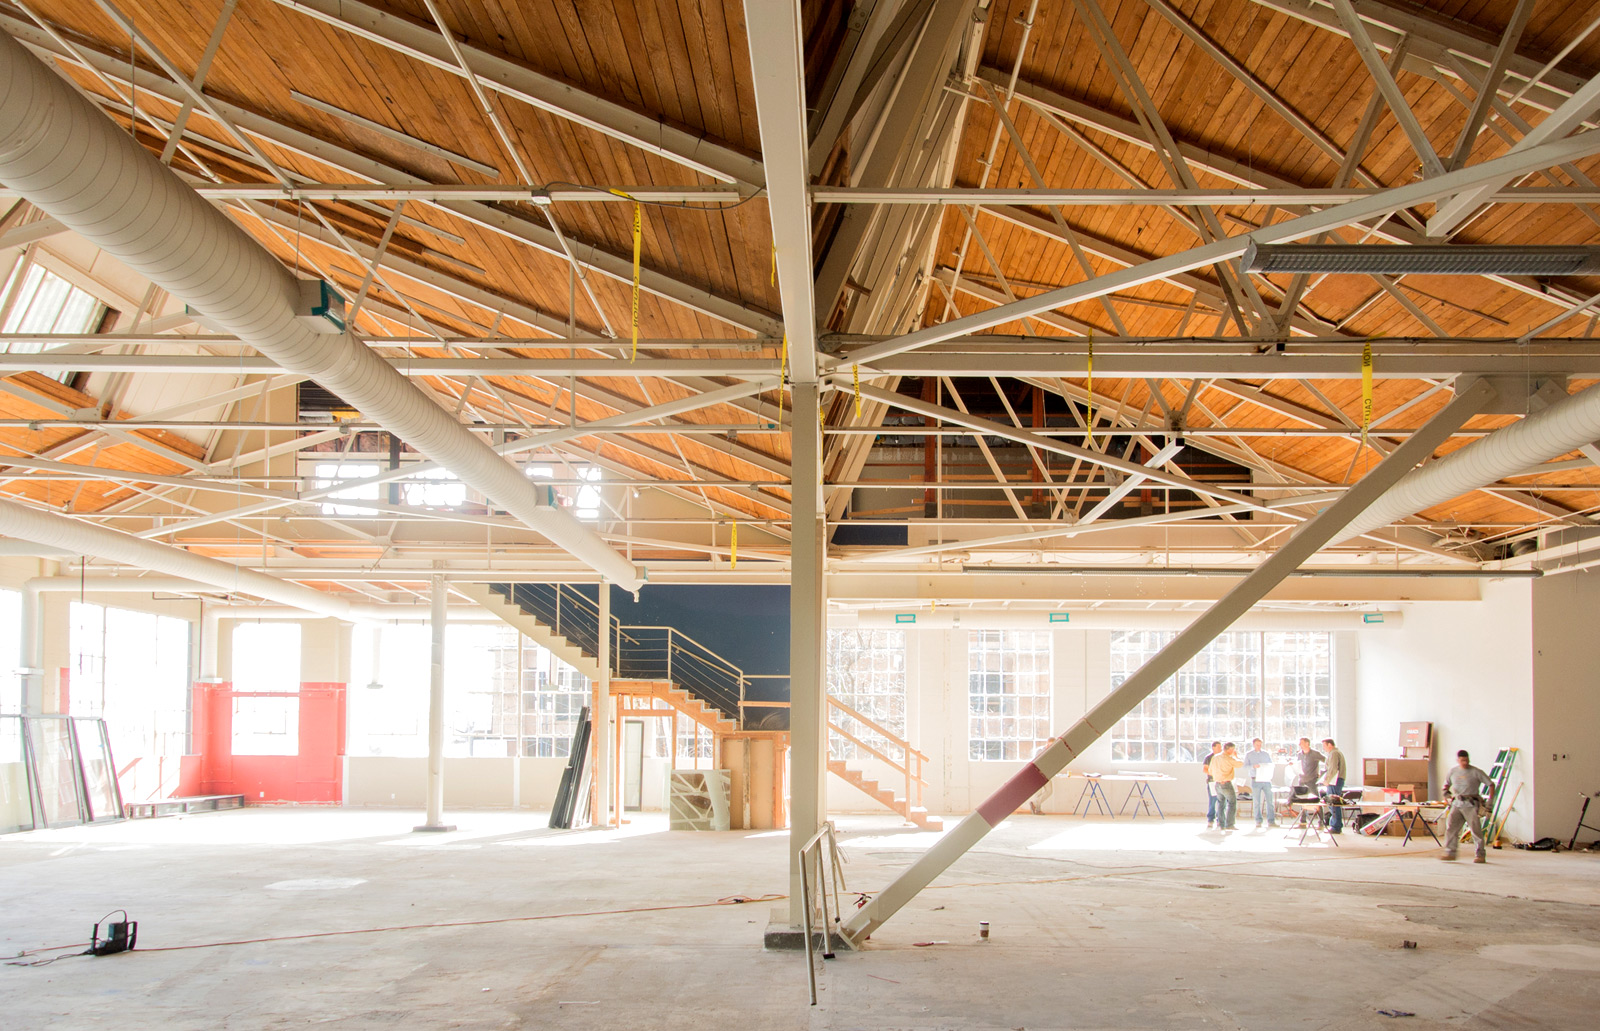
[CreativeLIVE San Francisco prior to tenant improvement]
Assuming the above items check out, BUILD writes up an agreement so that each party knows the responsibilities and milestones and related deliverables involved to achieve the result. The document is short and understandable but still covers the legalities for the parties involved. In addition, a work-plan describing how many hours we’ll be spending on the different phases of the project will accompany the agreement.
It’s worth noting that requests to produce a conceptual design of what the project could look like before we even get a proposal in place is generally something we won’t do. What the project will look like results from the design process (outlined below); we just don’t know enough until we’ve gone through our proven process of what the project is doing. We simply can’t in good conscience guess what it will look like at this stage.
STEP 2. INFORMATION GATHERING & DOCUMENTATION
BUILD gathers everything available online and directly at the offices of city, county, and state agencies. This may include zoning maps, past permits on file, parcel data, side sewer cards, liens on the property, past permit violations, etc. In addition to information about the specific site, information is also collected regarding the pre-permit and permit submittal requirements.
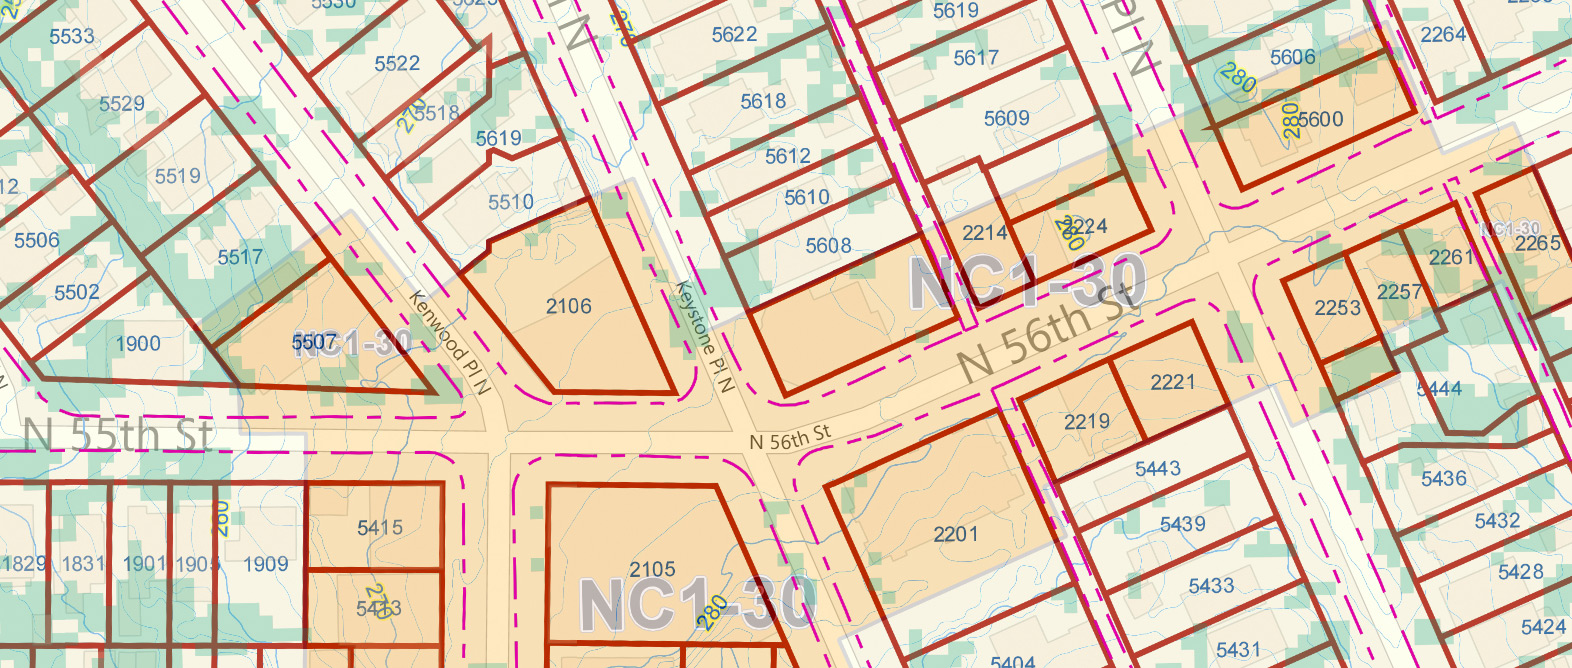
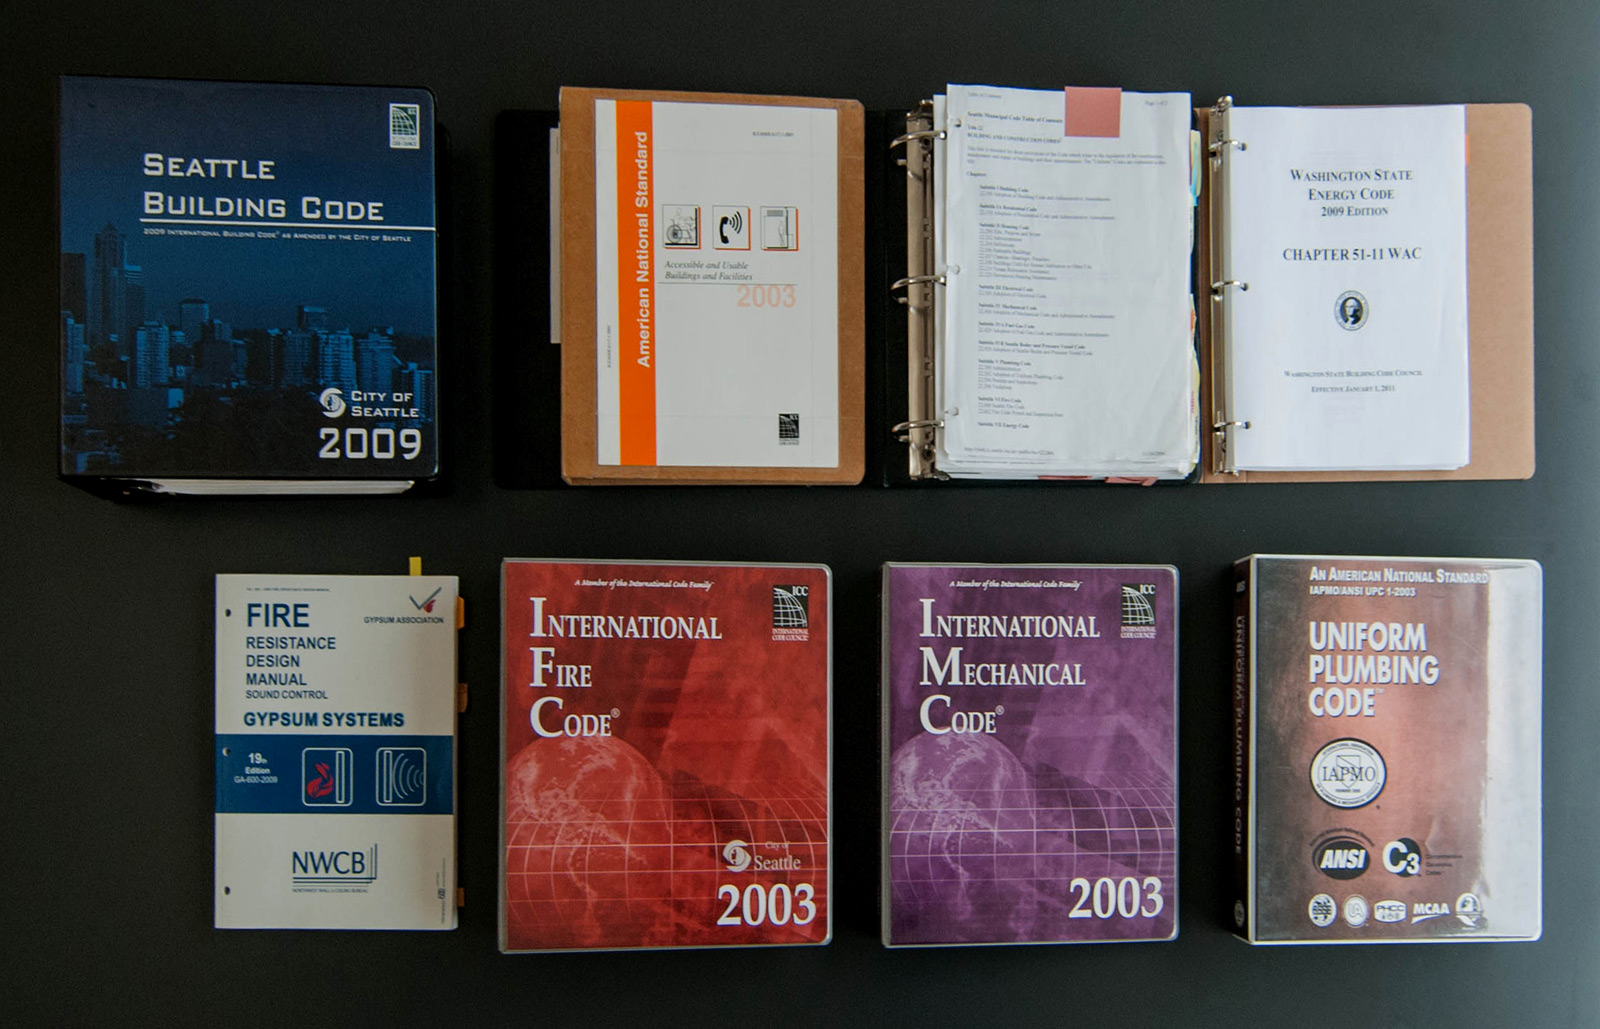
National and municipal documents are reviewed for zoning and building codes and we compile a list of applicable design factors, variables and questions for the building department.
If there is an existing structure, BUILD generates a set of as-built documents; measurements are taken on site and a drawing set is compiled on everything known about the physical project. These include basic floor plans and elevations. If relevant, a surveyor is contacted to perform an official survey of the site, which is included in the as-built drawing set. A copy of the set is given to the owner, as these documents are an important part of the building/site records.
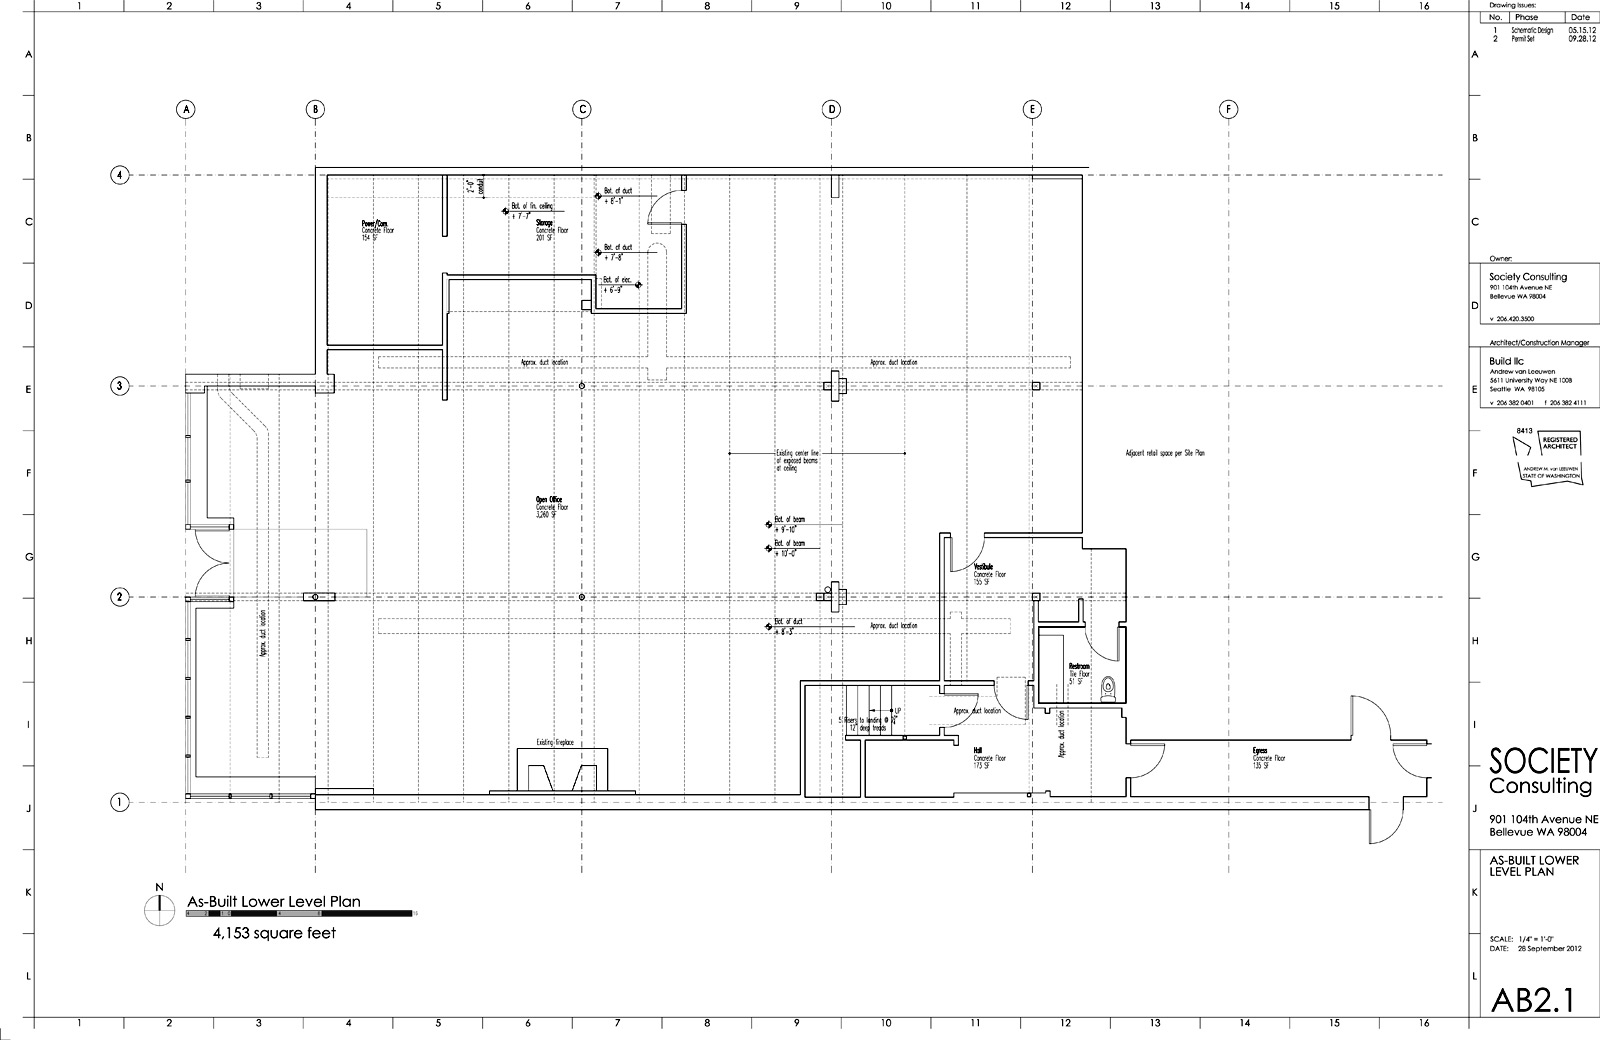
[Society Consulting as-built plan]
The project goals are reviewed and initially focus on program, budget, timeline and general aesthetics. It’s not unusual for clients to bring in sketches, doodles, and photos or magazine clippings of ideas they’d like us to consider for the design. We also have a series of questions we work through with the client in a format that suits each client to uncover anything else that may otherwise go undistinguished.
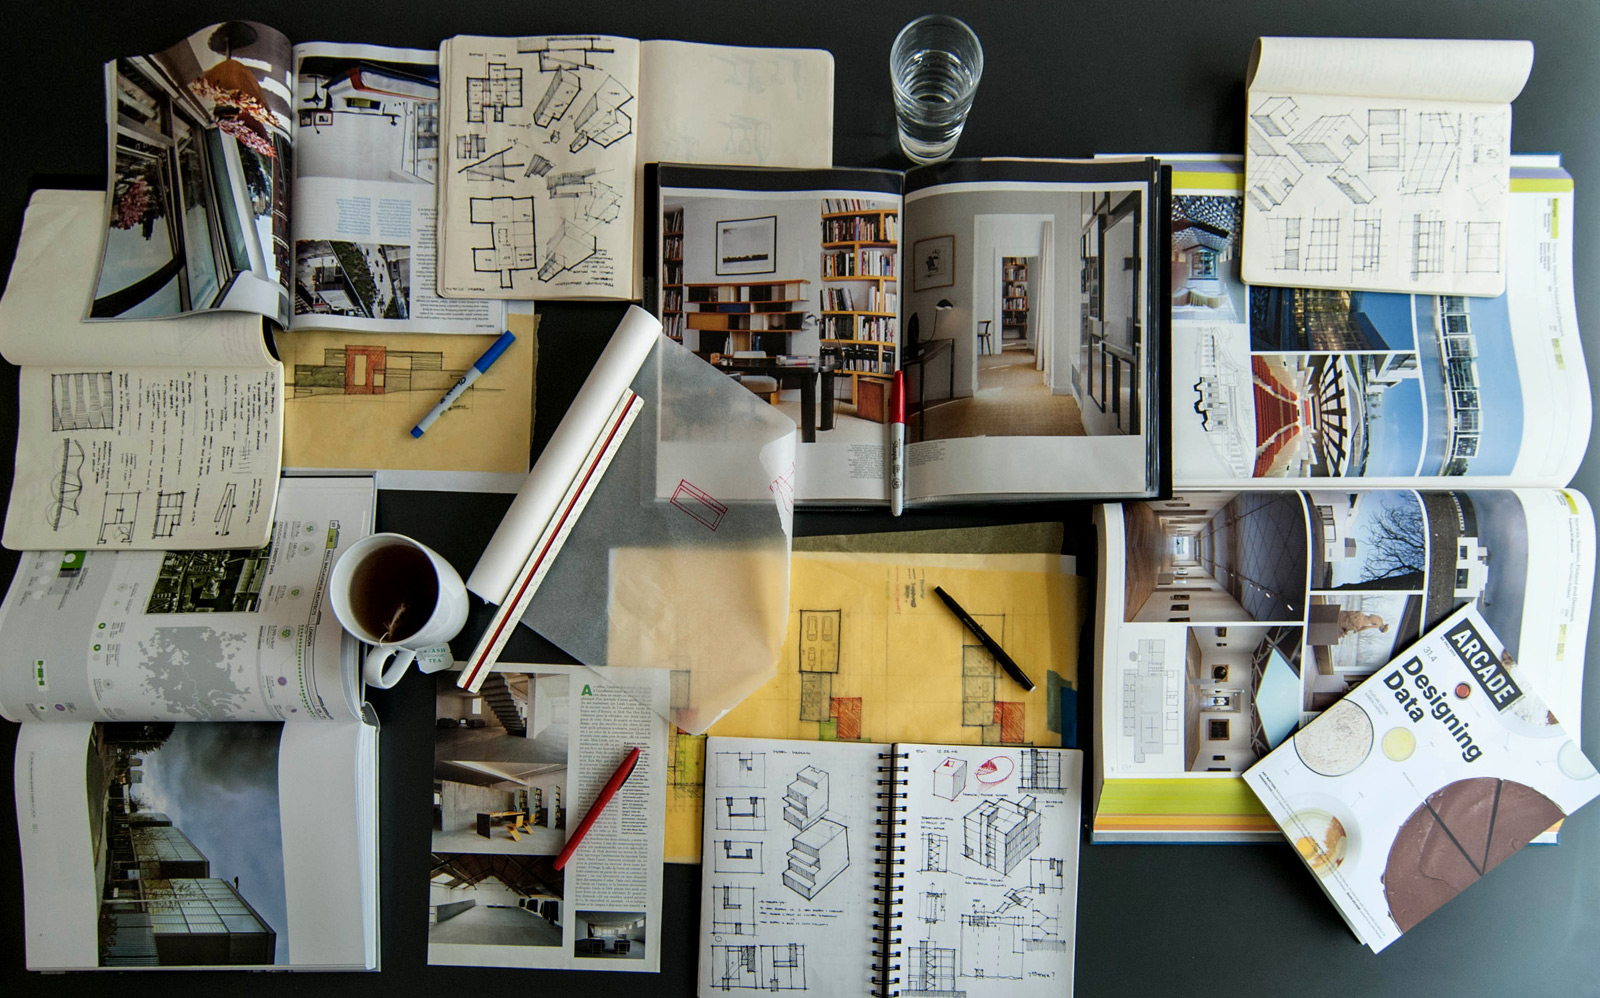
3. CONFIRMATION, INTERPRETATION & TRANSLATION
Once we’ve compiled the list of applicable questions regarding the building and zoning codes, a meeting is set with the building department. This meeting confirms our findings, verifies our interpretation of the codes, provides answers to our questions, and provides us with a project contact within the building department for ongoing coordination (having a contact, particularly a regulatory official who is an accountable team member, is very important).
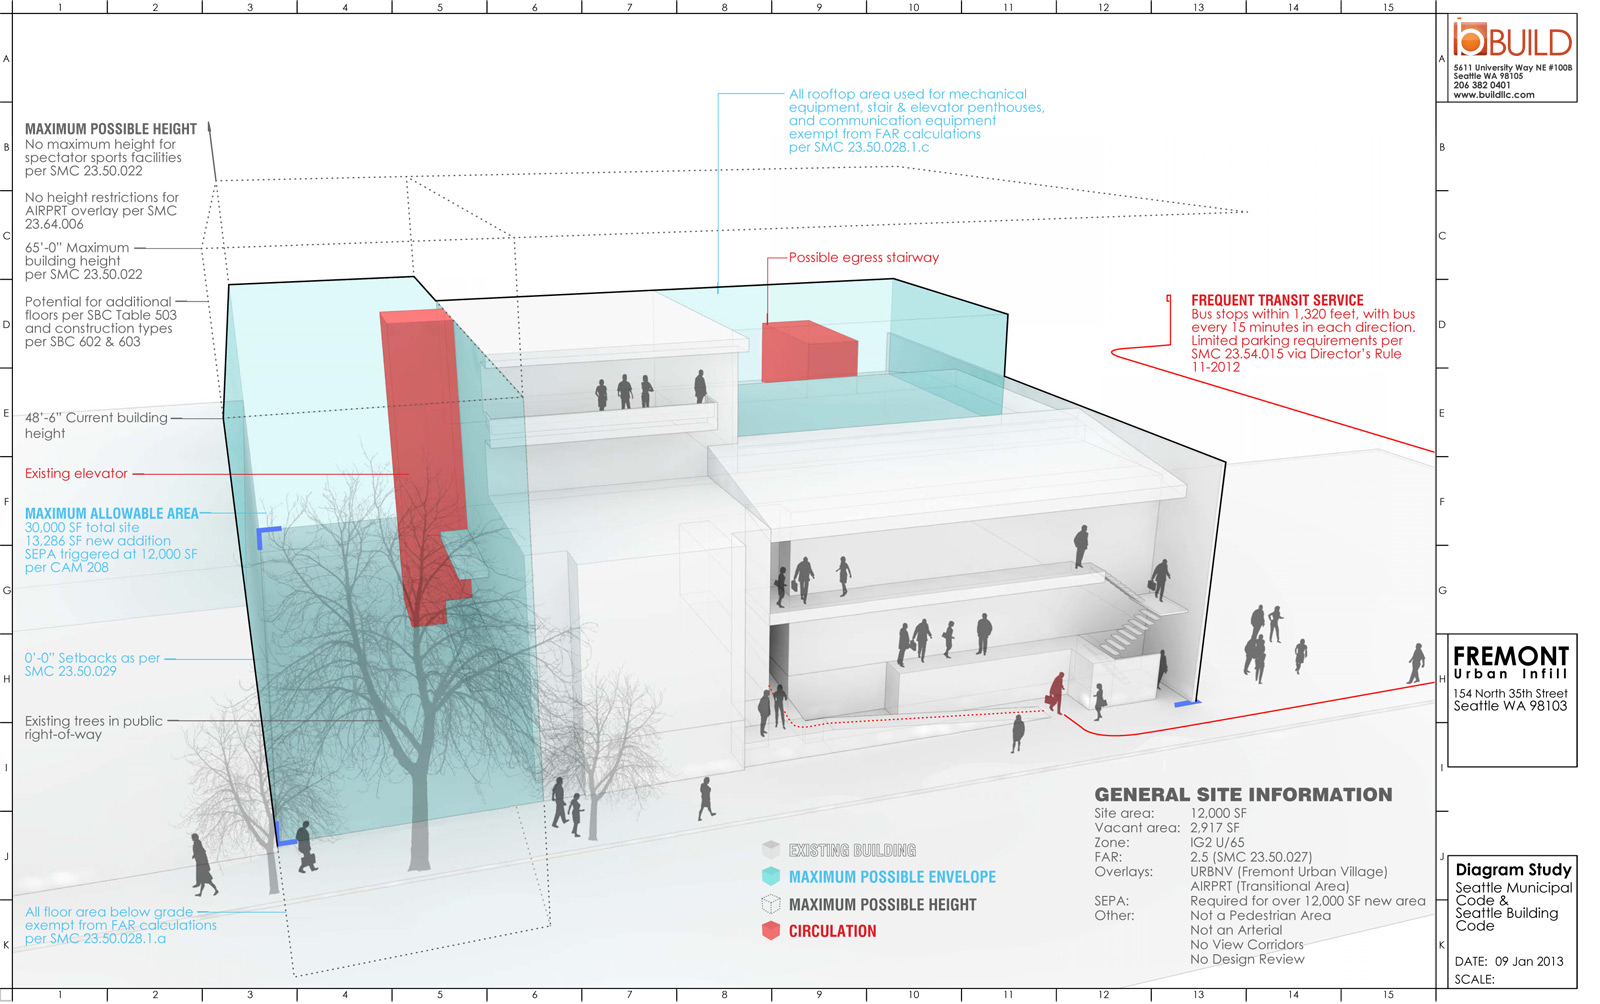
[Fremont Urban Infill code study diagram]
With our findings confirmed, our code interpretation verified, and our questions answered, we can begin to translate the project goals and the zoning & building codes into physical ideas about how the building is functioning (or what the building is doing as we refer to it).
4. DIAGRAMMING
A good diagram should encapsulate the fundamentals of the program along with the codes in a clear visual format. This stage is where all of the separate pieces of information are cohesively integrated. The result is a graphic representation of how all the design drivers affect the physical form of the project. These drivers include: the various uses (types of functions), the circulation (movement through the building), egress requirements (how to get out if hair is on fire), setbacks to adjacent buildings, height limits and so on. A successful set of diagrams is a critical tool in communicating the project considerations to the client, the building department, and the project team. It’s not quite architecture yet, but it’s a vital step, and it gets us close. The diagrams will continue to serve as a reference throughout the entire project.
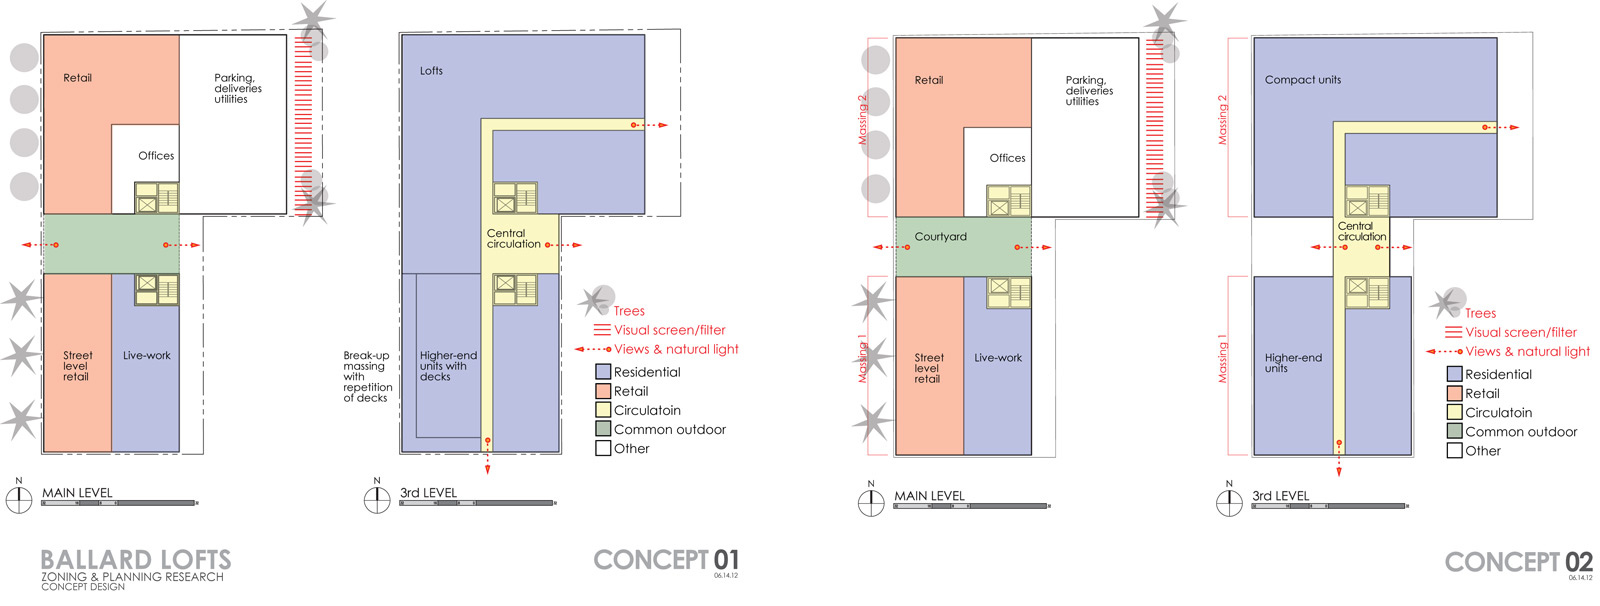
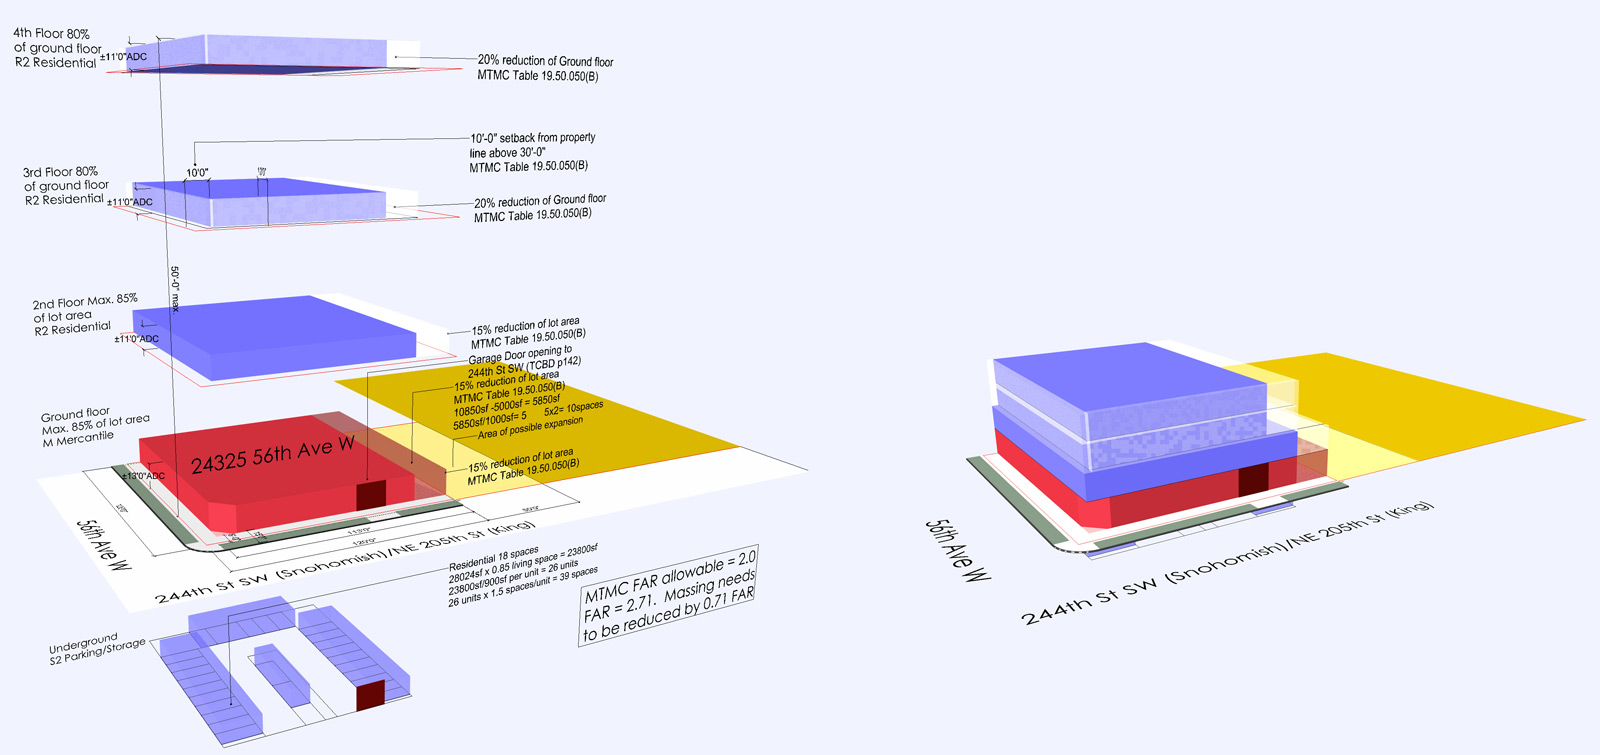
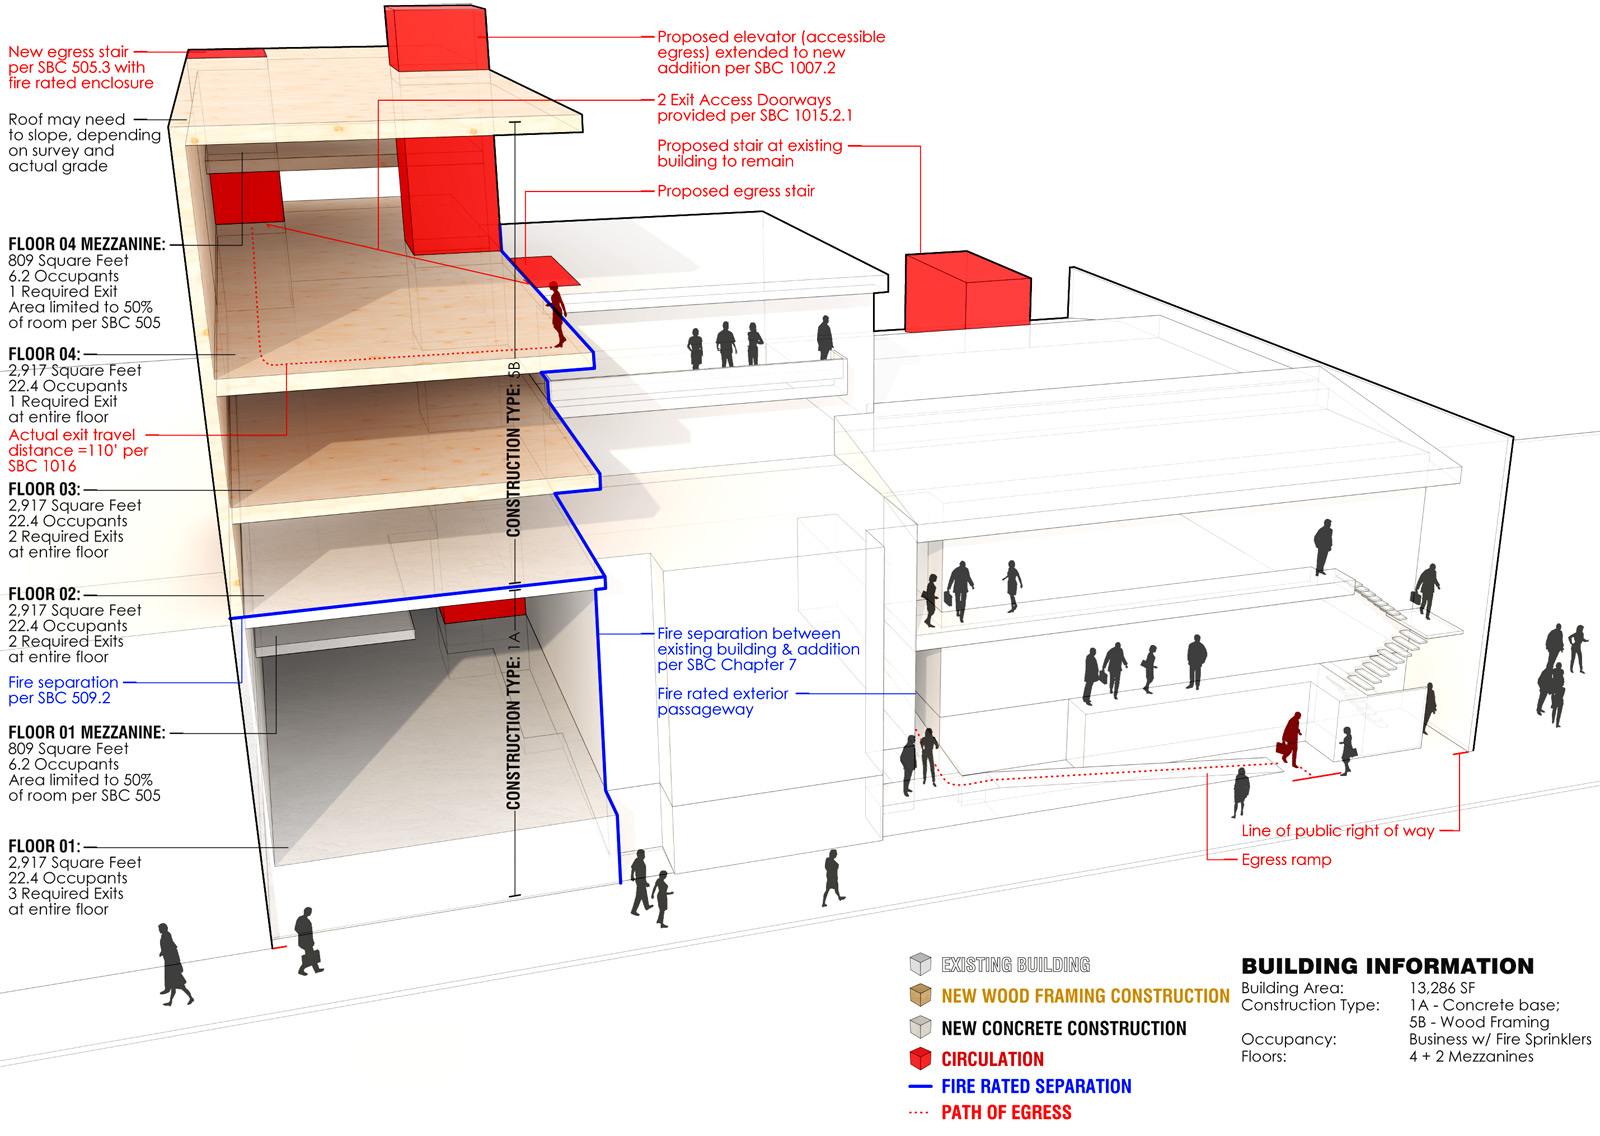
[Fremont Urban Infill diagram]
5. SCHEMATIC DESIGN & FEASIBILITY
While the diagramming phase documents the function and constraints of the project, it simultaneously creates an opening for different solutions and 2 or 3 of these solutions are taken to the next level of schematic design. Going from diagram to schematics, BUILD also incorporates design concepts and possible narratives into the architecture. An interesting history of the site or building makes for powerful narrative within the design and if there’s a chance to weave it into the design concept, we’ll explore it. The schematic design phase also introduces the experiential and lifestyle components into the program such as large windows for generous amounts of natural light or common areas for social interaction.
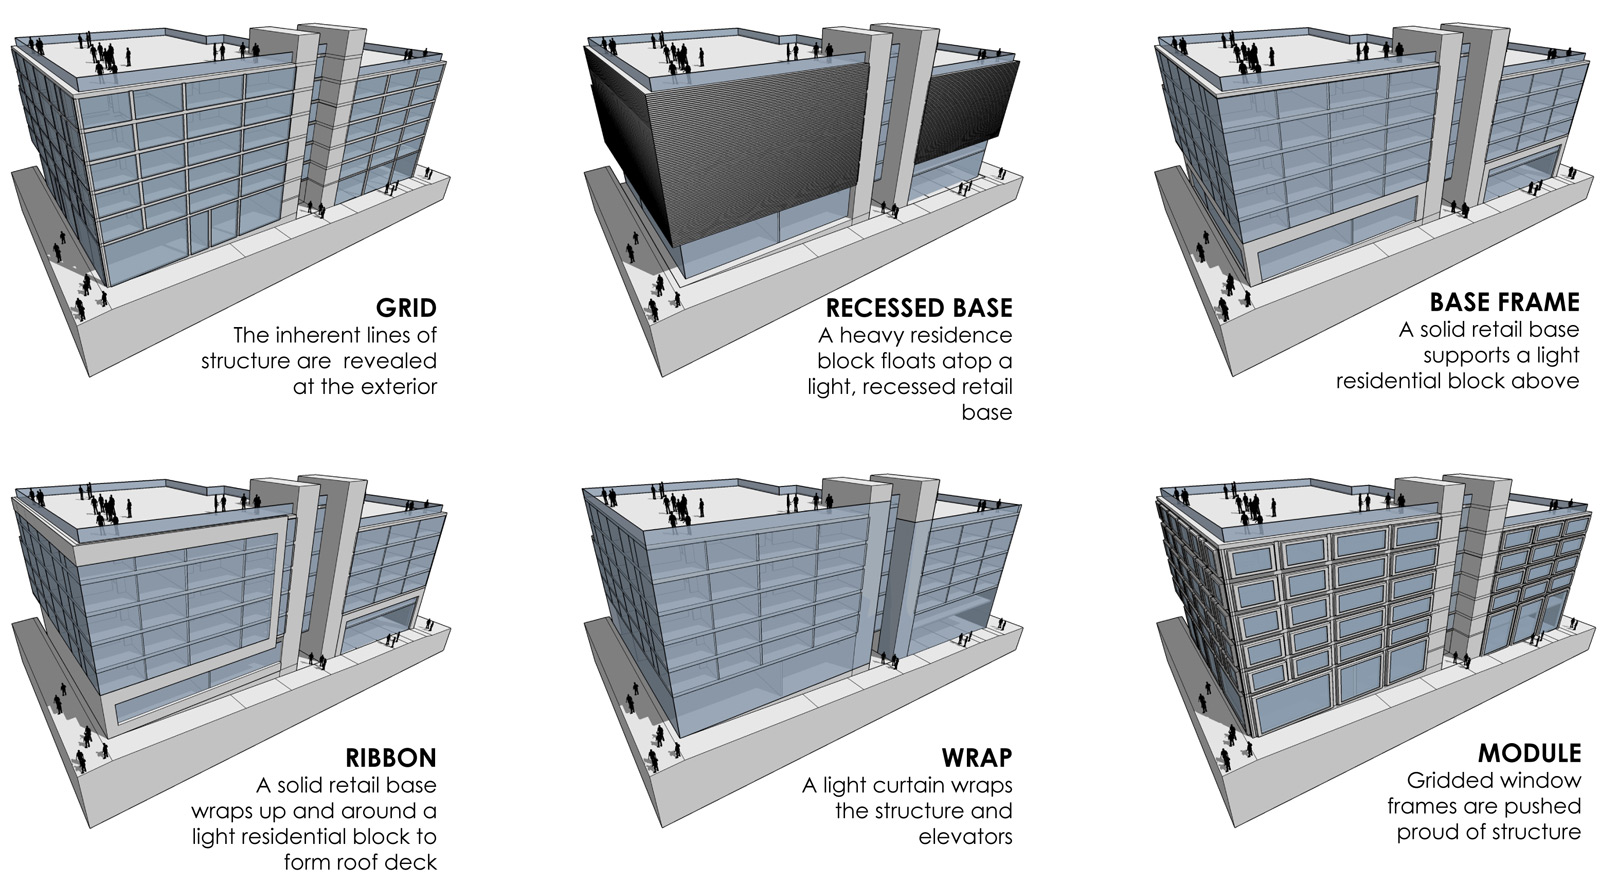

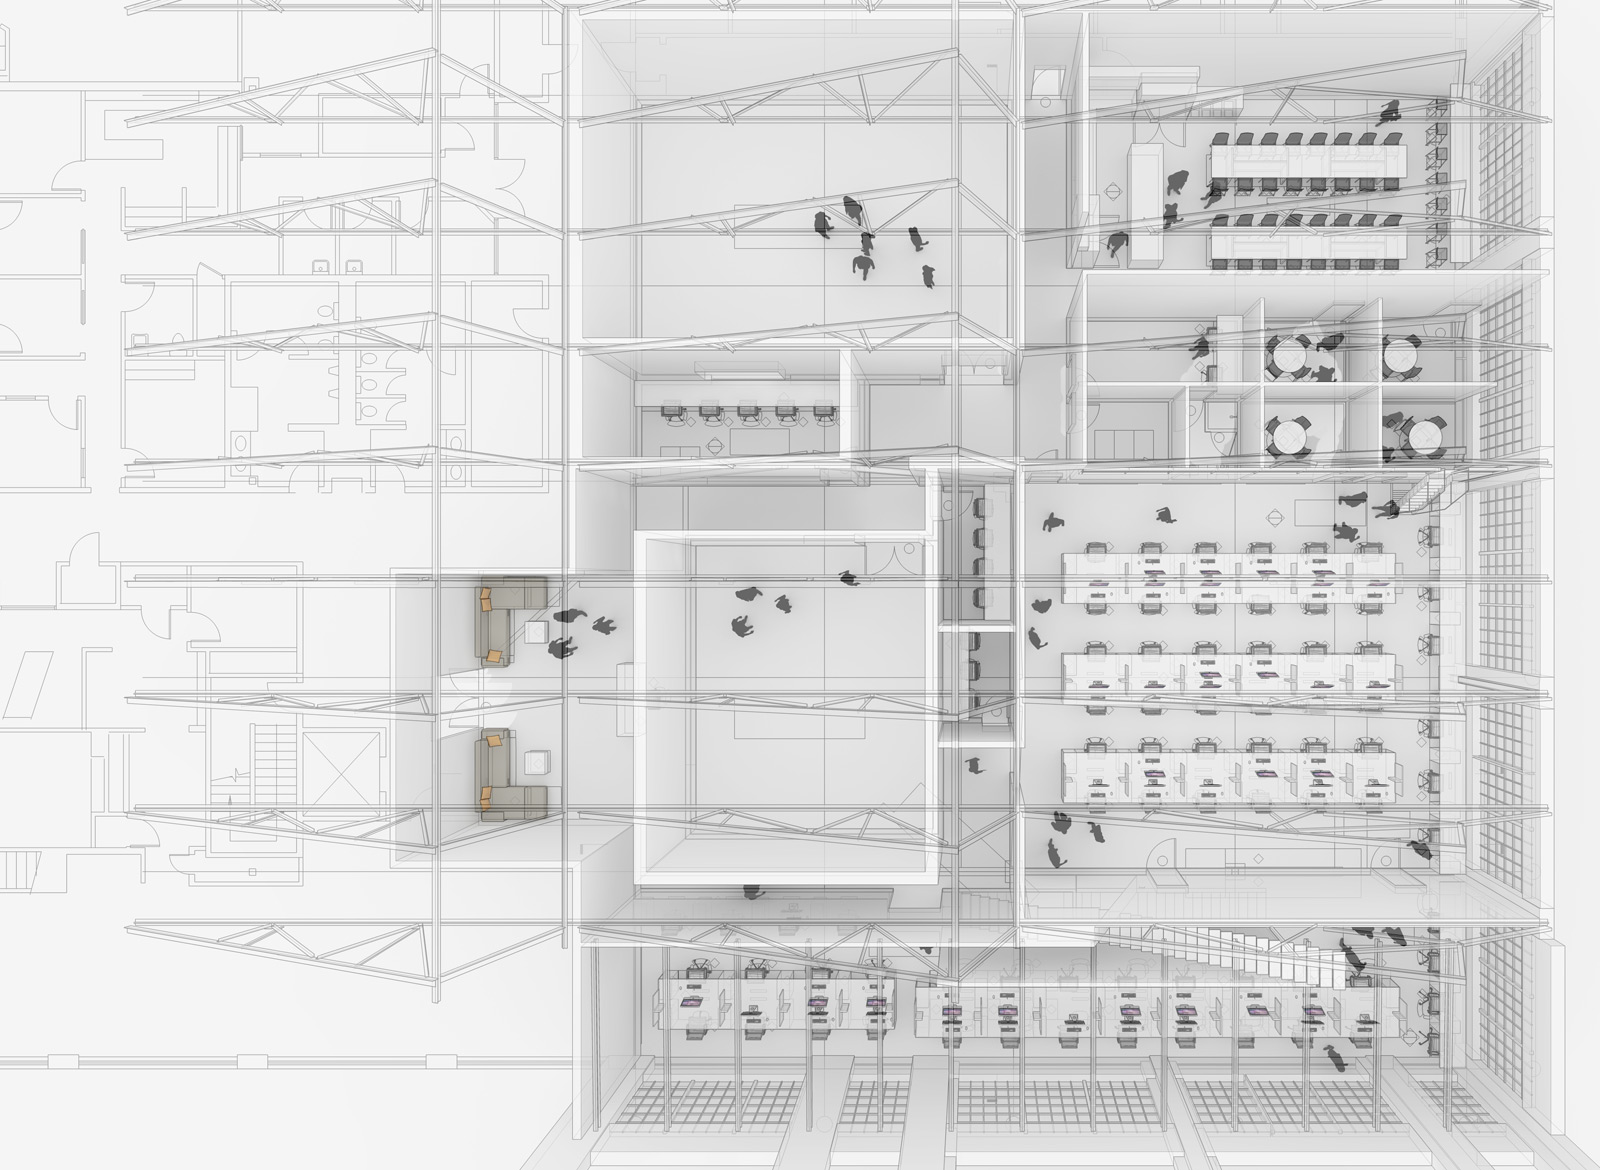
Basic floor plans are generated to show adjacencies of different functions, basic dimensions, door & window locations, and fundamental ergonomics. If it’s a new building, blocked out elevations are drawn to illustrate the building envelope, height limits and options for creating some visual interest with the building form (what we architect-y types call “articulation of the massing”). If it’s an existing space, interior elevations and sections are drawn to represent scale and the general design organization.
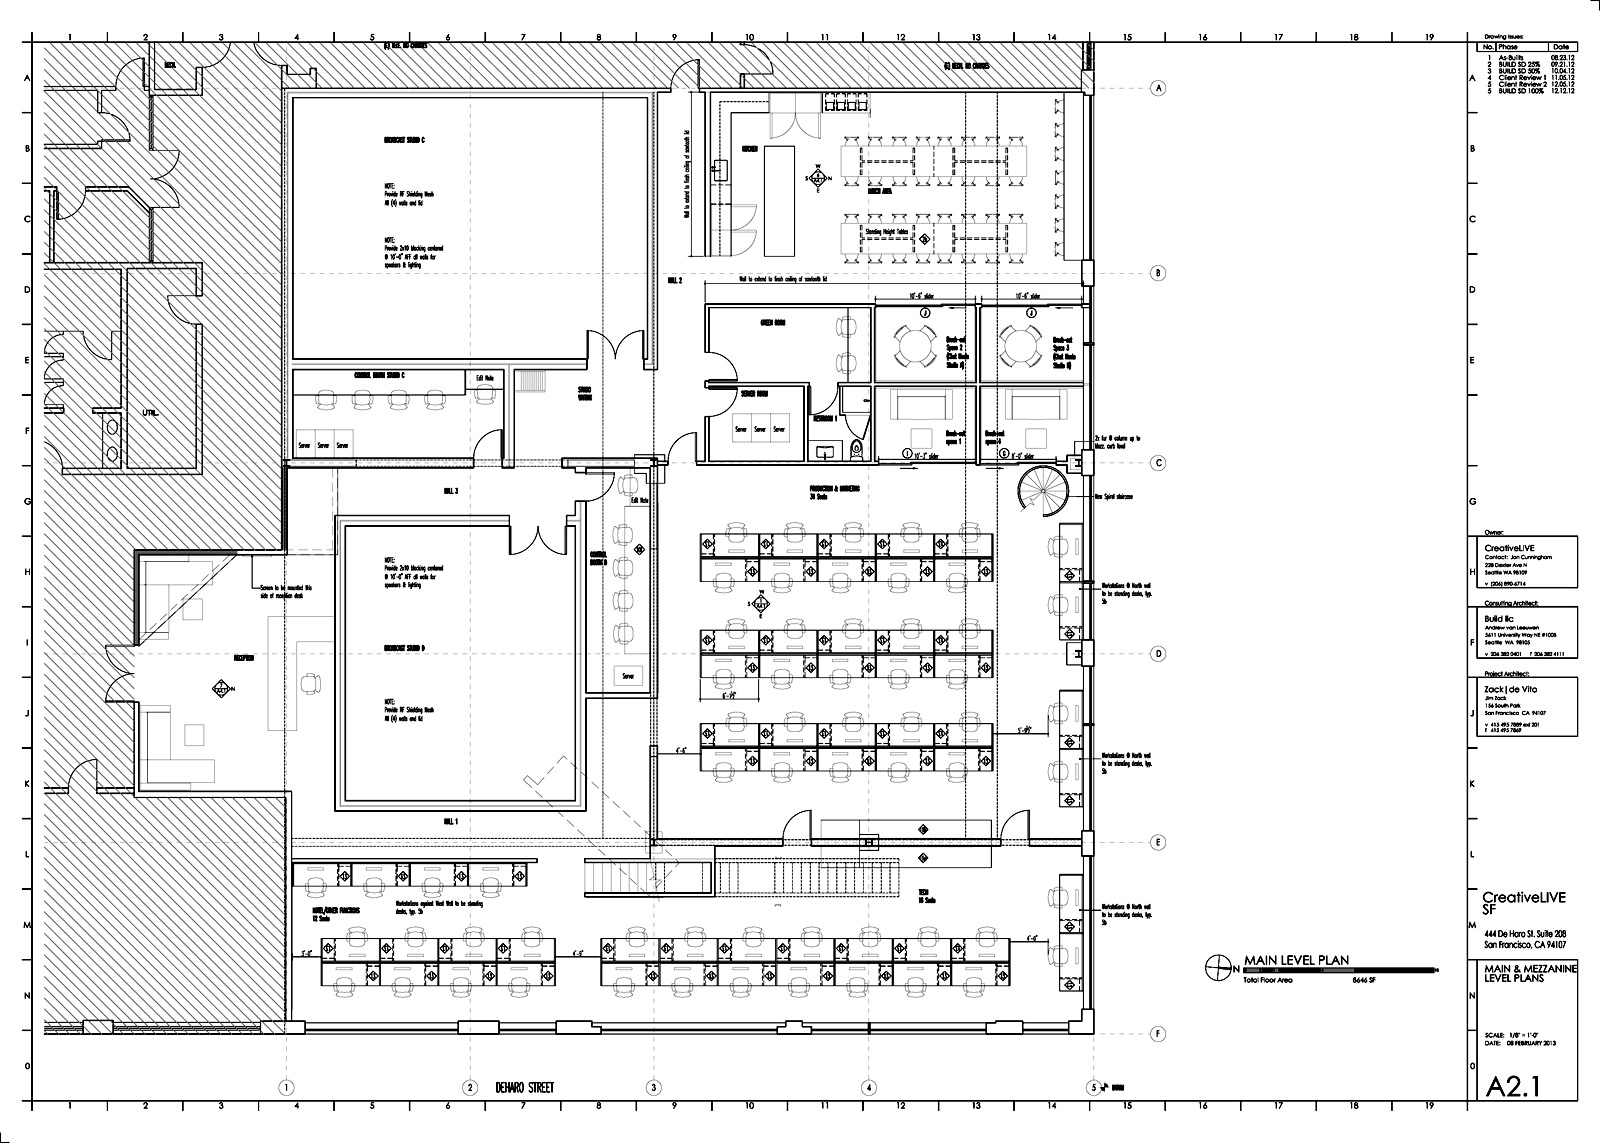
[CreativeLIVE San Francisco floor plan]
Developing a target budget early in the project is imperative; BUILD takes the opportunity to sharpen our pencils and figure out where the construction costs are heading. The sooner we can address the budget, the more effective our time can be spent from that point forward. A line by line target budget is produced to align the design schemes with the construction costs. Since we are typically building (or fresh off completing a commercial project), our numbers remain up-to-date and realistic. We can use the design and budget as two dials with the client to find what can be achieved and how the project might be fine-tuned to balance goals and budget, all before much drawing or attachment to a particular design has taken hold.
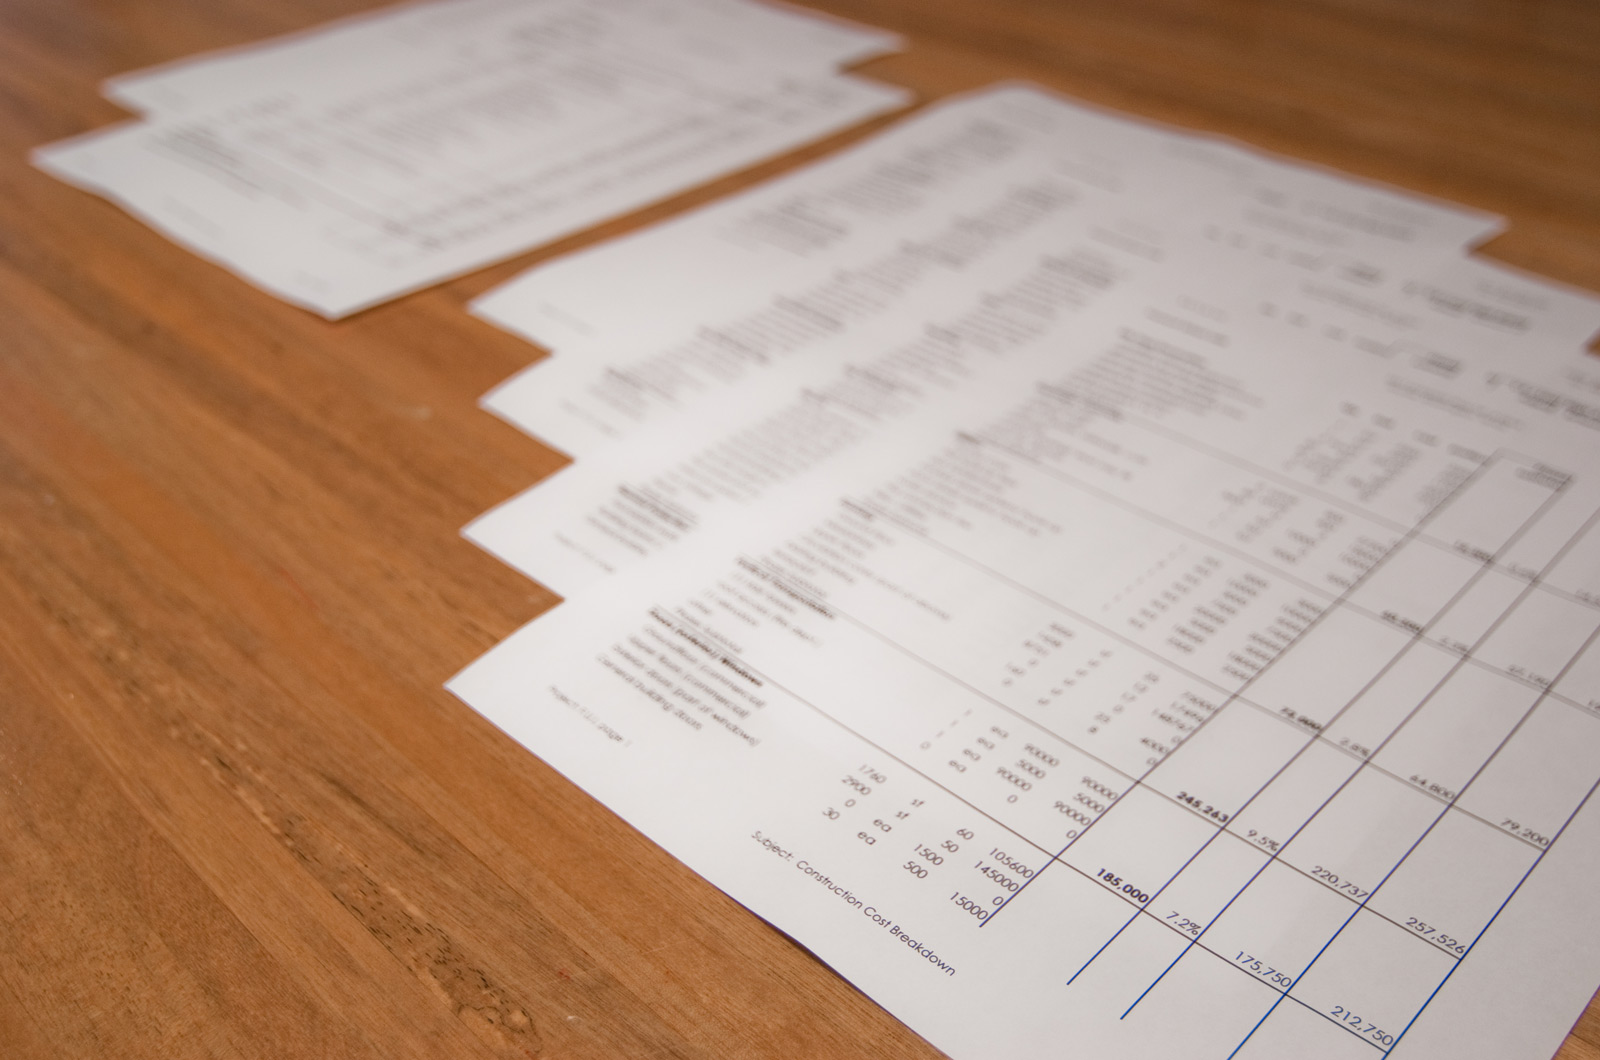
There are typically about two meetings with the client(s) in this phase and the information described above empowers them to make effective decisions about the overall design strategy and schematic options.
6. PRE-SUBMITTALS
The findings from Step 2 may uncover conditions such as Environmental Critical Areas (ECA), special easements, or other covenants/conditions, while the permit procedures may require a Master Use Permit (MUP), environmental reviews, or special design review. Whatever the case may be, tackling these special considerations early in the process clears the runway for submitting the permit in a timely manner. This is when it’s helpful to have that contact at the building department to sort through the intricacies of the pre-permit requirements.
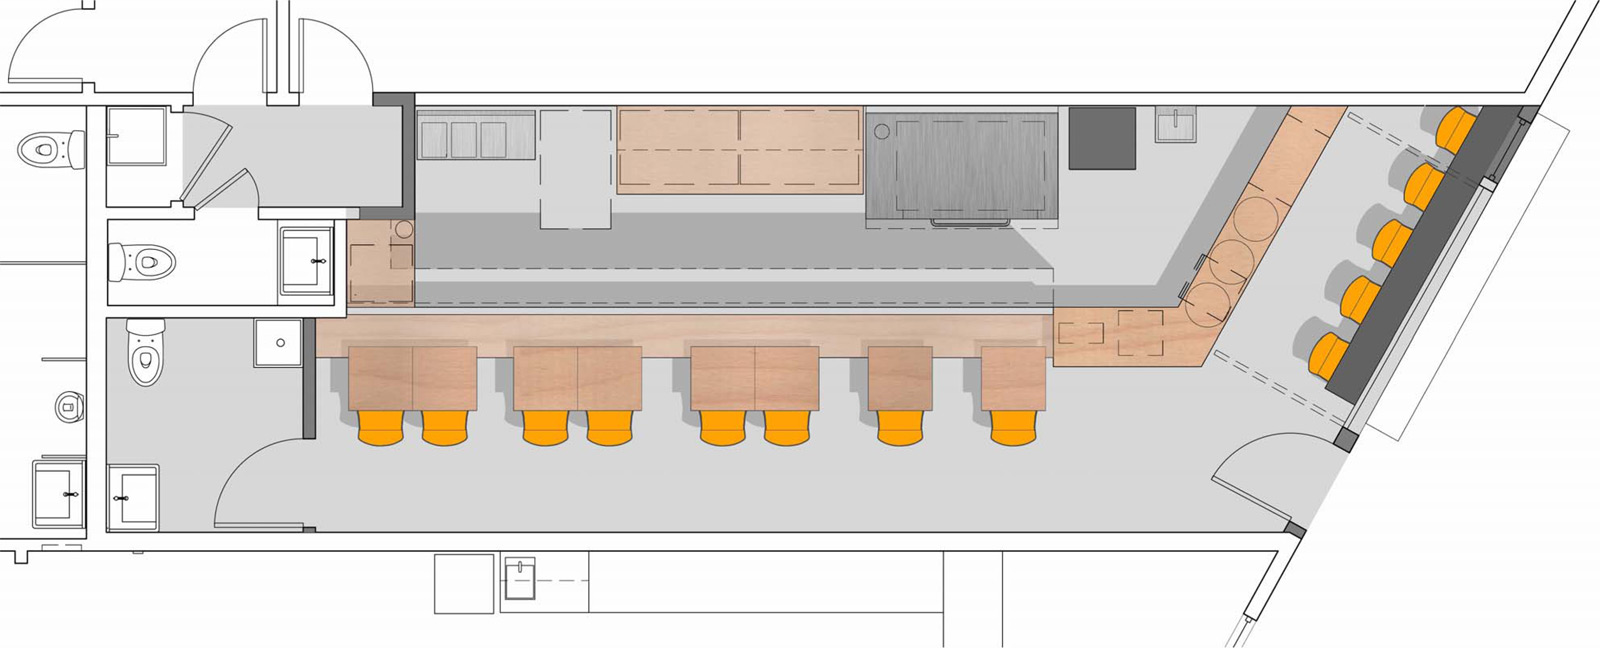
[MKT Restaurant]
Requirements are addressed and/or submitted to the building department and the planners and reviewers can begin their analysis while the architectural design makes forward progress.
7. DESIGN DEVELOPMENT & PERMIT DOCUMENTS
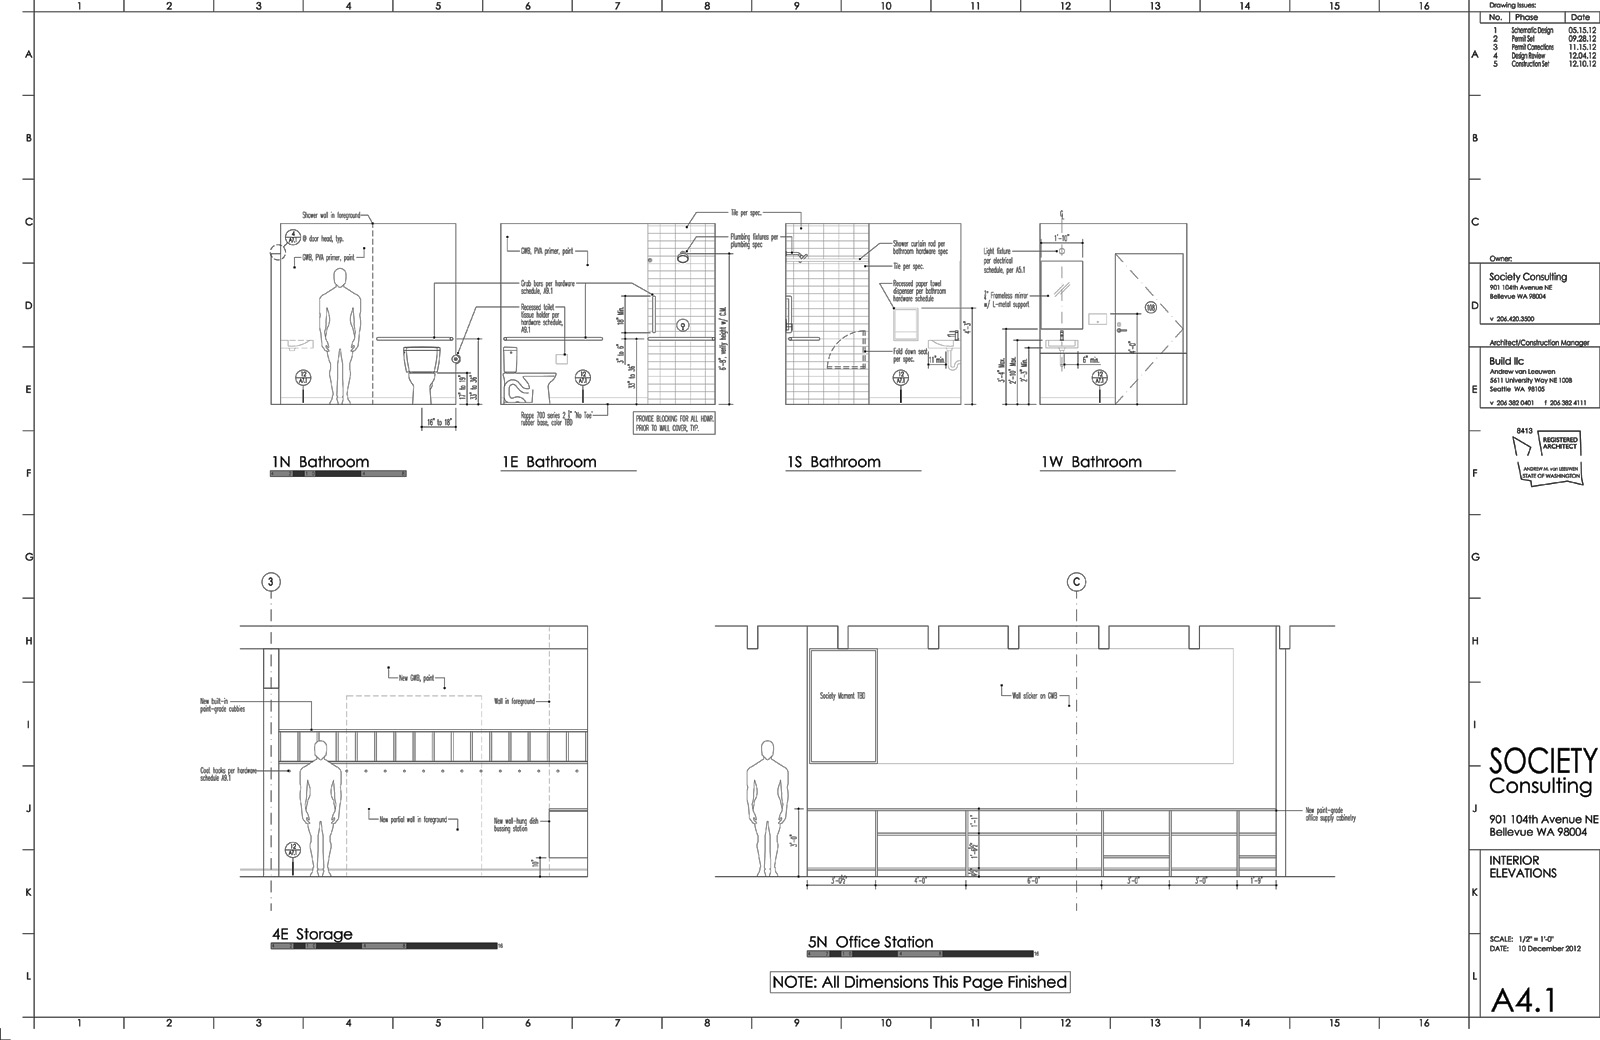
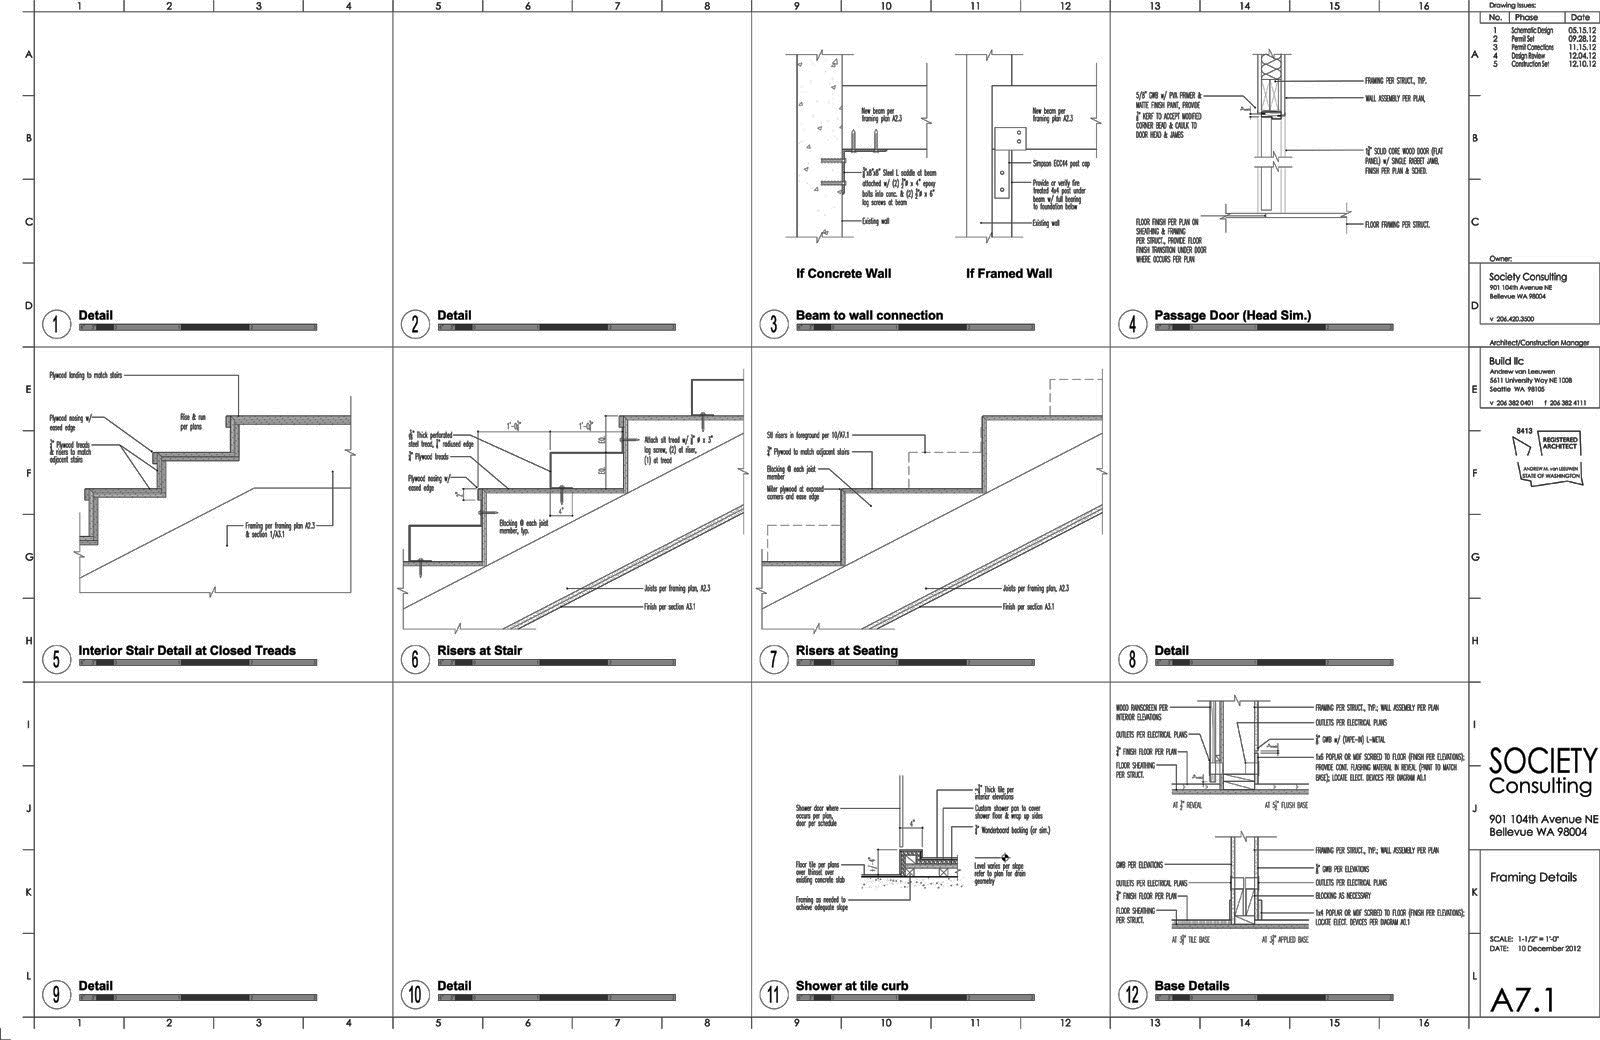
As design decisions continue to be made, BUILD develops the schematic drawings into permit documents. The design becomes more sophisticated, and layers of additional information regarding code requirements, architectural detailing, and assembly methods are incorporated. Interior elevations are further developed to indicate cabinetry, systems, window mullions and finishes. Building and wall sections are blocked out and electrical/lighting plans are developed. Detail sheets are added to the set indicating areas that address life-safety or energy concerns – for any typical set these might include stair/handrail details and wall insulation details.
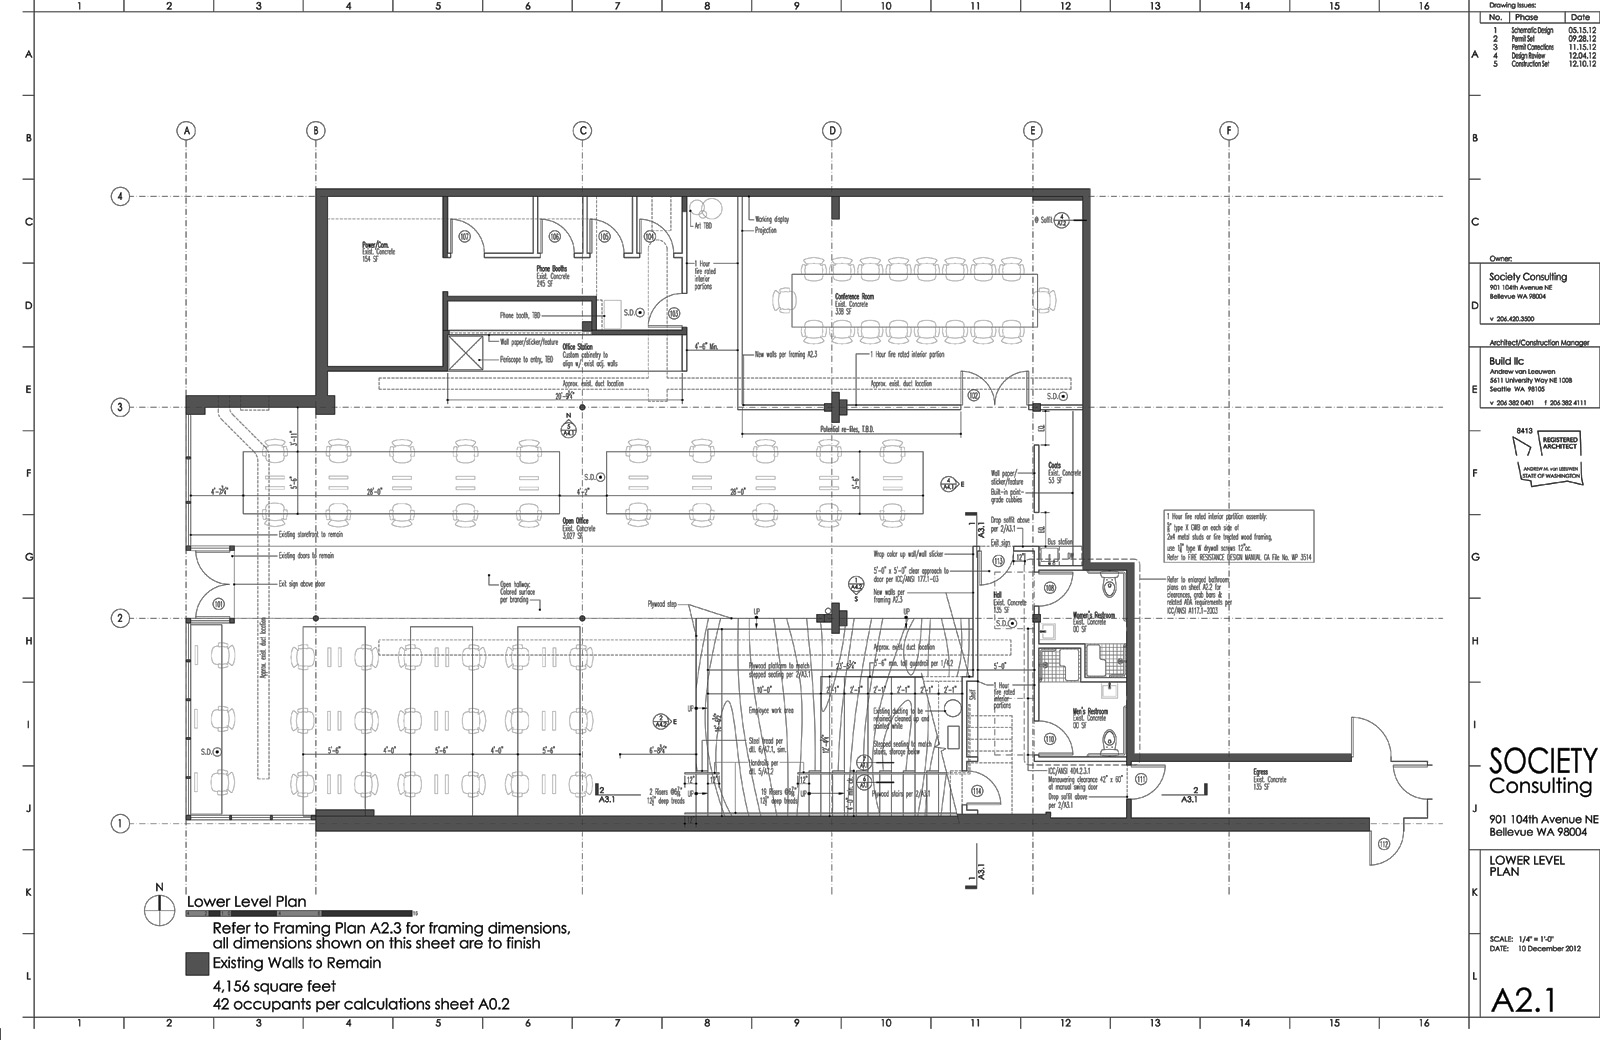
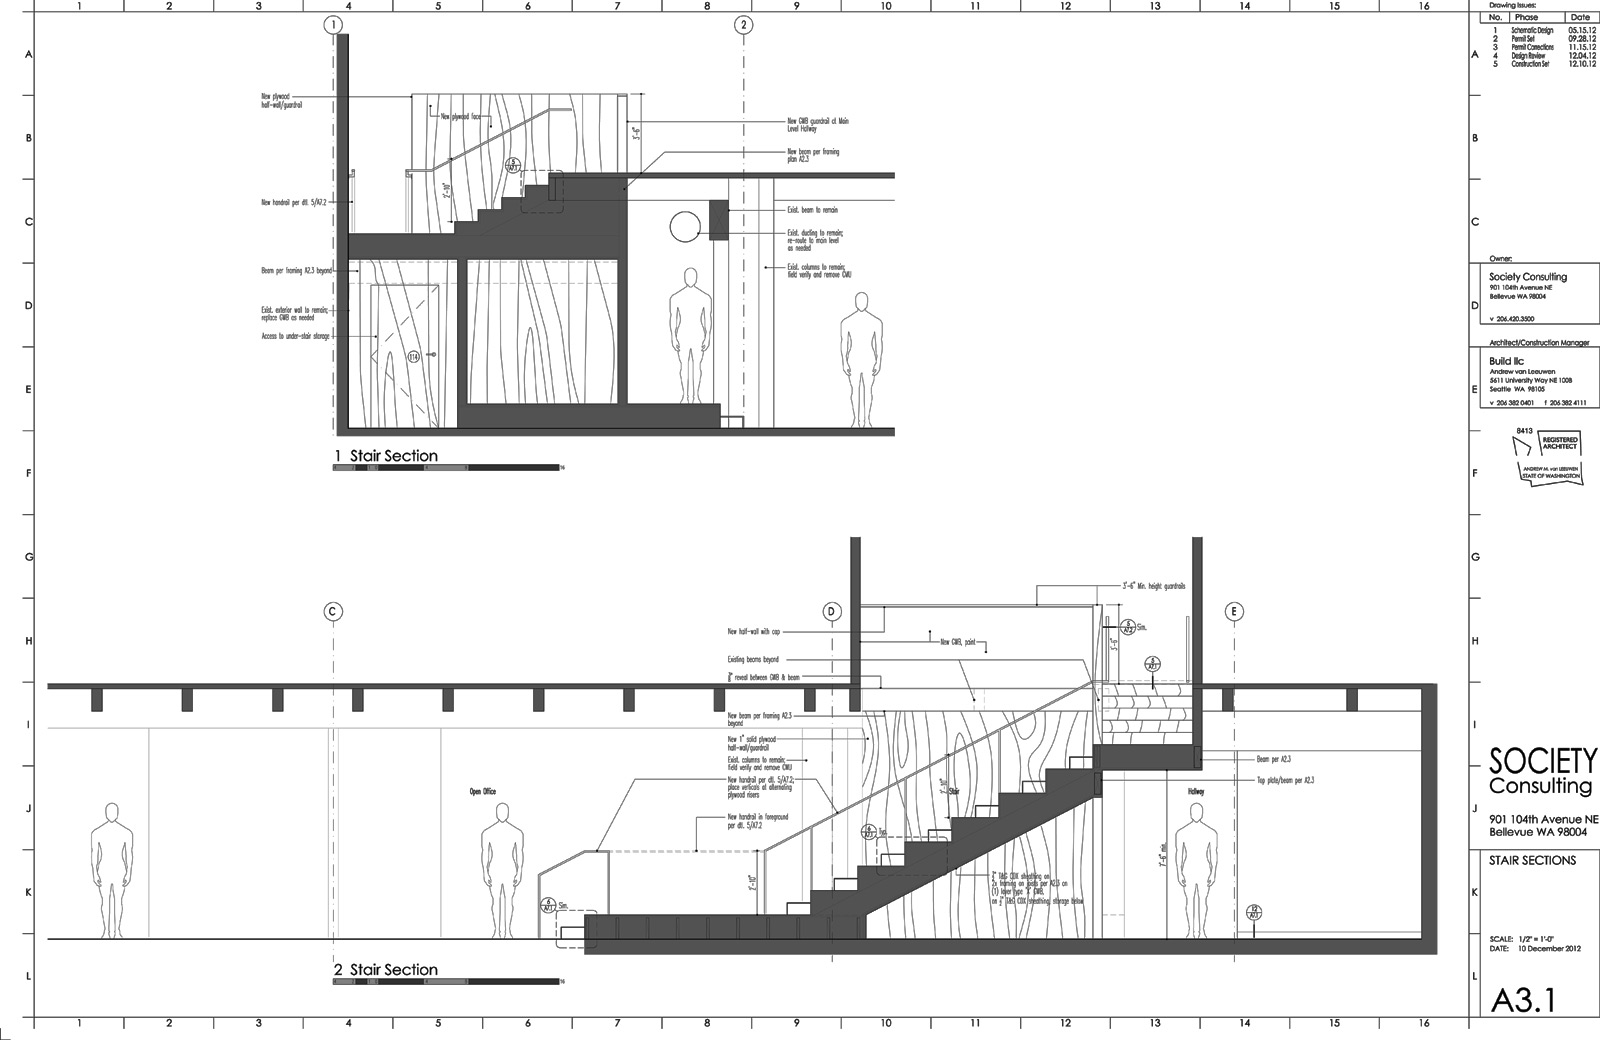
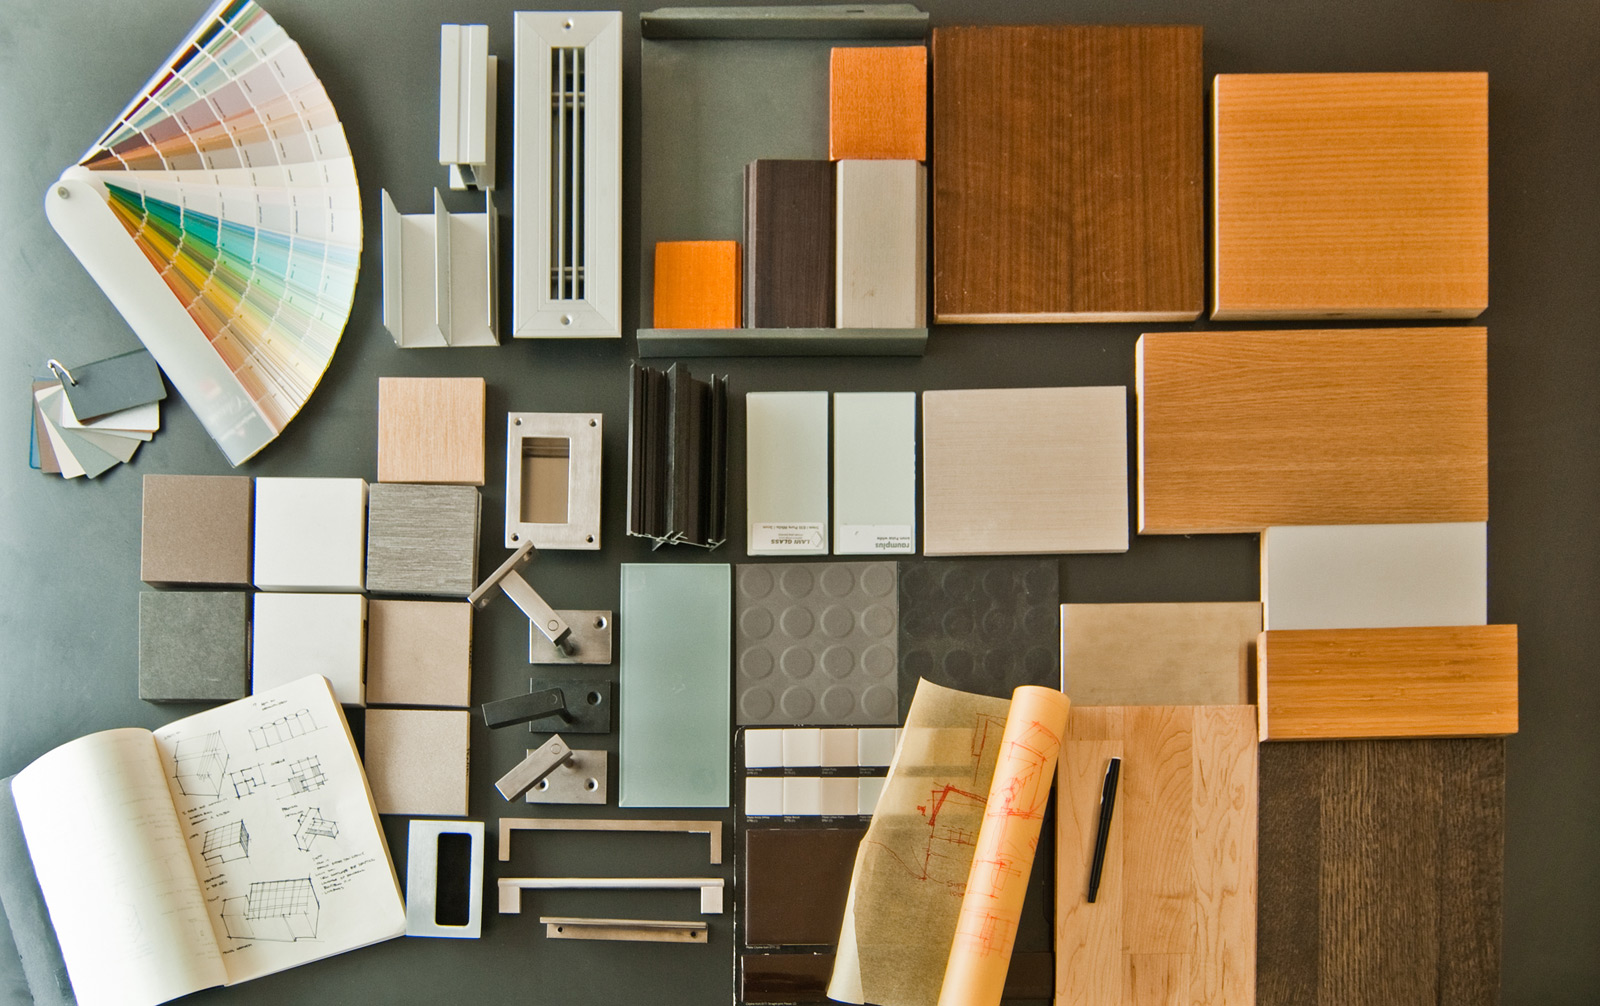
Material palettes are reviewed and final selections are added to the drawings. This often involves a trip down to the SPD cabinet shop to review cabinet options and to kick the tires on the current cabinet project in process.
Depending on project scope, drawings are distributed to consultants (e.g., structural, civil, or mechanical engineers) so they can begin their coordination and have their drawings back in time for permit submittal.
Drawings from the consultants are integrated into the set and the permit submittal set is produced. Forms are filled out, papers are signed, permit submittal fee checks are written and, with all pre-permit requirements in the clear, BUILD submits the permit.
8. PERMIT SUBMITTAL, COORDINATION & ACQUISITION
Timelines will vary, but most building departments need several weeks to review a permit before the questions, clarifications and corrections are submitted back to the architect. Once this occurs we respond and modify the drawings as need be. If there are negotiations necessary to maintain forward progress, it may involve additional meetings with the city. A good portion of this step simply involves following up with individuals to make sure our drawings are on the front burner at the building department.
Once all questions are answered and the regulatory agency is satisfied with the product, the building permit is made available.
9. CONSTRUCTION DOCUMENTS
While the building department is reviewing the permit, BUILD continues to refine the drawings, turning the permit documents into construction drawings. This allows us to submit for permit sooner, and use what might otherwise be idle time (while the project is in review) to further develop the details that building departments typically aren’t concerned with. These items involve architectural detailing, specifications, materials, colors, etc. This varies between one building department and the next and some jurisdictions may require a construction ready set for permit submittal.
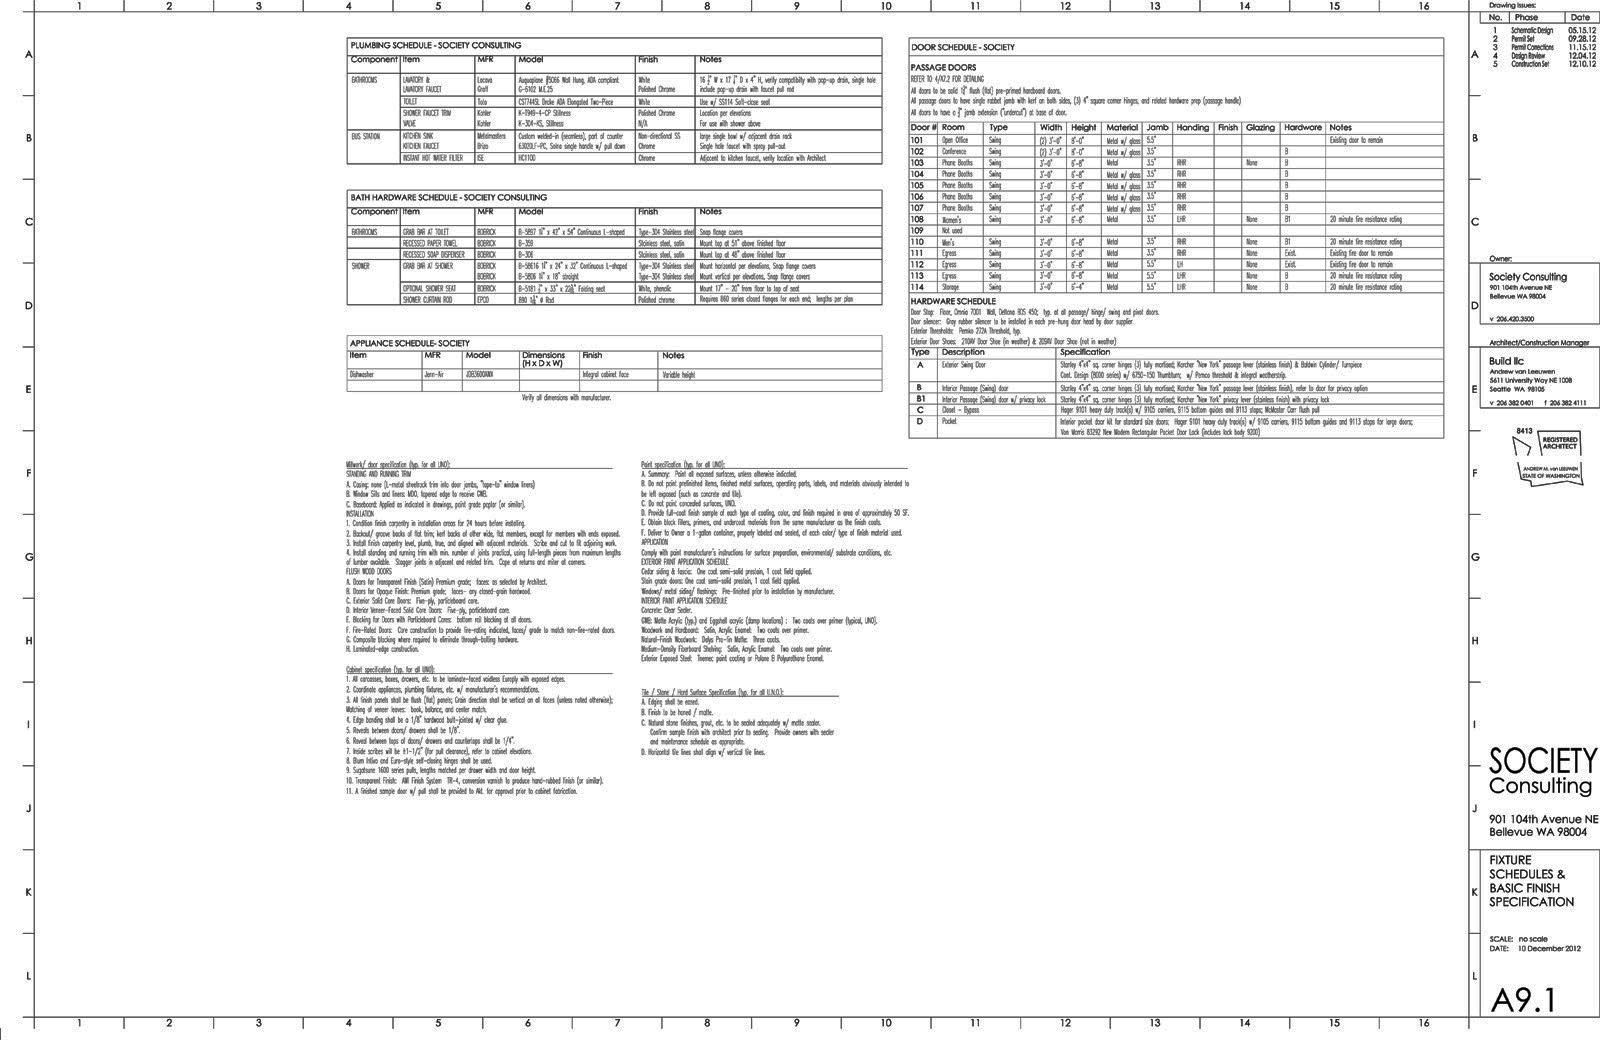
Remaining specifications for materials, fixtures, and appliances are incorporated into the project. Recommendations from trades, suppliers, and manufacturers are added to the drawing set. The client(s) continue to make decisions at a more specific level of detail – this might involve things like window operation or furniture specifications. We feel that it’s important to offer a potential solution or selection to our clients for each aspect of the project; often, clients will review and approve most of our pre-selections but take a deeper dive or have different ideas for a handful of items. This is our final opportunity to square away as much of the open items as possible before construction begins.
10. SELECTION OF A GENERAL CONTRACTOR, CONSTRUCTION ADMINISTRATION
If design-build is an option, this method of construction is weighed against hiring a general contractor to build the project. In the case of a traditional G.C. system, general contractors are interviewed, construction estimates are compared and a selection is made based on process, track record, referrals, personality and pricing.
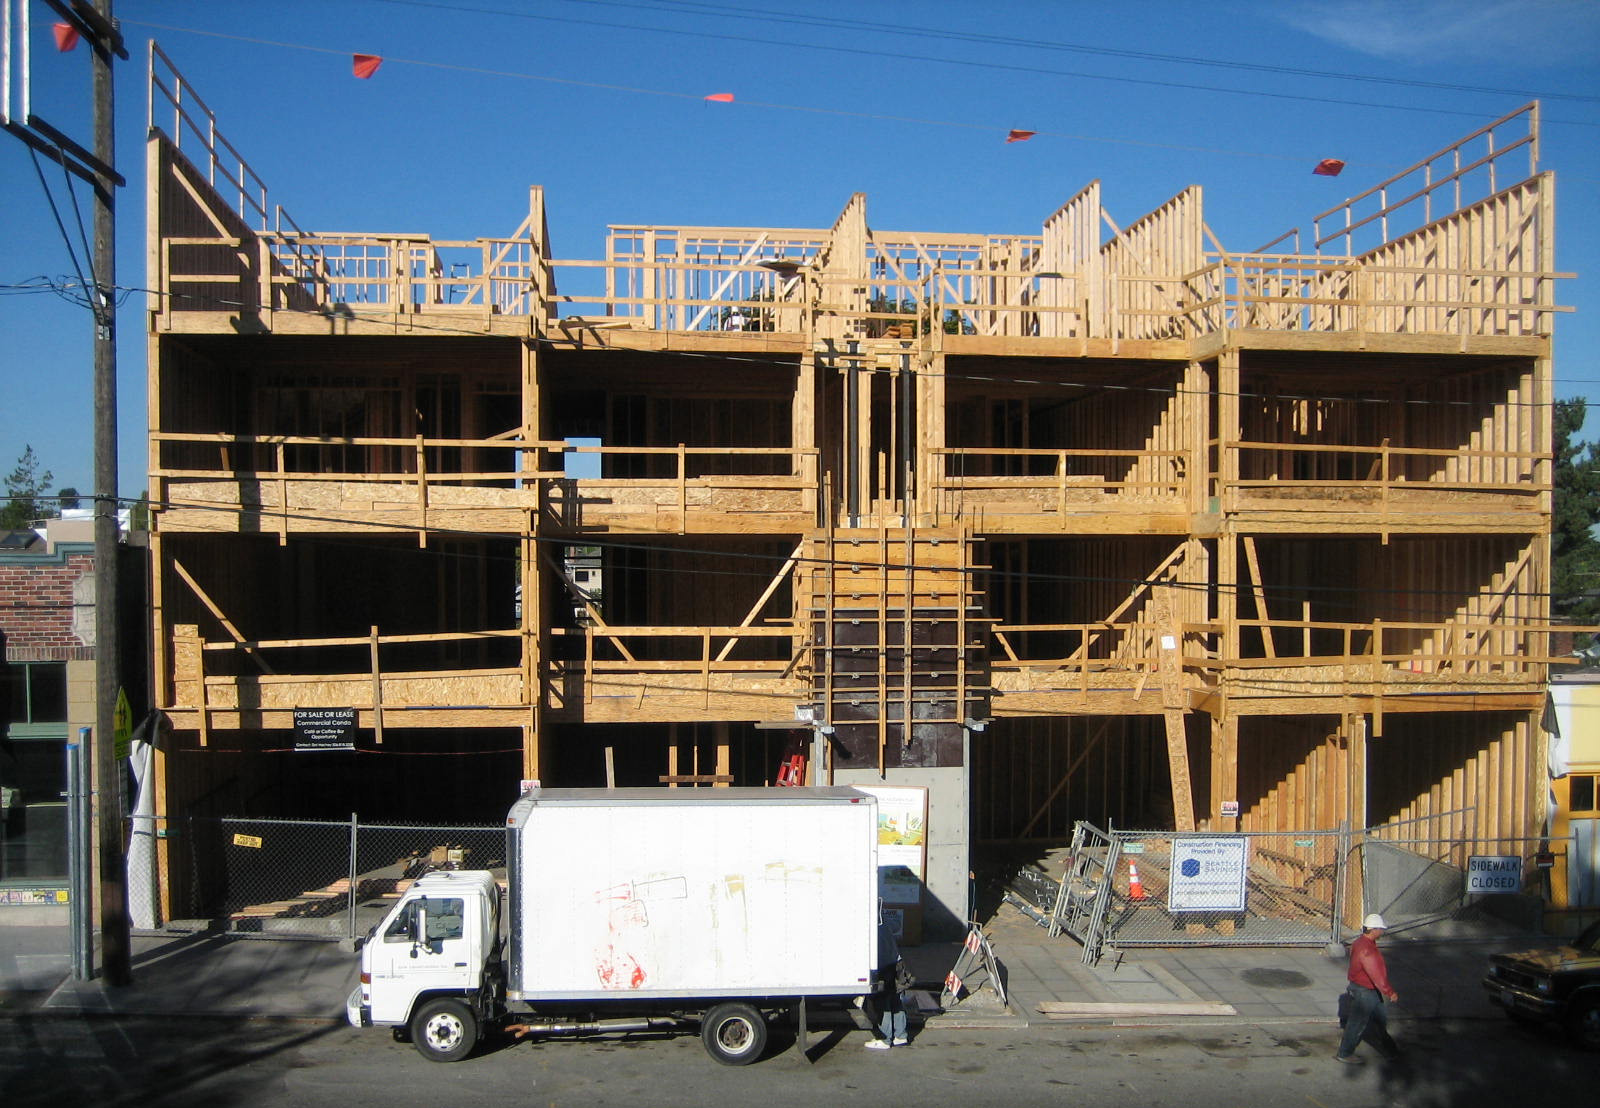
[Park Modern building in construction]
Typically, with a project of any complexity, the architect is retained to answer questions, deal with clarifications, and administer revisions, if necessary. The architect also protects the interests of the client and the integrity of the design. The architect reviews the invoices, overall costs and scheduling.
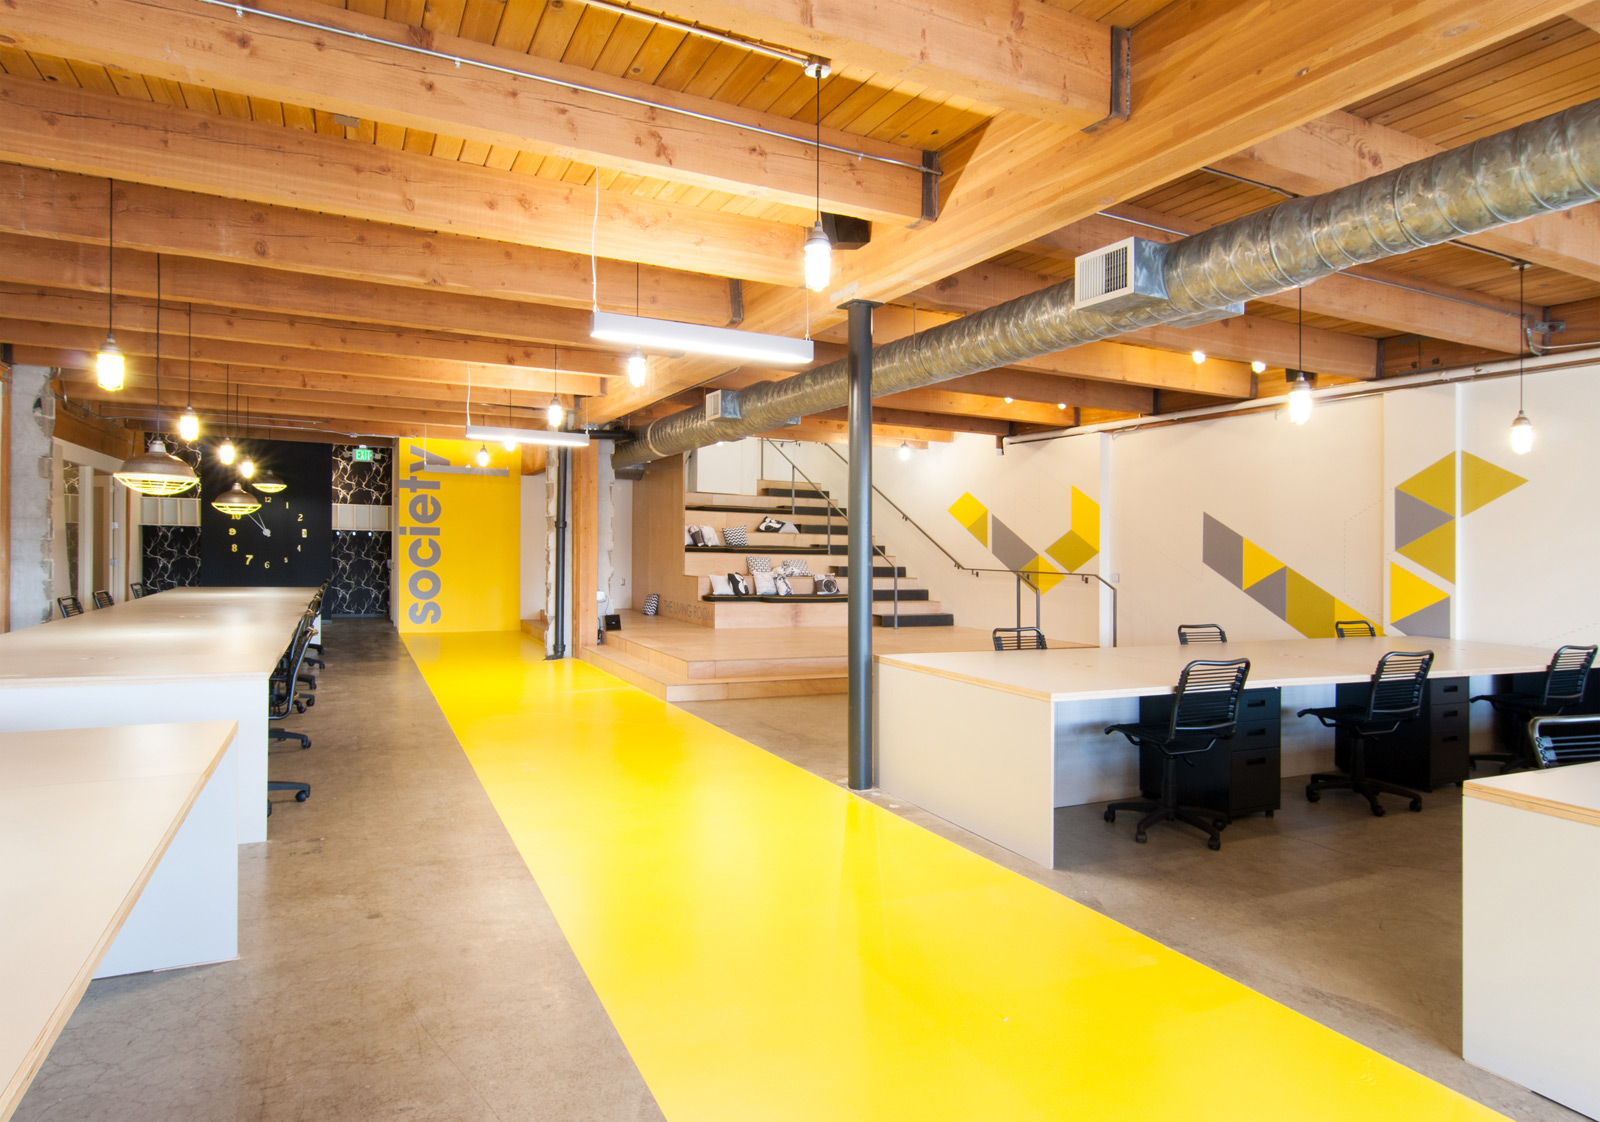
[Society Consulting by BUILD LLC]
In our case, our clients will often construct their own project and sign a separate agreement with us to stay on the project as a Construction Manager. This allows us to roll the traditional C.A. role into a more robust role to ensure that not only our design intent, but also the project budget and schedule, are delivered as promised.
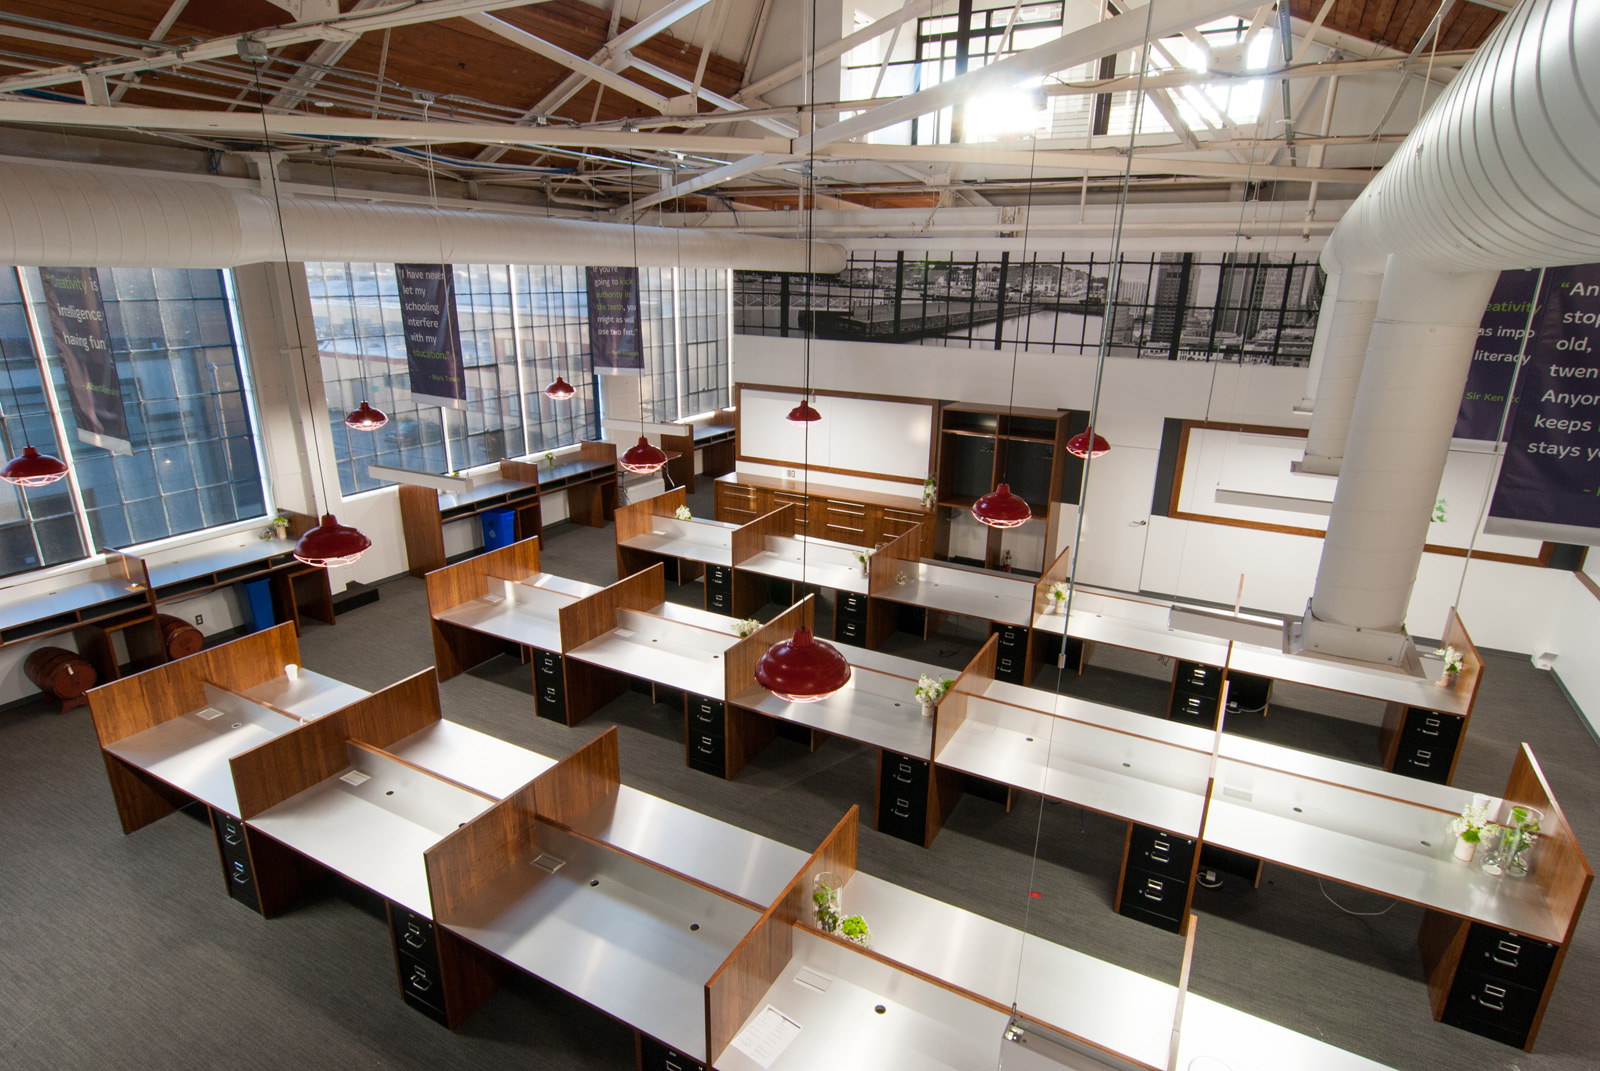
[CreativeLIVE San Francisco by BUILD LLC]
There’s our 1-10 and here’s a roster of our completed commercial work. We’re always open to your thoughts and questions so hit that comment button below and let us know what you think.
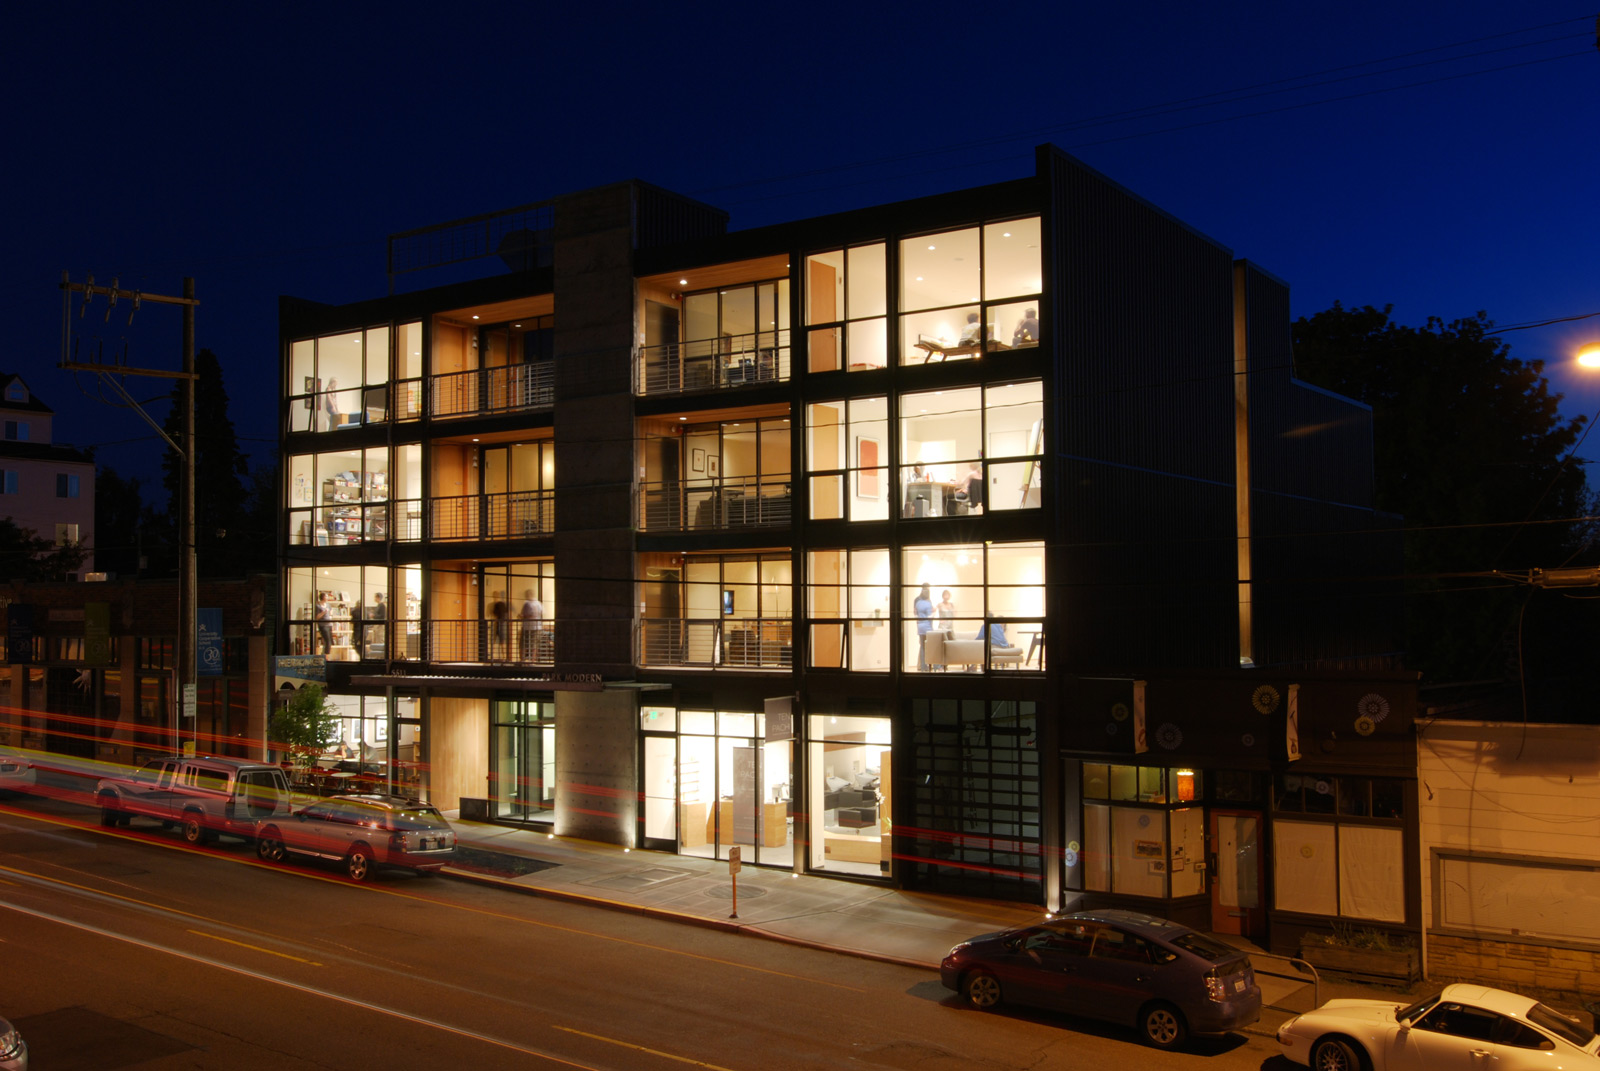
[Park Modern by BUILD LLC]
Cheers from Team BUILD


