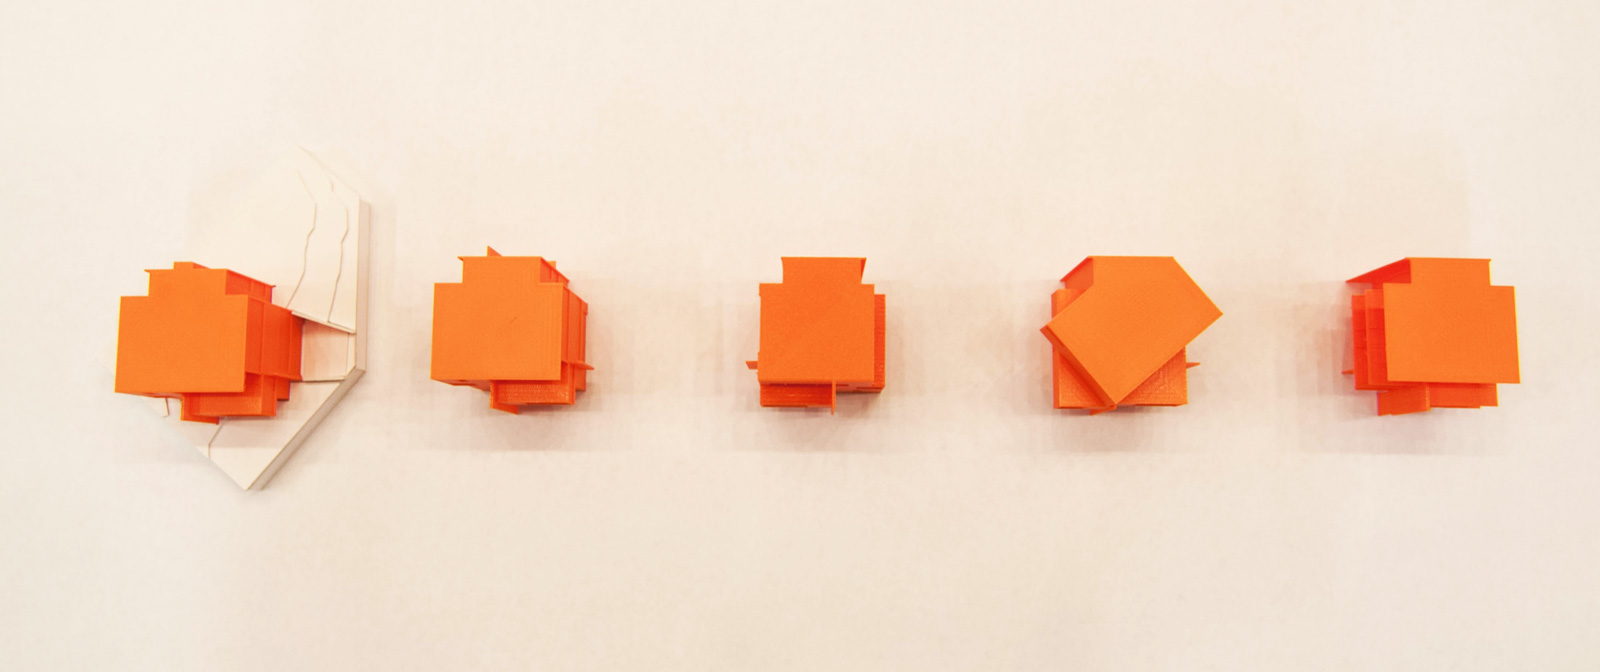
[All Images by BUILD LLC]
Christmas came a little early this year for the team here at BUILD. After hearing about, reading about, and touring the headquarters, we made our Christmas wish. And a few weeks ago, we took the plunge to make that wish come true. After carving out a bit of space at BUILD World Headquarters, we made room for the newest, sleekest addition to our robust team. That’s right, we’ve finally joined the ranks of tinkerers and makers out there — we got ourselves a 3-D printer, The MakerBot Replicator 2. Perched on the back counter (alongside the 2-D printers), our BUILDbot’s been pulling its weight in productivity, already pumping out a series of study models for a recent client meeting.
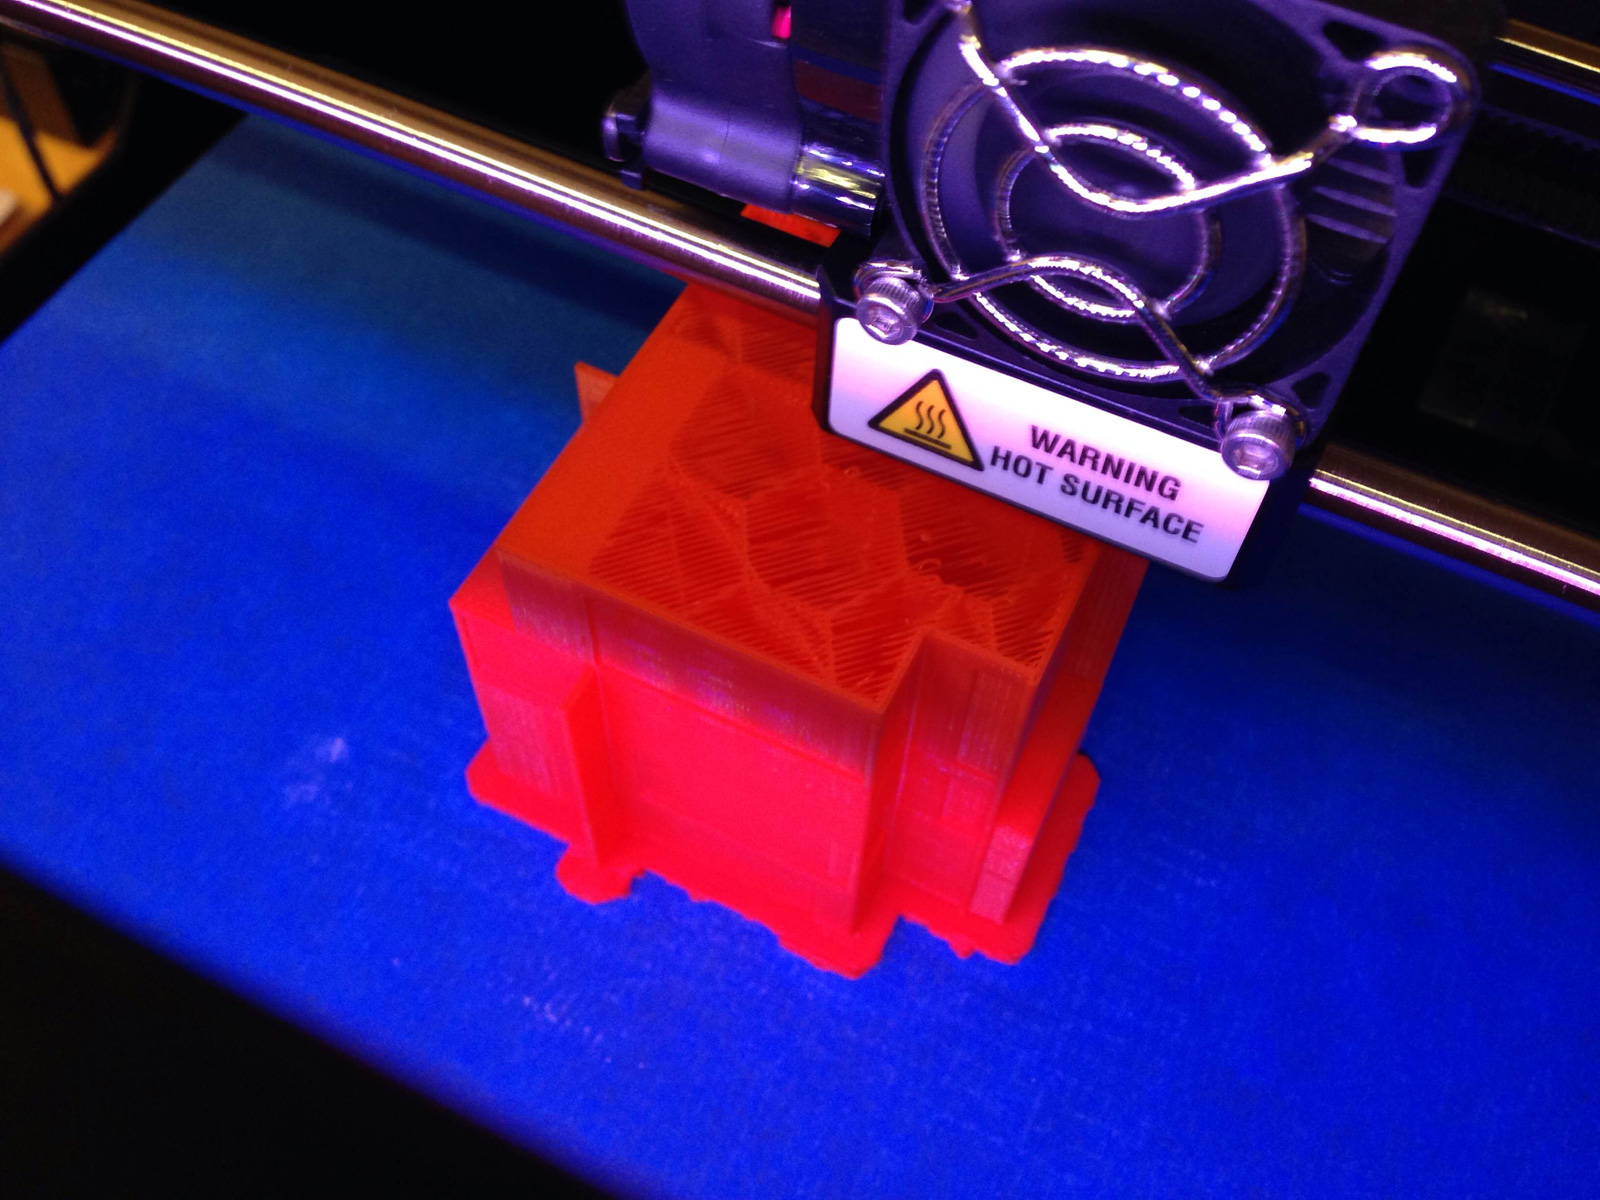
The technology of 3-D printing has been around for some time now, but it’s recently reached a remarkably affordable price point (tip: MakerBot is currently selling these units for a mere $1999), and it’s only a matter of time that this tool will be as ubiquitous as the personal computer (we’re anticipating 2014 is going to be the big year for 3-D). As newbies in the maker scene, we’re still deep in the trial and error stage. While we’ve printed a handful of tchotchkes as well as client-ready models, there will be some huge discoveries along the way on how to best use our newest tool as we continue tinkering.
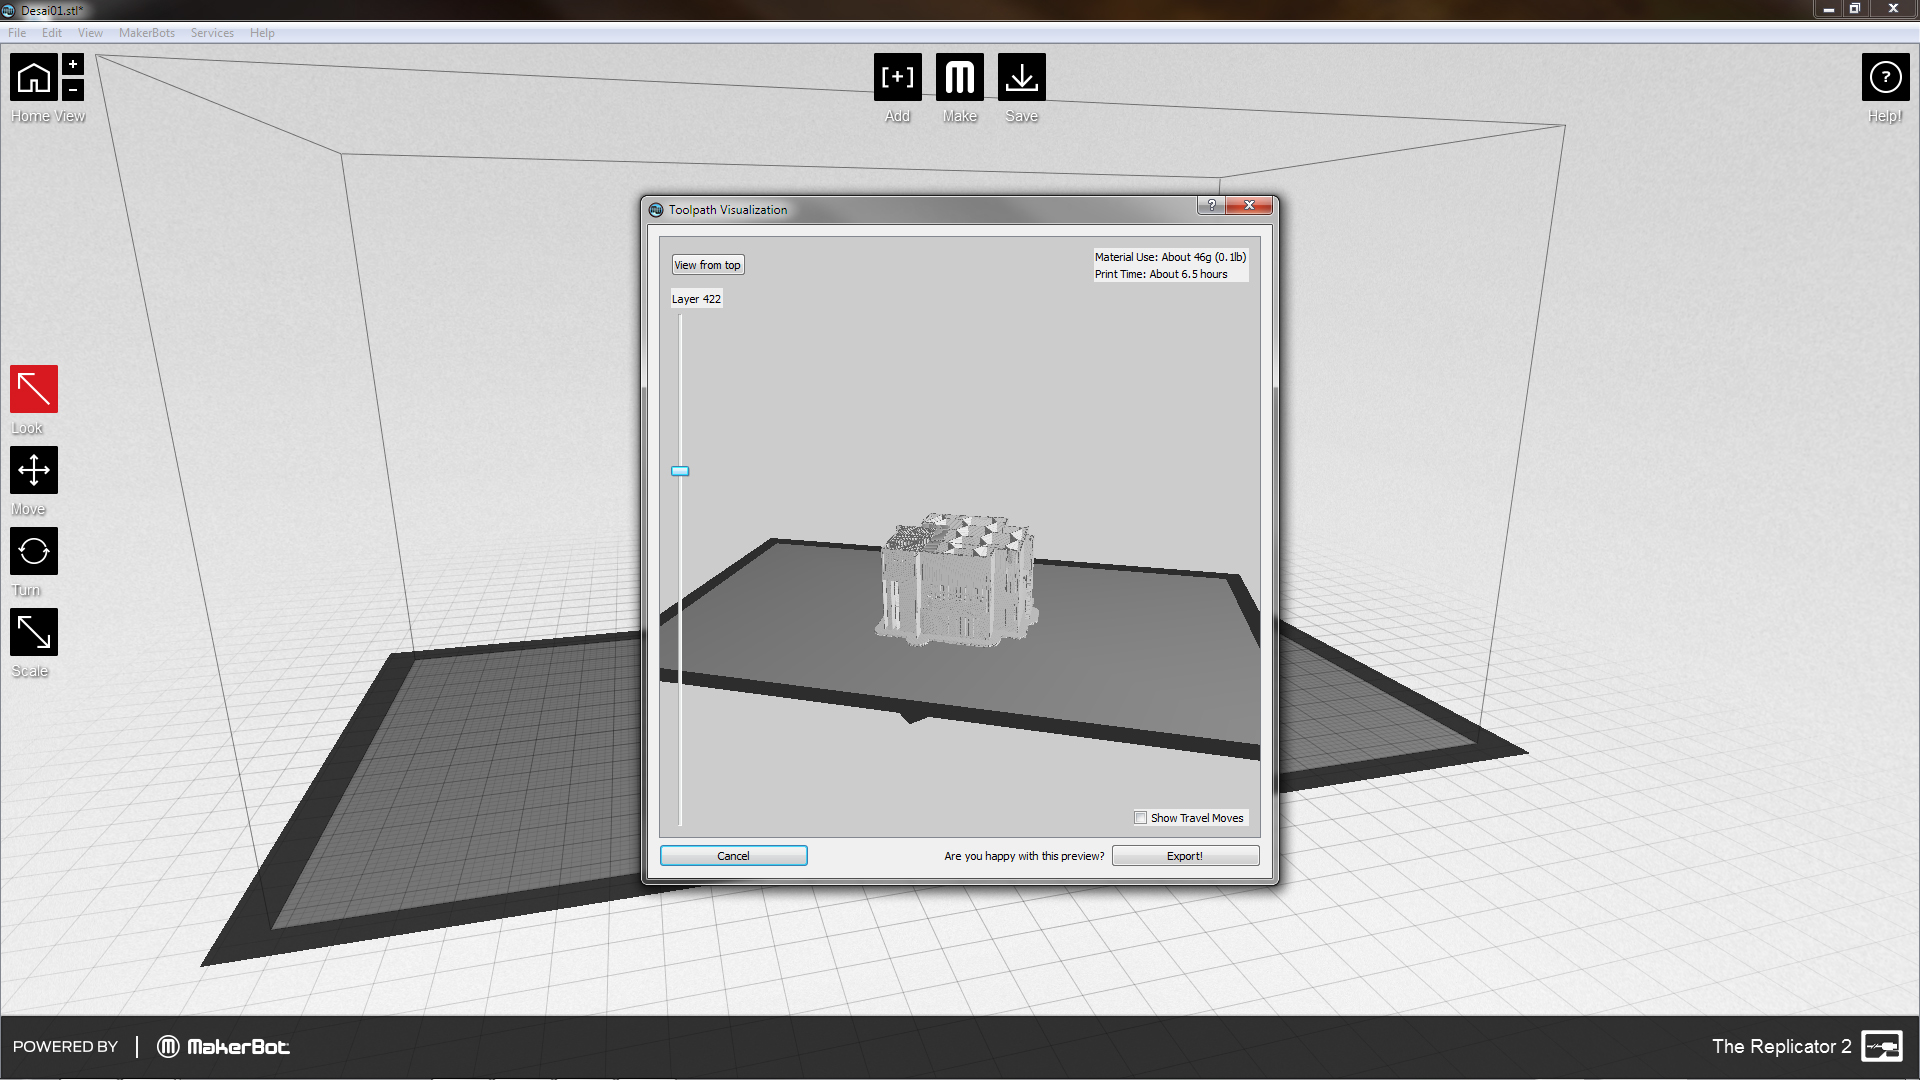
Before getting into the multitudes of software programs out there, we decided to see how it worked with what we were using already: SketchUp. After learning some of the ins and outs of how to properly set up a file to print, installing one simple plug-in for compatibility and downloading the MakerWare software for print set-up, we were all set to go.
The handful of prints we’ve experimented with have offered a ton of information on how this tool works and what constraints we need to take into account. Here’s a breakdown of what we’ve gathered so far:
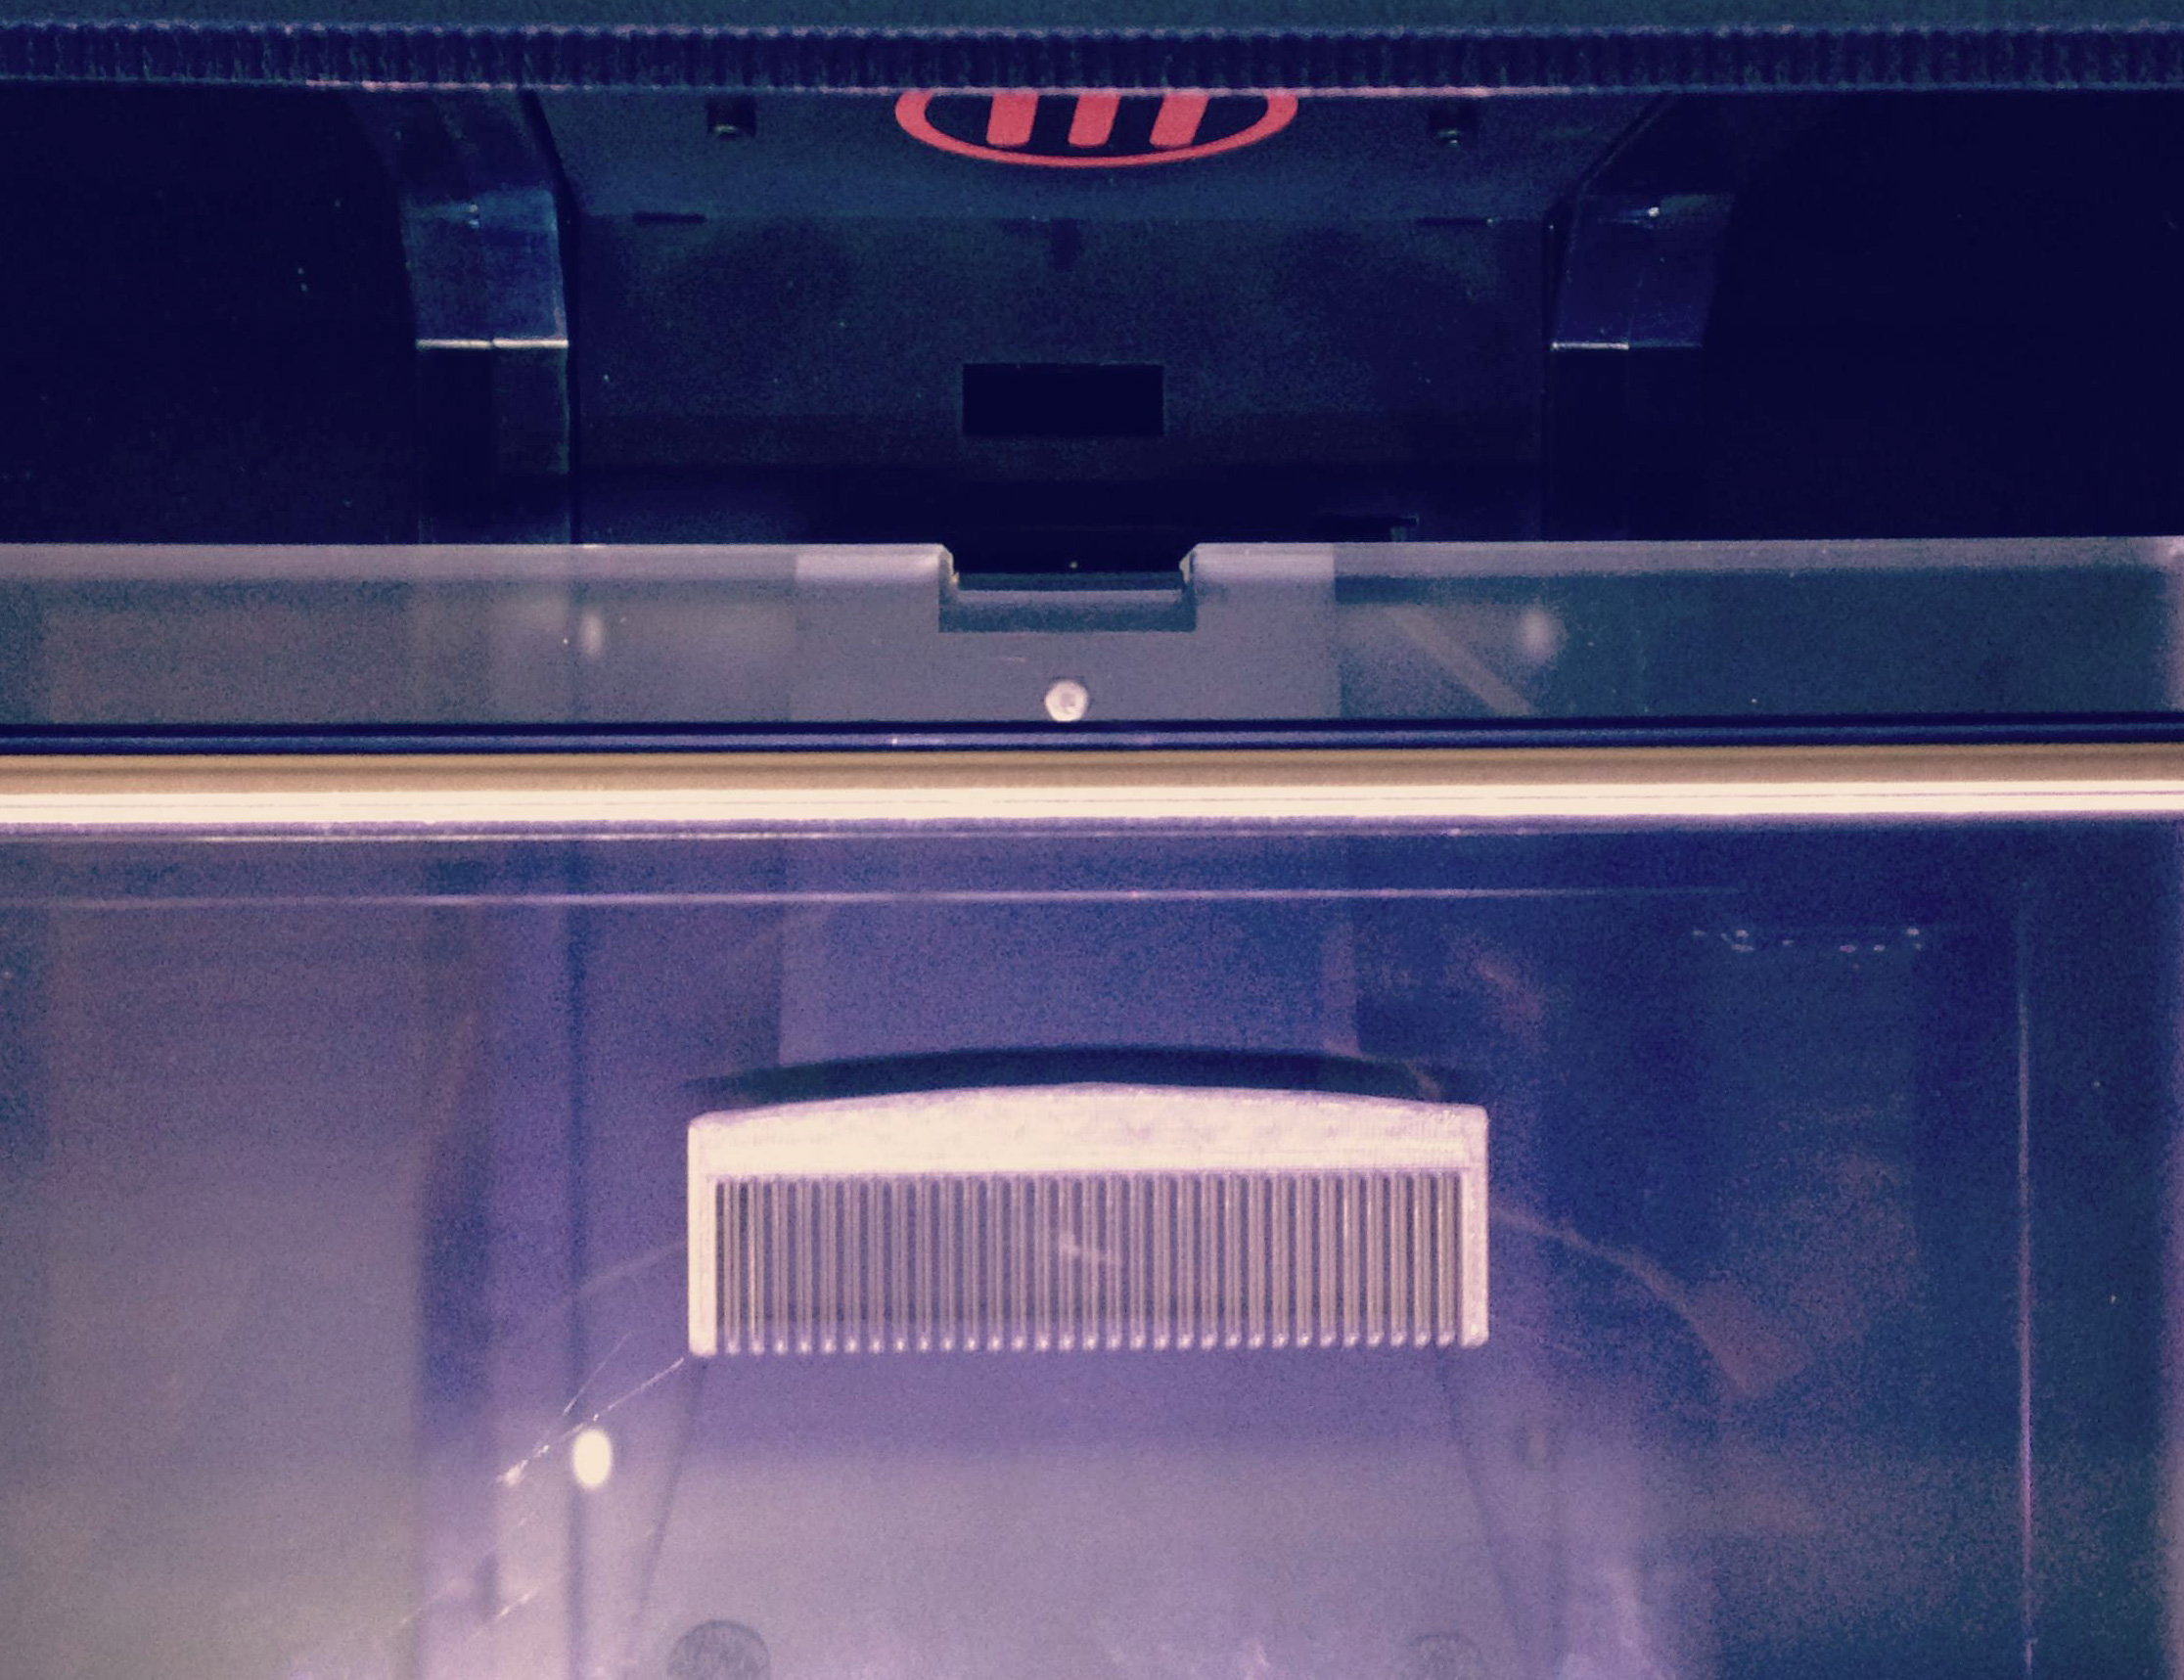
Comb: Out of the box test print, 14 minutes
Box: Custom made test print of a 1.5″ cube box with 1/8″ walls, standard quality, 30 minutes
Lesson: Prints stick to plate and are difficult to remove. Next time, cover the plate painter’s tape, include raft, and allow a bit more room between the nozzle and plate.

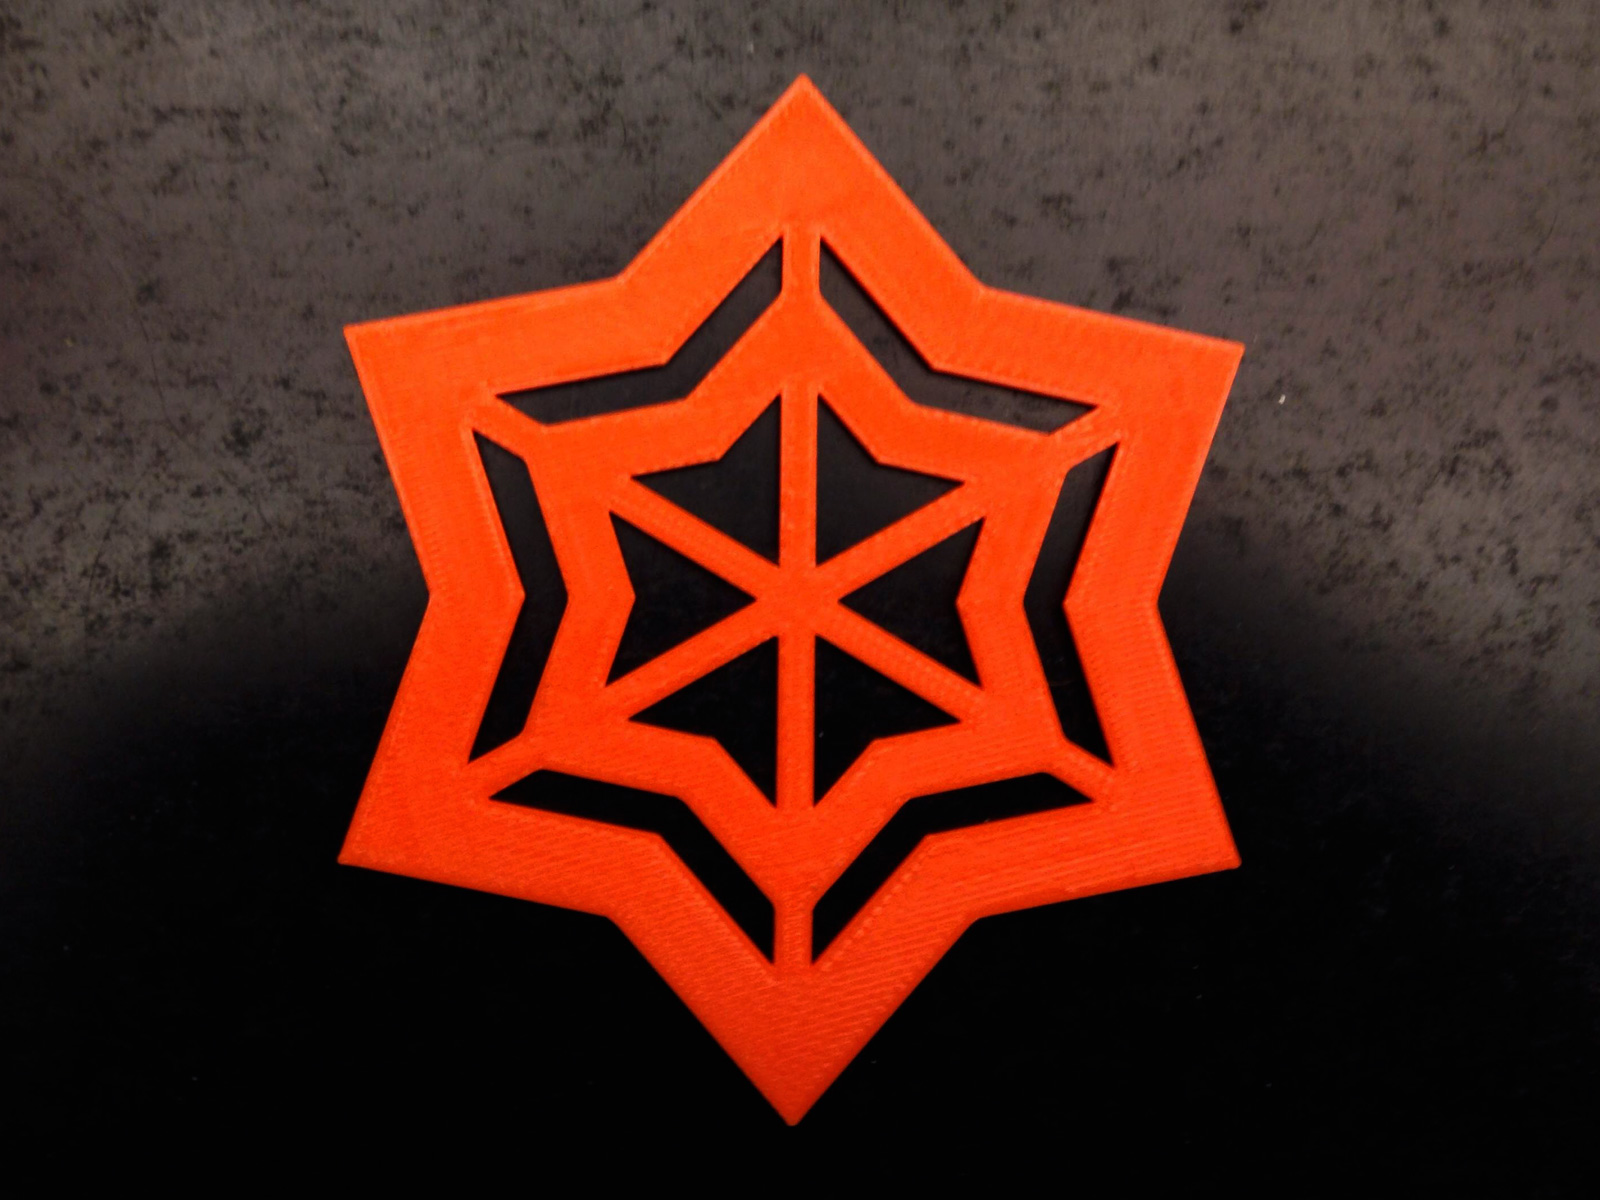
Ninja Star: Custom test print 1/16″ thick, 4″ dia, standard quality, 45 minutes
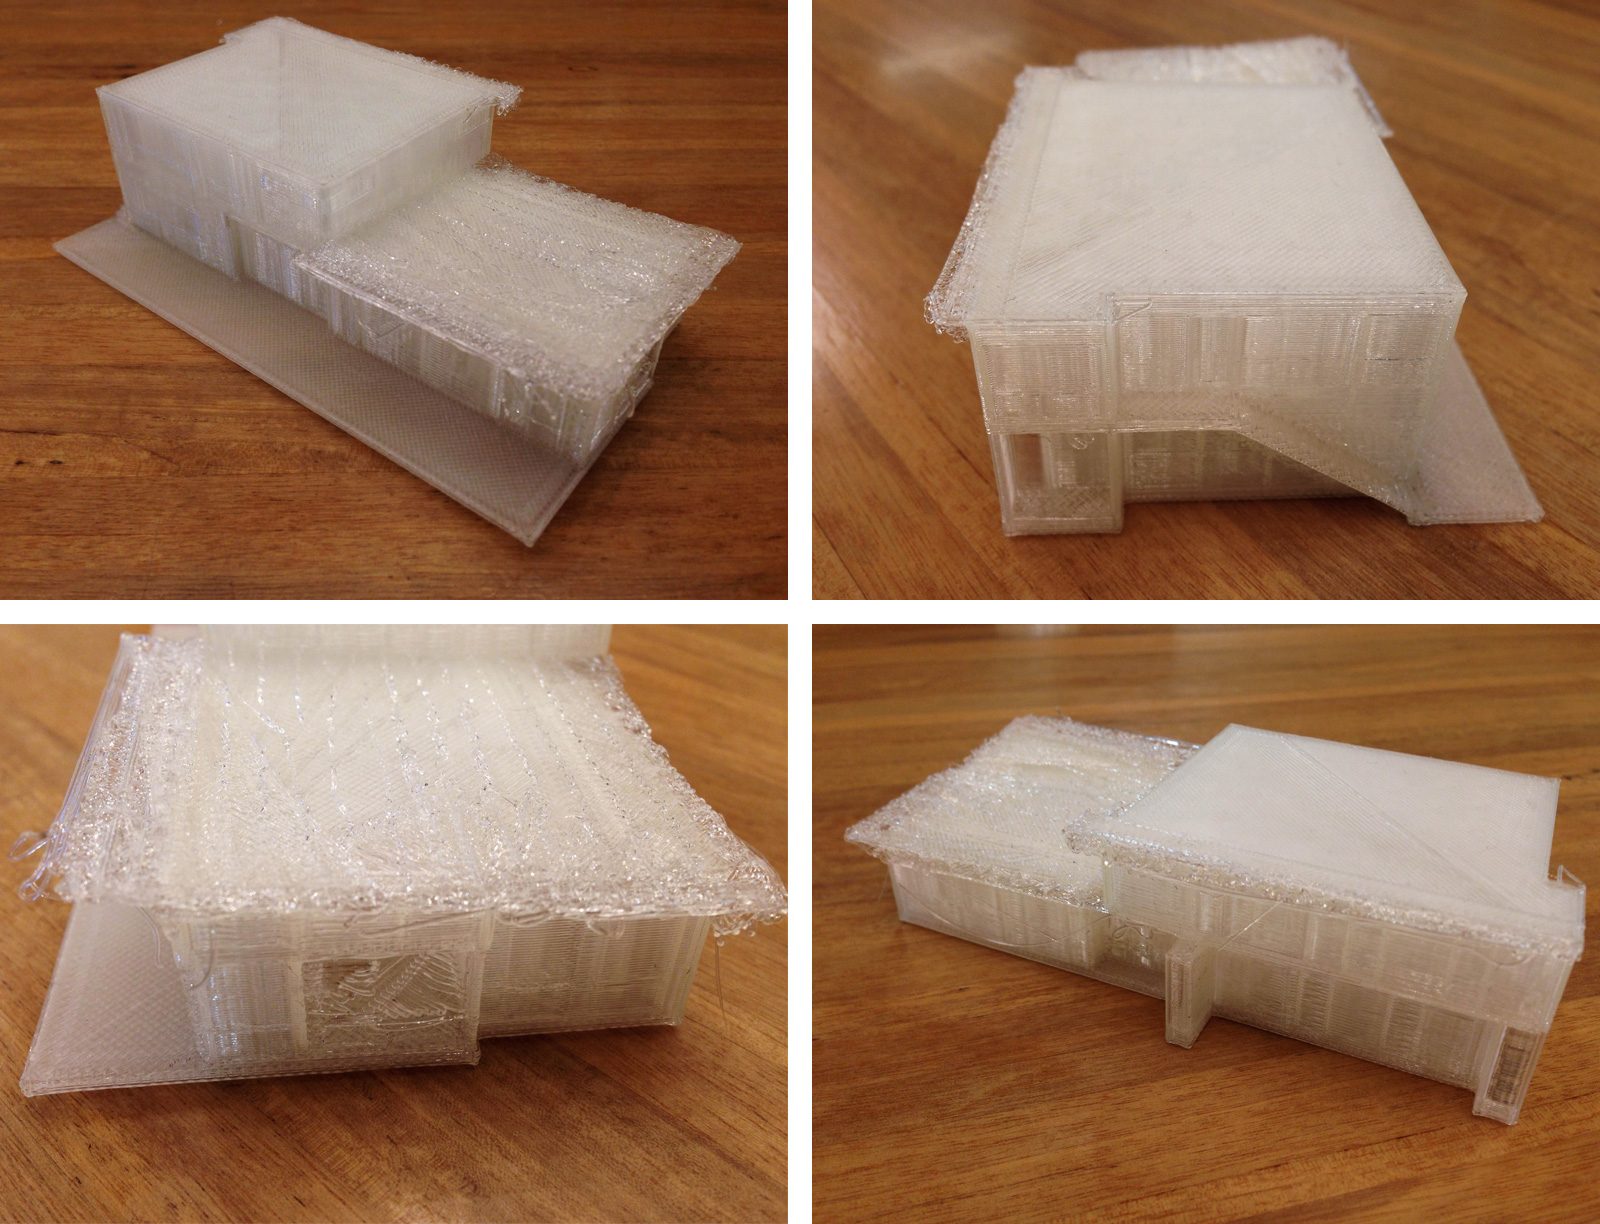
BUILD Model 1: 1/16″ model, 10% infill, low quality, nearly 6 hours
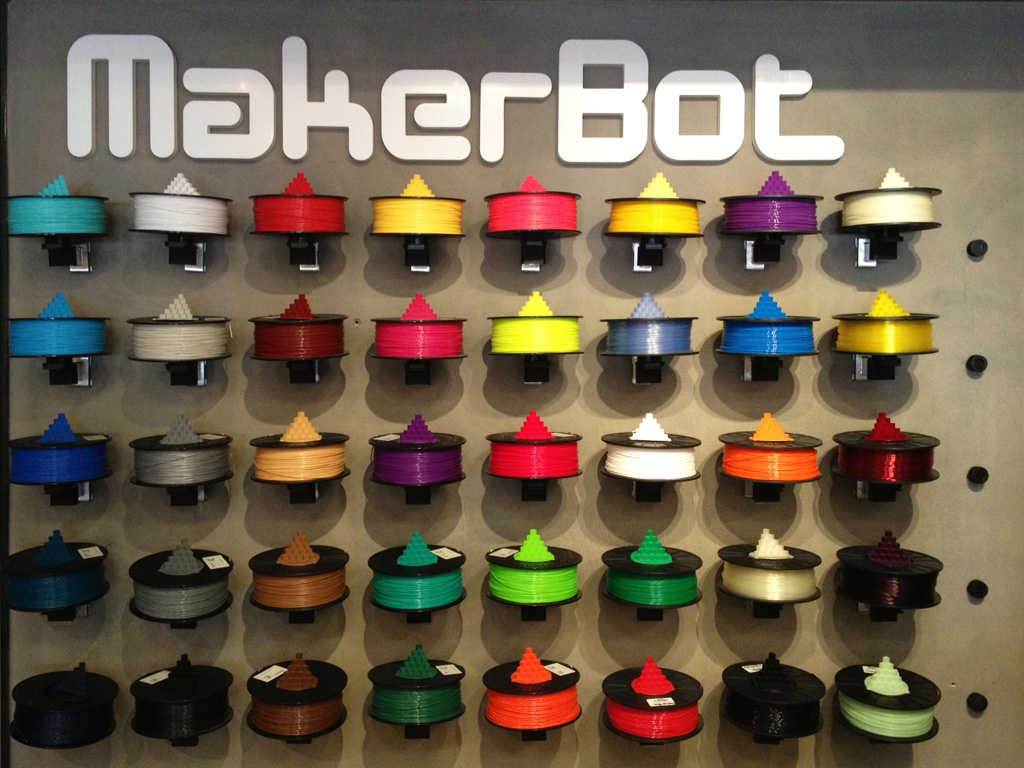
Lesson: Refined details will not show at a small a scale, so models need to be dumbed down a bit. Opaque filament will provide a more homogenous look (additional opaque spools-black, white, and gray-just arrived last week). Opt-in for supports if the print has overhangs and cantilevers.
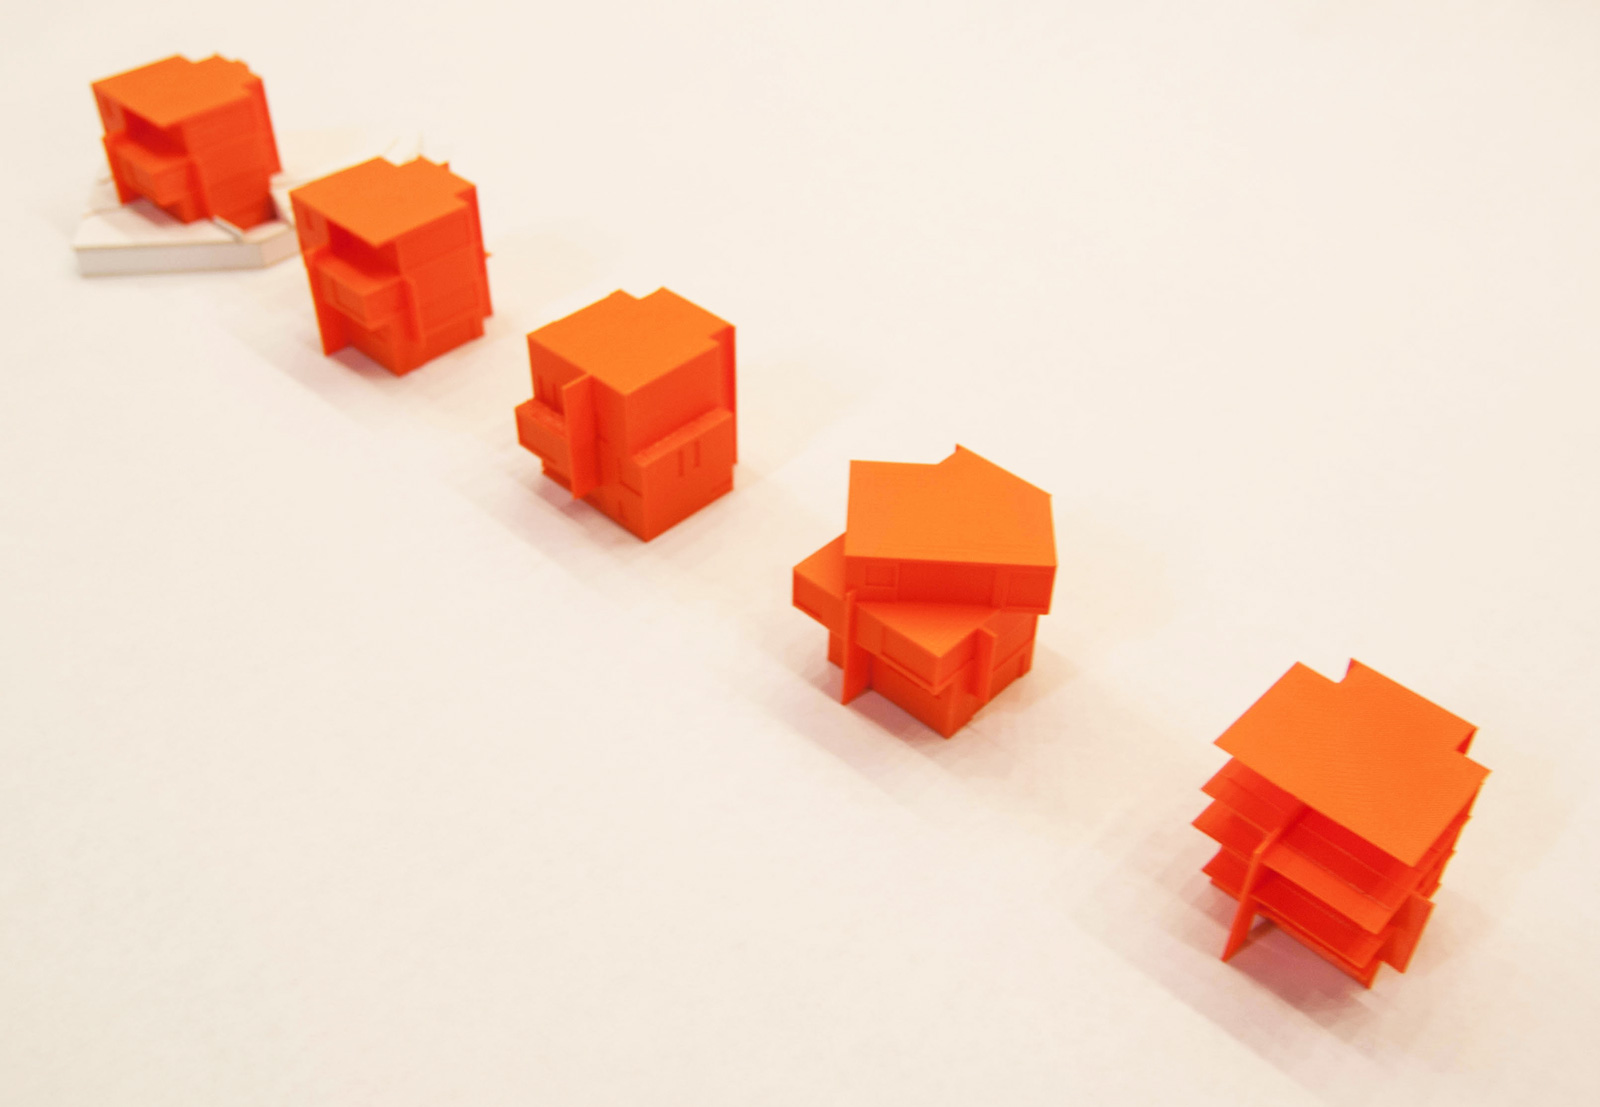
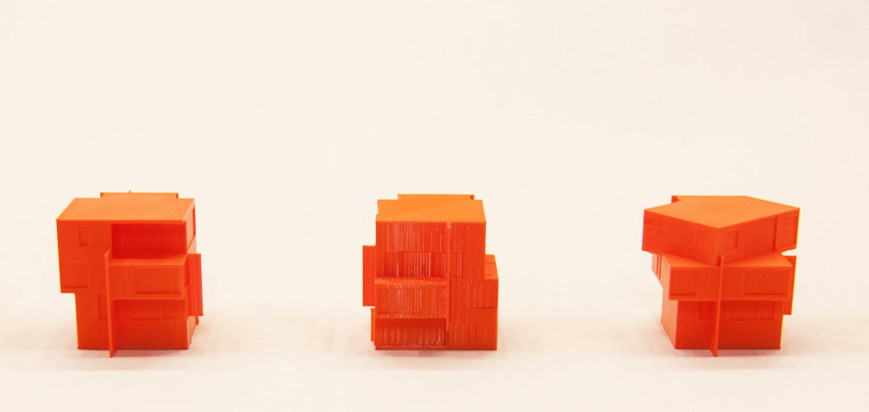
BUILD Models 2-5: 1/16″ model with 5% infill, high quality, 4.5 hours
Lesson: MakerWare’s built-in support option recommended for cantilever and overhangs is heavy-handed and the uni-directional supports result in jagged cuts. Design custom supports within modeling software. To save time/material, reduce infill percentage (5% is manageable). Maximum span without supports is approximately 6′ at 1/16″ scale.
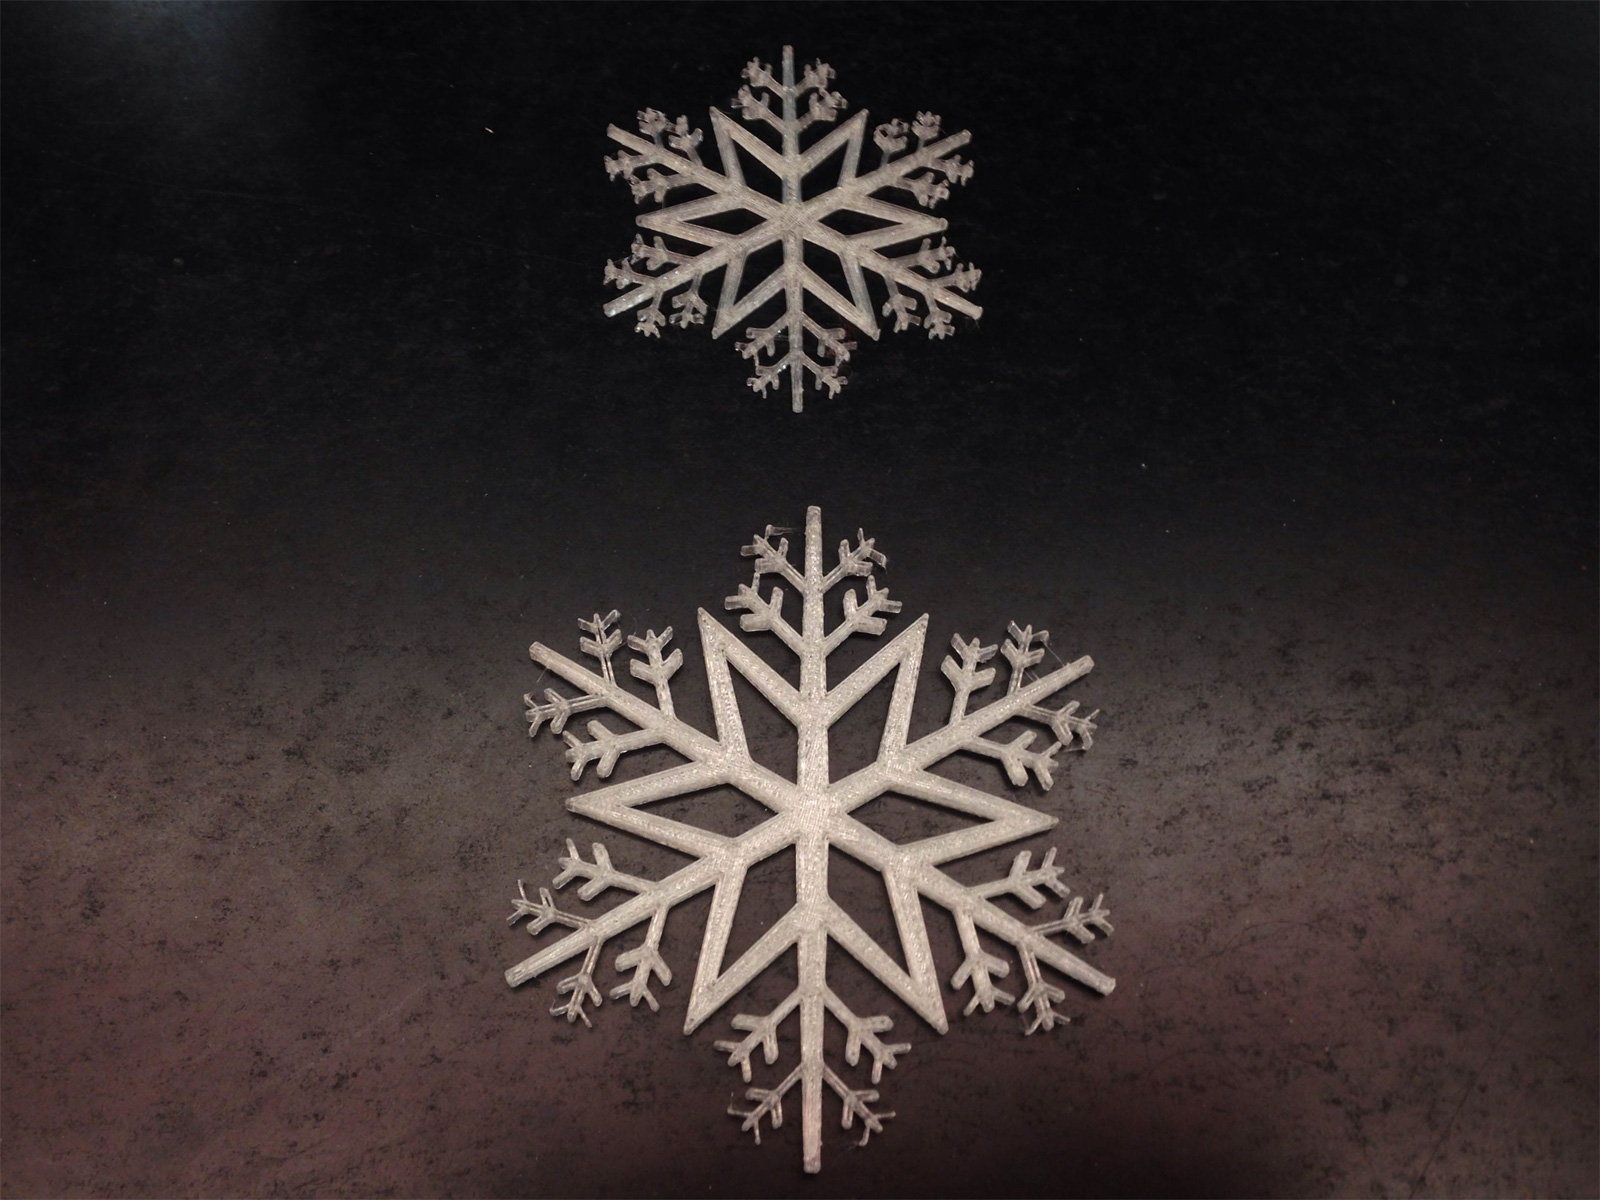
Snowflake Ornaments: Custom prints of a mini snowflake at 1/16″ thick, 3″ dia took 30 minutes and a maxi snowflake at 1/8″ thick, 4″ dia took 40 minutes
Lesson: Adding depth to delicate designs helps overall strength of the final print, translucent filament works best for flat objects.
We’re not quite a month in, so this is literally just the beginning. But despite not having mastered anything in the world of makers just yet, we wanted to give you all a peek into the start to our journey. As far as Christmas gifts go, this one really is the gift that keeps on giving (by printing more gifts). We’re excited to try out some other software programs, experiment with all sorts of objects, and test out the full capabilities of BUILDbot. And we’re interested in hearing what other makers out there are up to . Let us know what you’re making, learning, and experimenting with in the comments below.
Cheers from Team BUILD


