[All images by BUILD LLC]
The process of veneering is instrumental to the success of any cabinet package. Understanding the terminology, techniques, and options not only allows homeowners, architects, and designers to accurately specify finishes, it allows the viewer to fully appreciate the final look of a cabinet package. We recently spent some time down at the Special Projects Division cabinet shop here in Seattle, talking with the SPD cabinet master about the details of veneering. There are numerous methods for veneering cabinets and today’s post takes a specific look at SPD’s tried and true process.
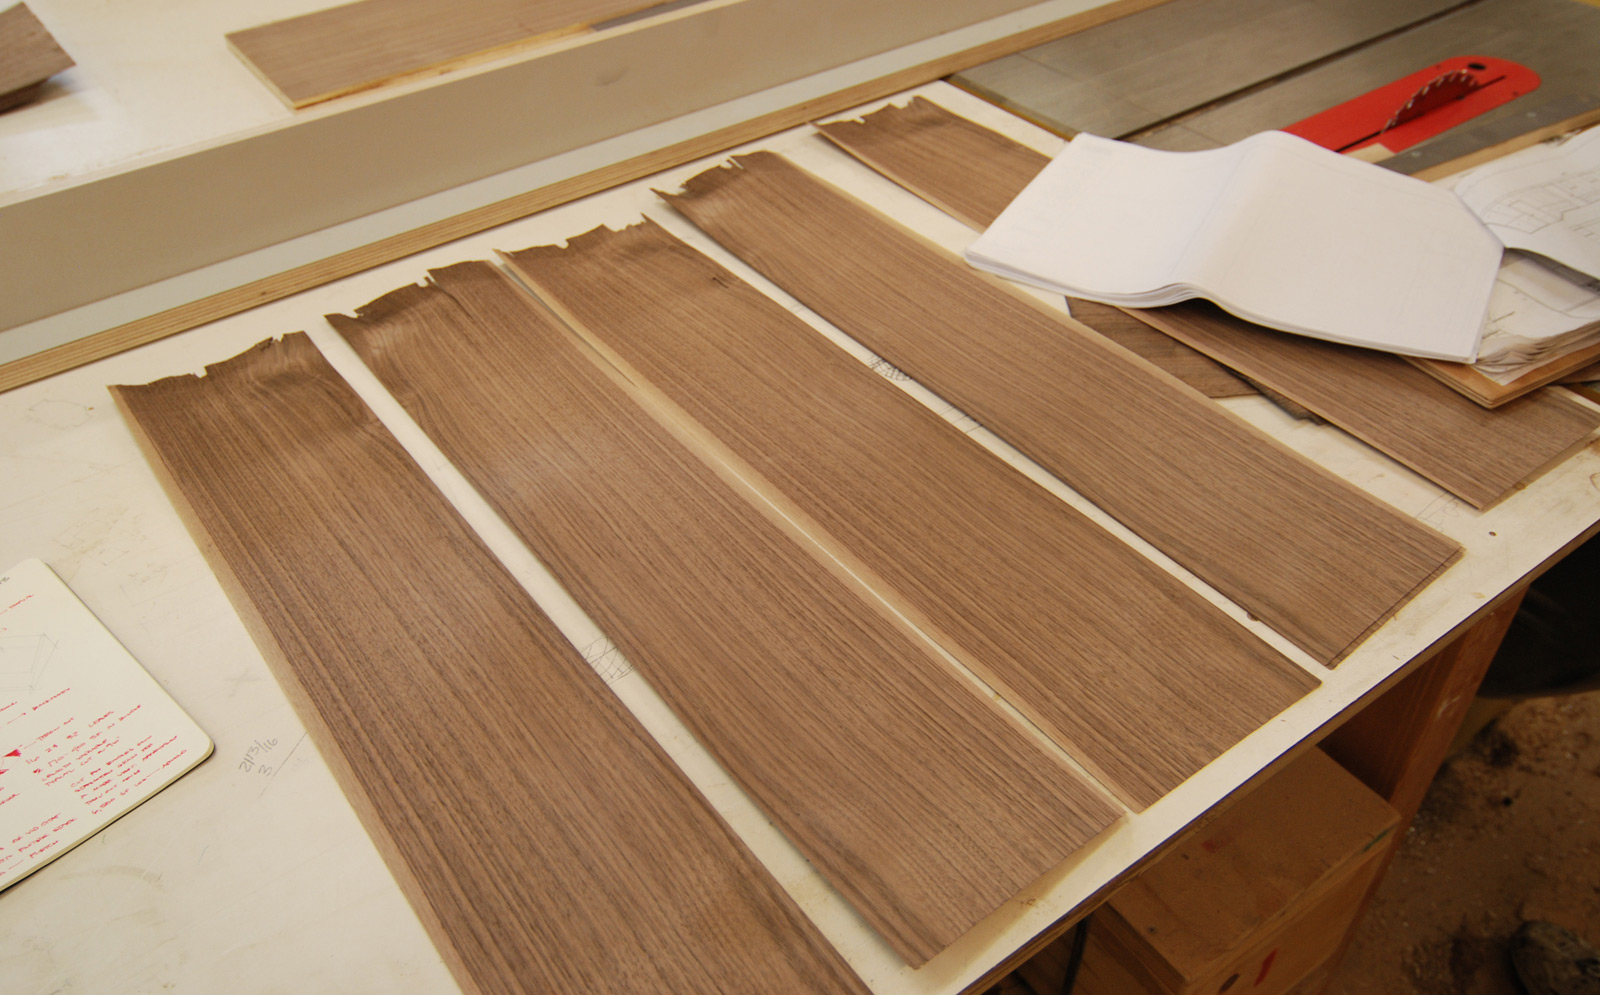
First, a review of some terminology about the log, itself. As the final look and function of the veneer will depend on the diameter of the log, the distance between rings, and how the log is divided, it’s not unusual to specify a few requirements of the originating tree.

Because it’s an SPD favorite for aesthetics, function, and predictability, we’ll be focusing on walnut veneer. Paducah, Kentucky and the surrounding areas offer a rich coco colored walnut because of the mineral content of the soil — this is where the walnut used in SPD cabinet packages originates. As a rule of thumb, the western walnuts tend to be purple in color, whereas the southern walnuts tend to be gray. Walnut is a short growing tree, typically 50 to 70 feet tall with a short trunk. This typically yields 12 to 16 feet worth of trunk wood, along with some of the lower primary limbs. These logs are then sent to Germany for their highly accurate methods of dividing the lumber and slicing into thin veneers. There are three primary methods for removing the veneers from a log: quarter sawn, plain slice, and rotary cut.

With each process there is about a 10% material loss due to unusable corners in the quarter sawn method, the unharvested core in the rotary cut method, and a bit less with the plain slice method due to the grappling jaws used to hold the log in place.
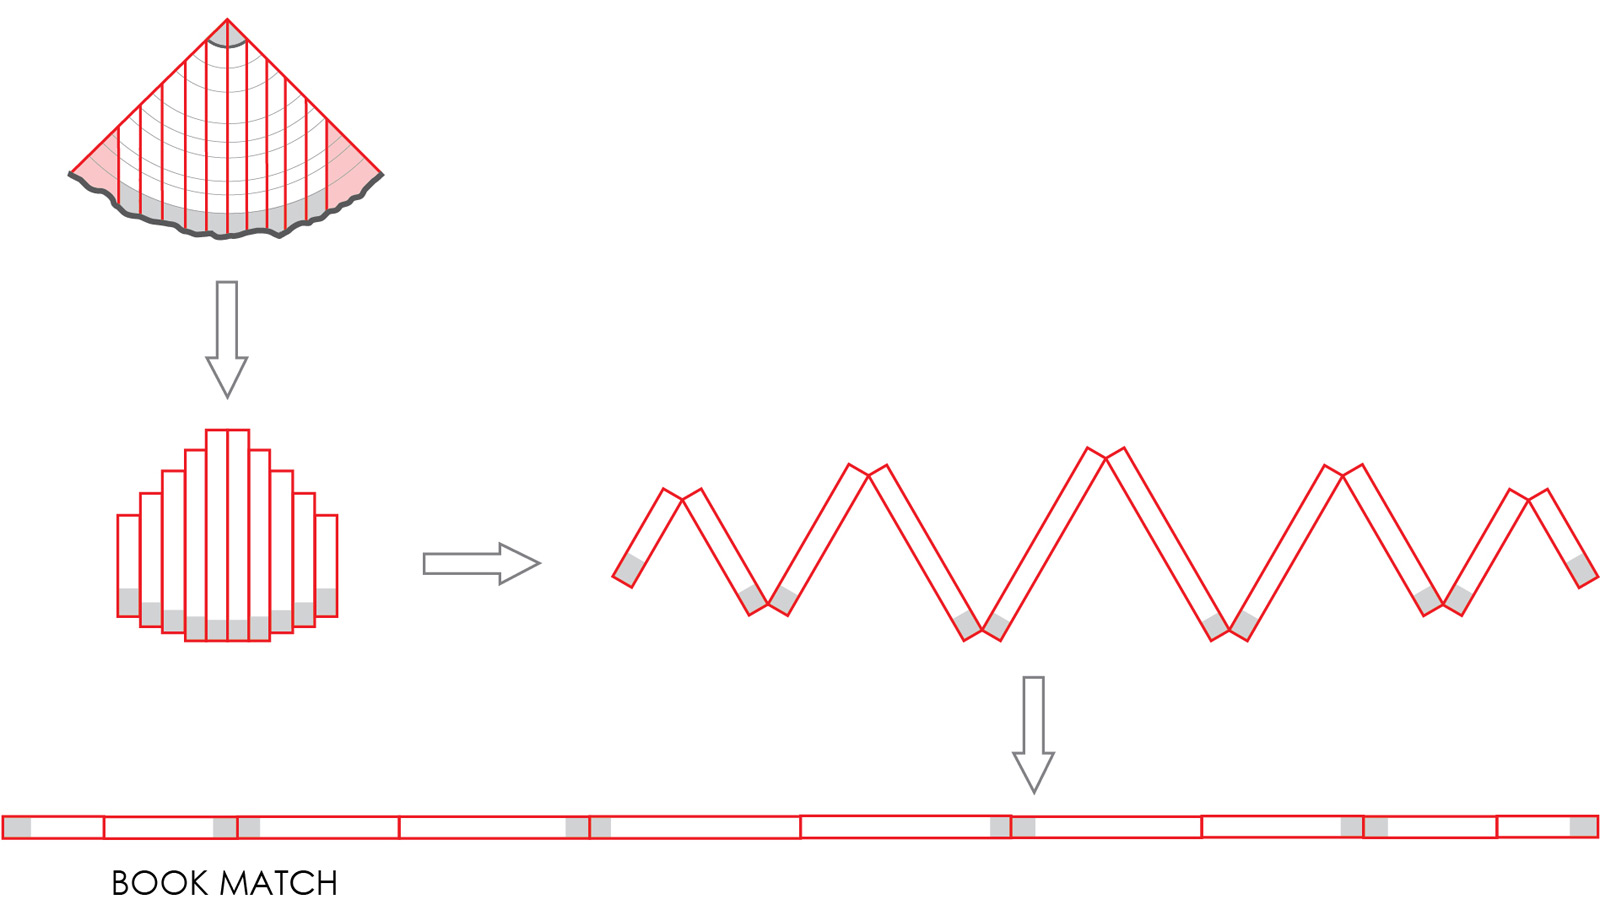
The SPD shop uses quarter sawn veneers mainly for appearance purposes — it’s hard to beat the even grain of the quarter-sawn veneers. Because the veneers are cut straight off the log, the sheets are also more stable –as opposed to the rotary cut diagrammed above that, because of the curvature of the veneer, produces a compressed inside face and a “broken” outside face. Once the log has been quarter-sawn, each quarter is then sliced up into leaves that are 1/40” thick. The logs are “green” when quartered, so each leaf is then individually dried while kept in order of how it was removed from the log. Once dried, the leaves are then sequenced (in order of their removal from the log) and packed into bundles of 16, 24 or 36 leaves, or 170 to 400 square feet of material — a full log will produce 20 to 30 bundles. This entire process takes place along a 400 foot assembly line exemplifying the efficiency and accuracy of German engineering.
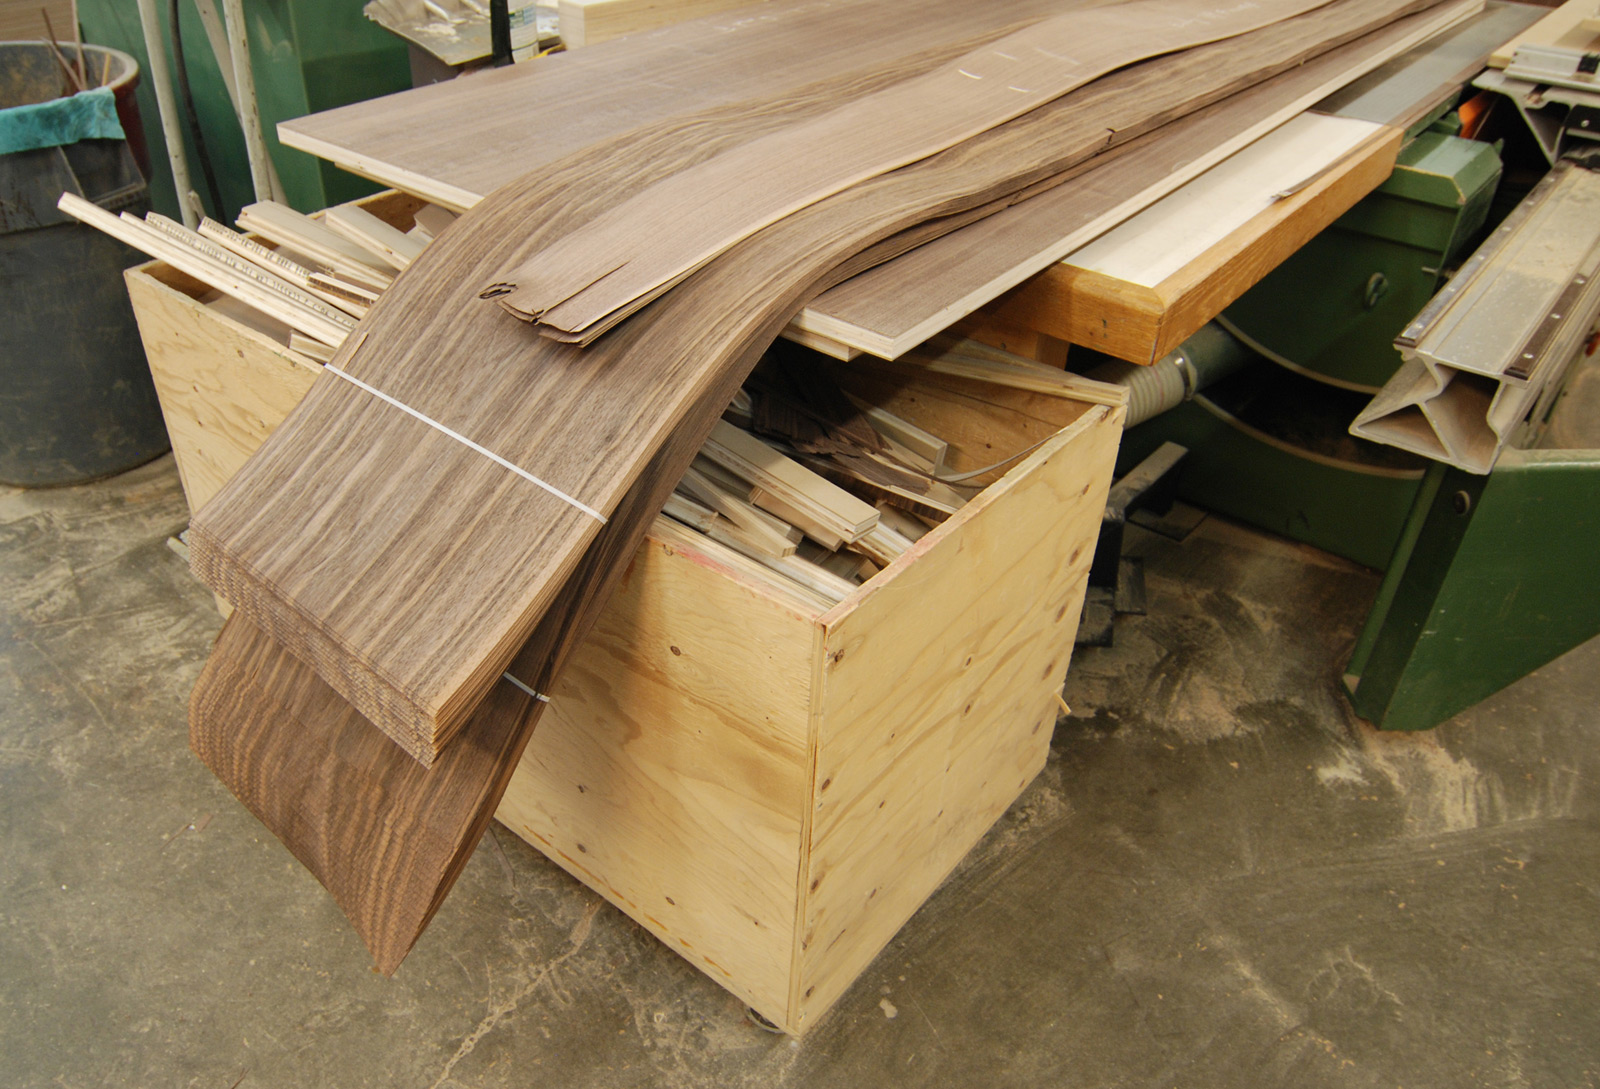
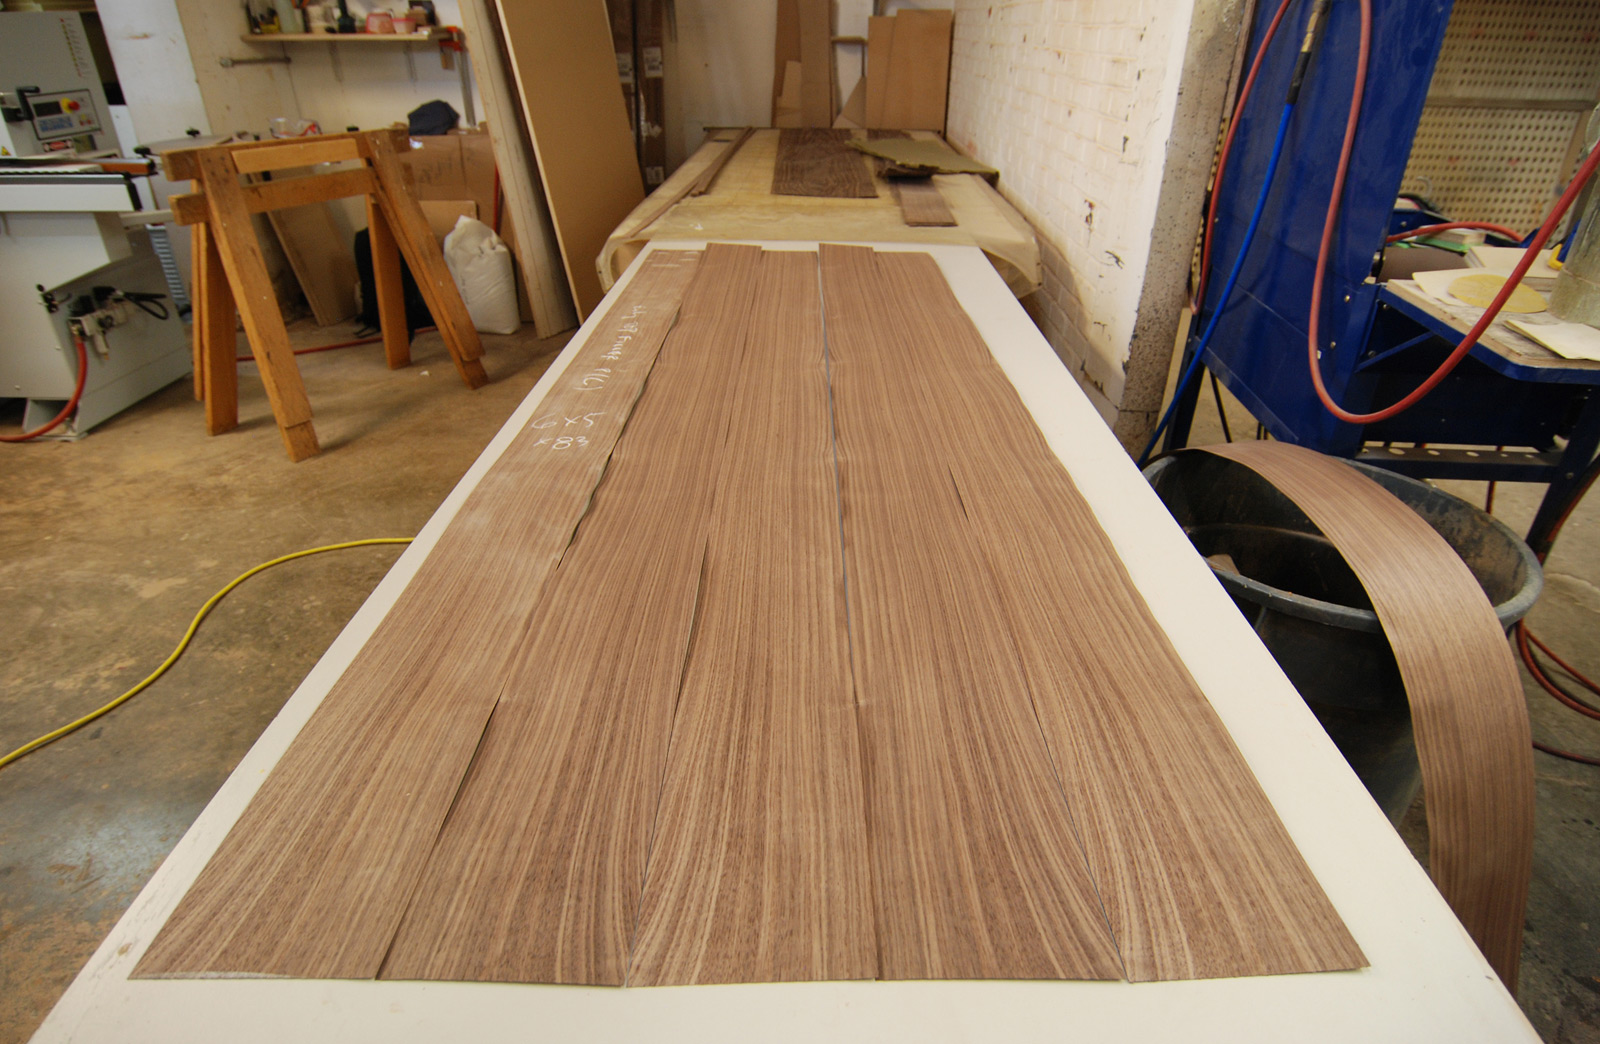
Because the final appearance of these veneers is so critical to the cabinet construction process, the SPD shop will then review photos or (if it’s a particularly large job) conduct a video conference with the shop in Germany to visually inspect and select the bundles. The selected bundles are shipped, received and then the work in the cabinet shop begins. The first major decision pertains to how the leaves (or fletches as they’re referred to in the shop) will be oriented to one another. The most common methods are slip-matching and (SPD’s preferred method) book-matching.



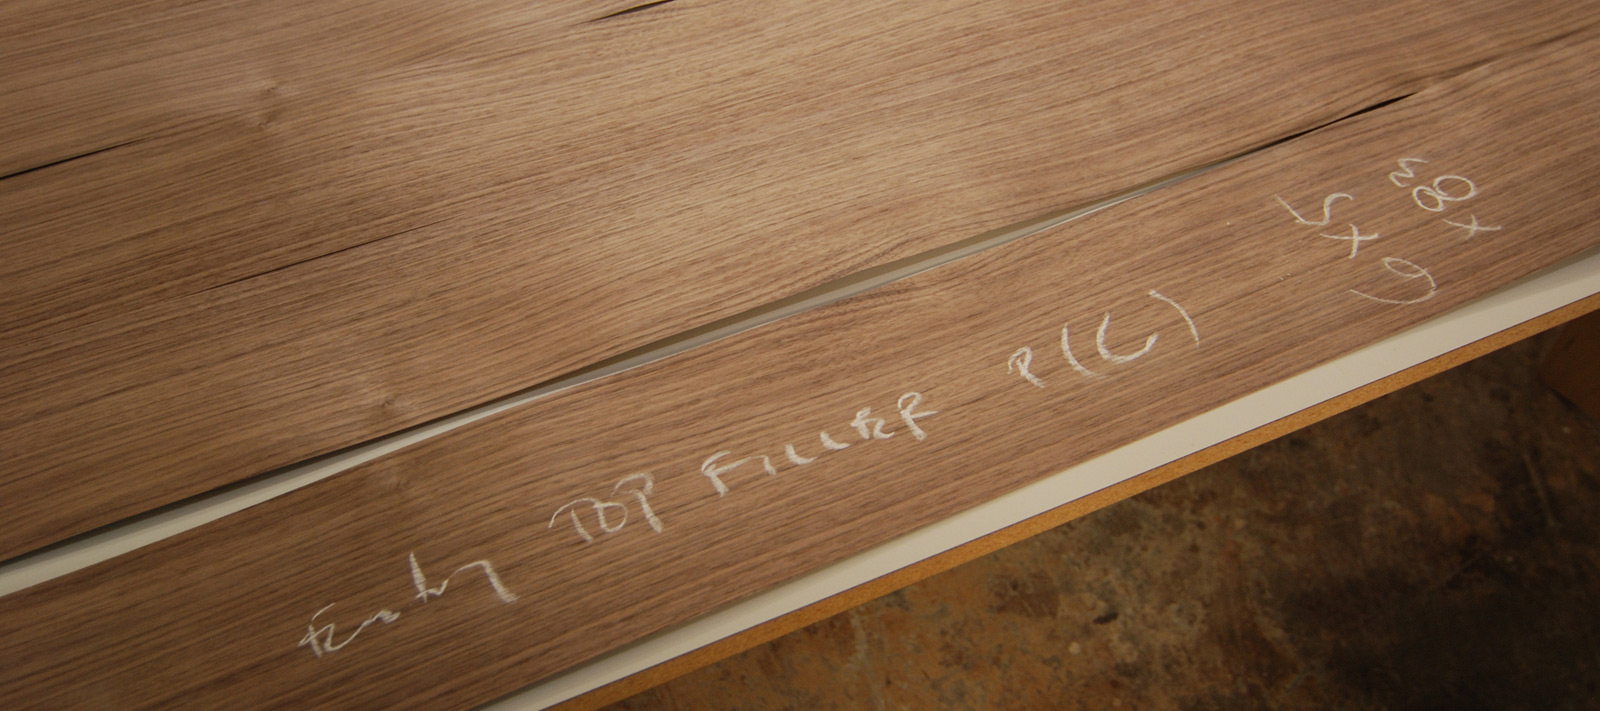
The sequence and orientation among all of the veneer is critical for a harmonious and accurate aesthetic. Subsequently, a chalk note on each fletch indicates its unique position in the run. The bundles are run through the table saw to remove the lighter colored band of sapwood — this is also a good opportunity to orient the sheets in such a way that a more vertical appearance is achieved.
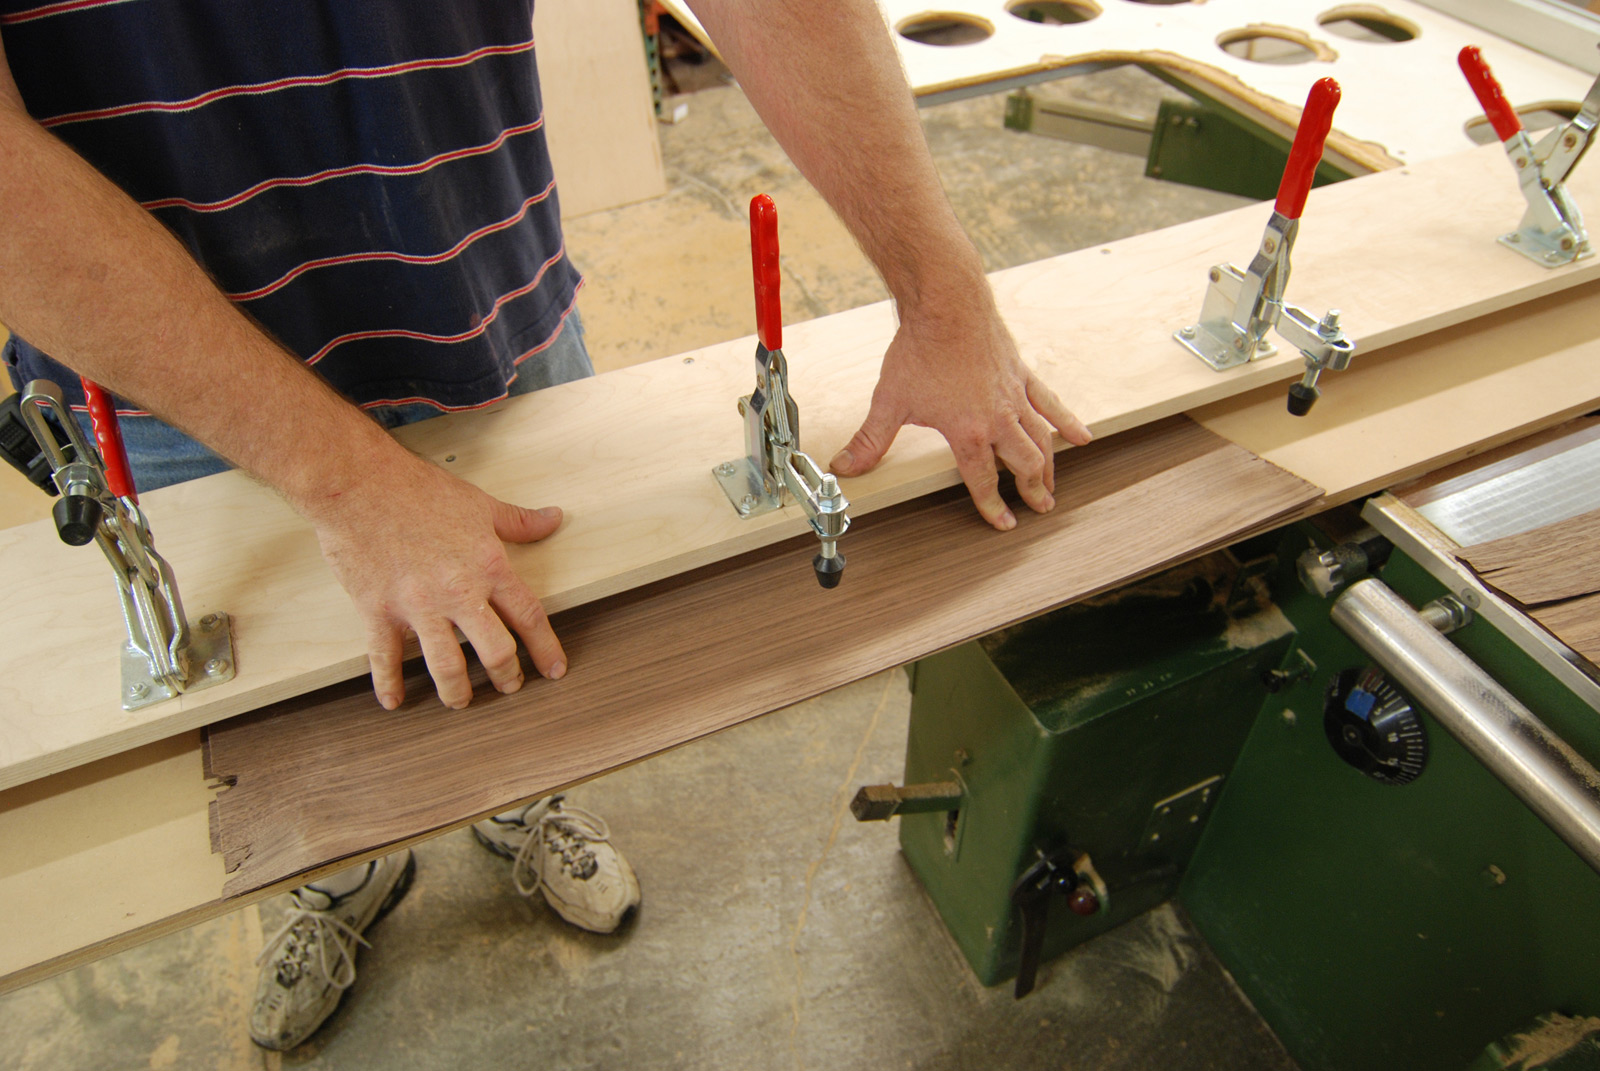
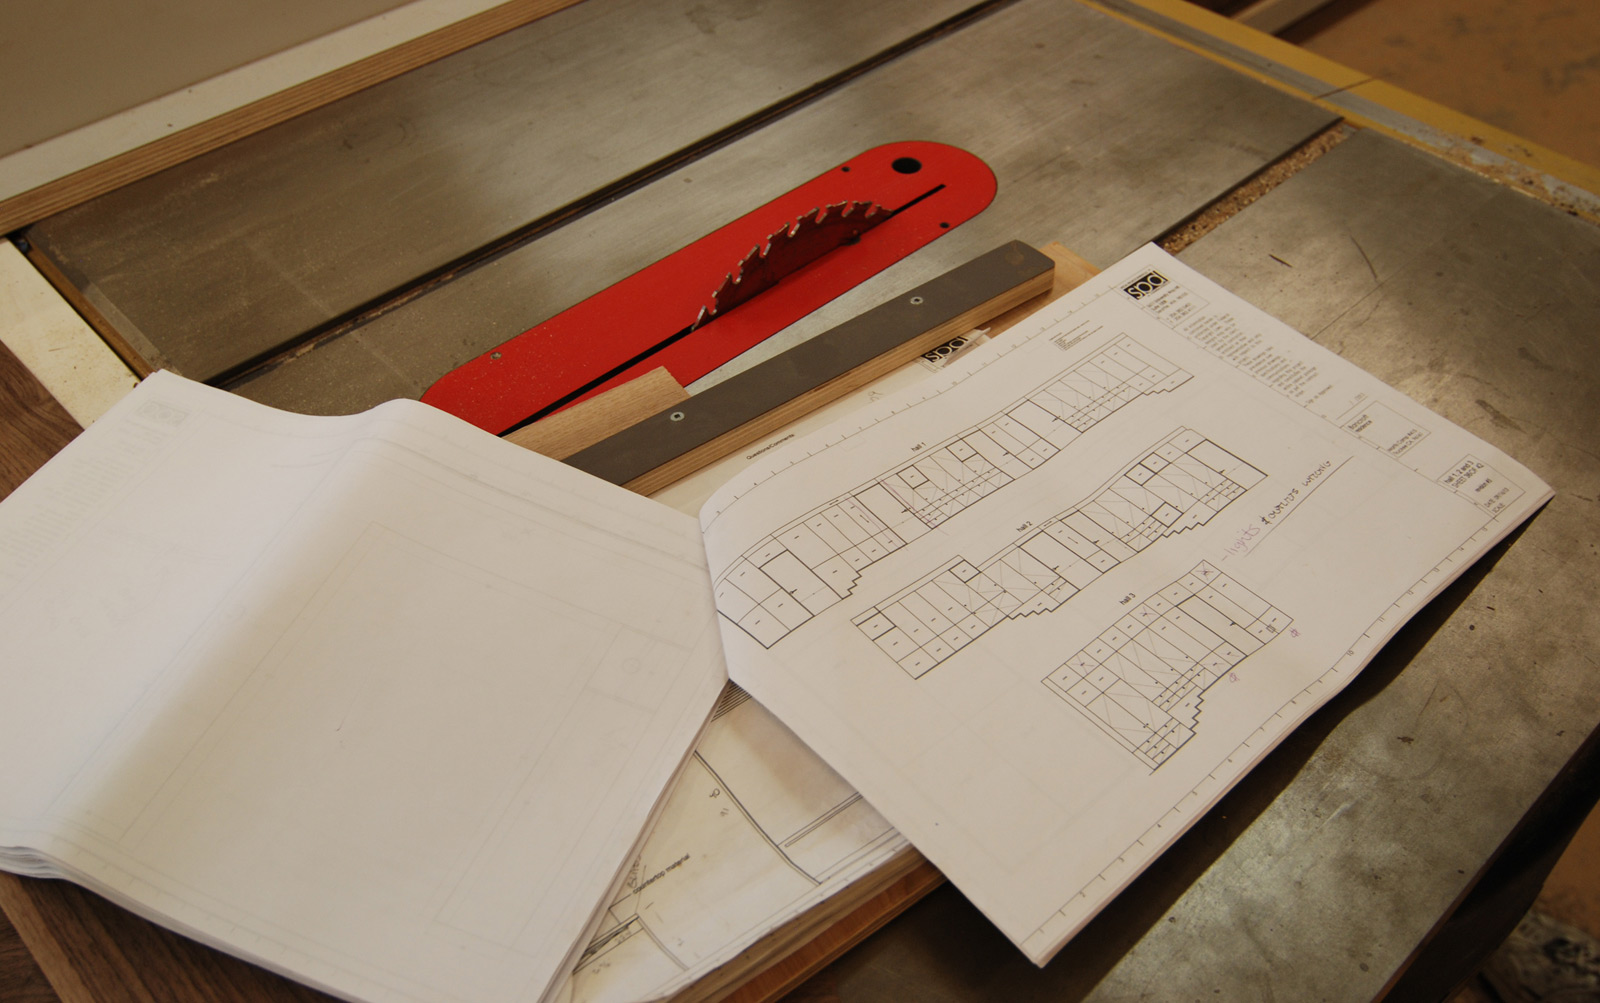
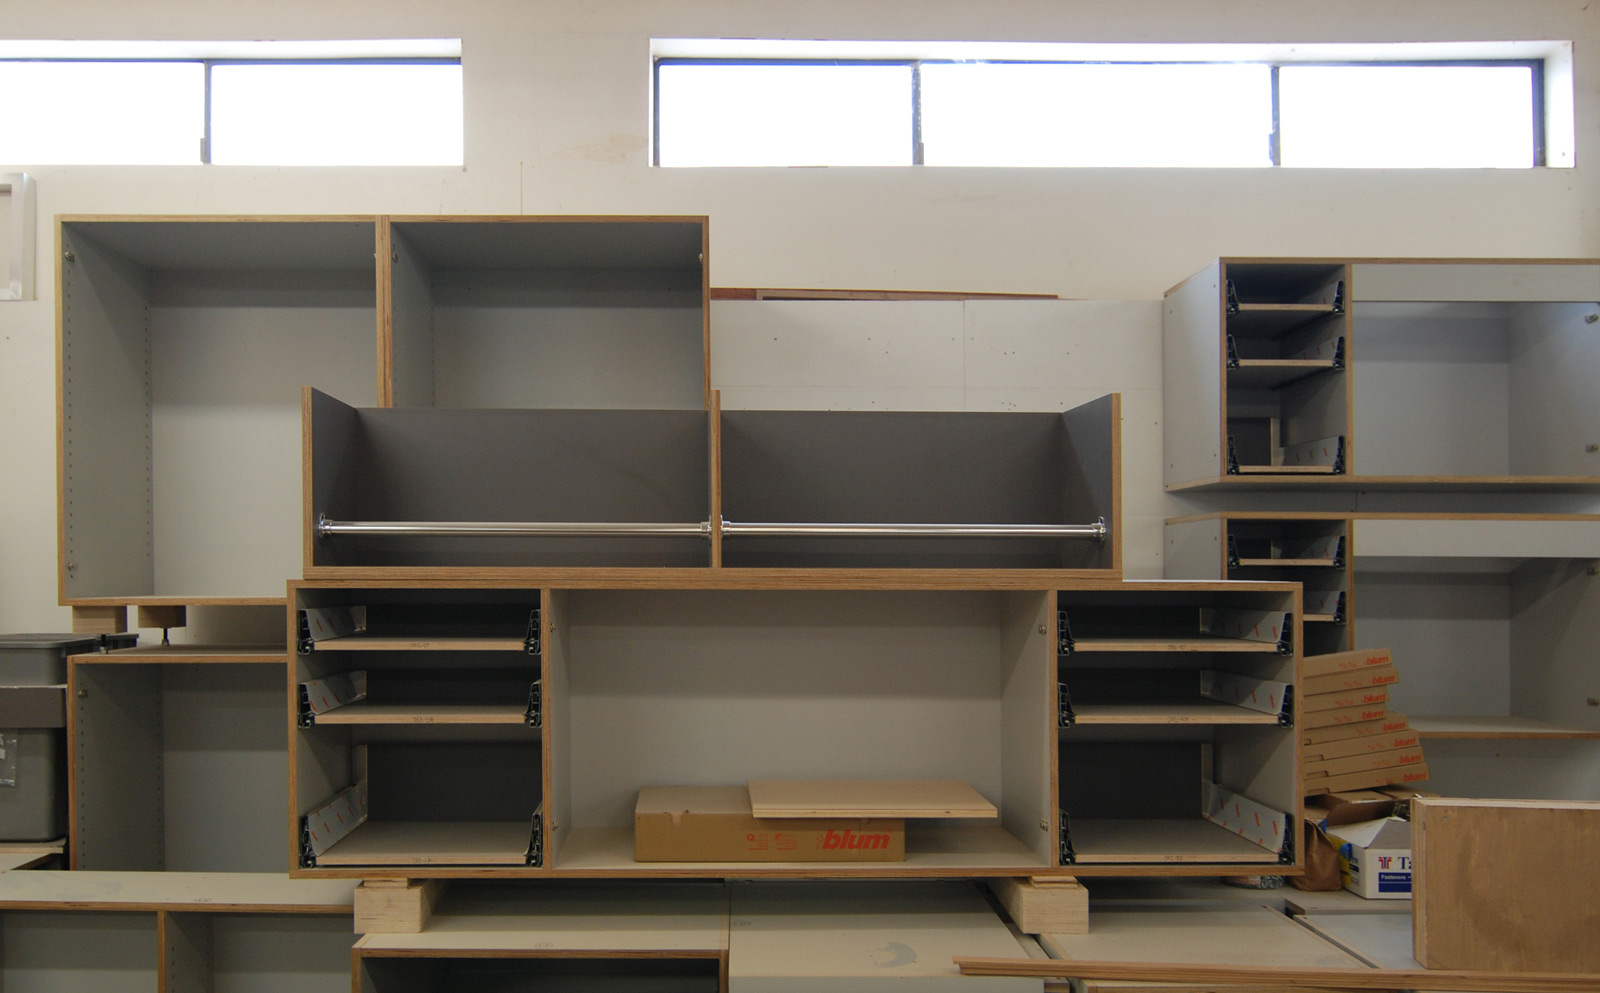
Cabinet boxes are constructed, while face panels are configured and cut. Once the face panels have been organized, the veneers can then be cut and configured to accommodate the cabinet face geometry.
With the face panel geometry of the cabinet package confirmed, SPD lays up the veneers and runs them through the vacuum press where the veneers are permanently fixed to the panels with a PVA wood veneer glue and walnut shell additive.
Final panel sizes are then cut, edge banding is applied (which is a process worthy of its own blog post), face panels receive a final sand, and then a finish coat of Rudd Duracat lacquer (satin or flat) with UV additive is spray applied.

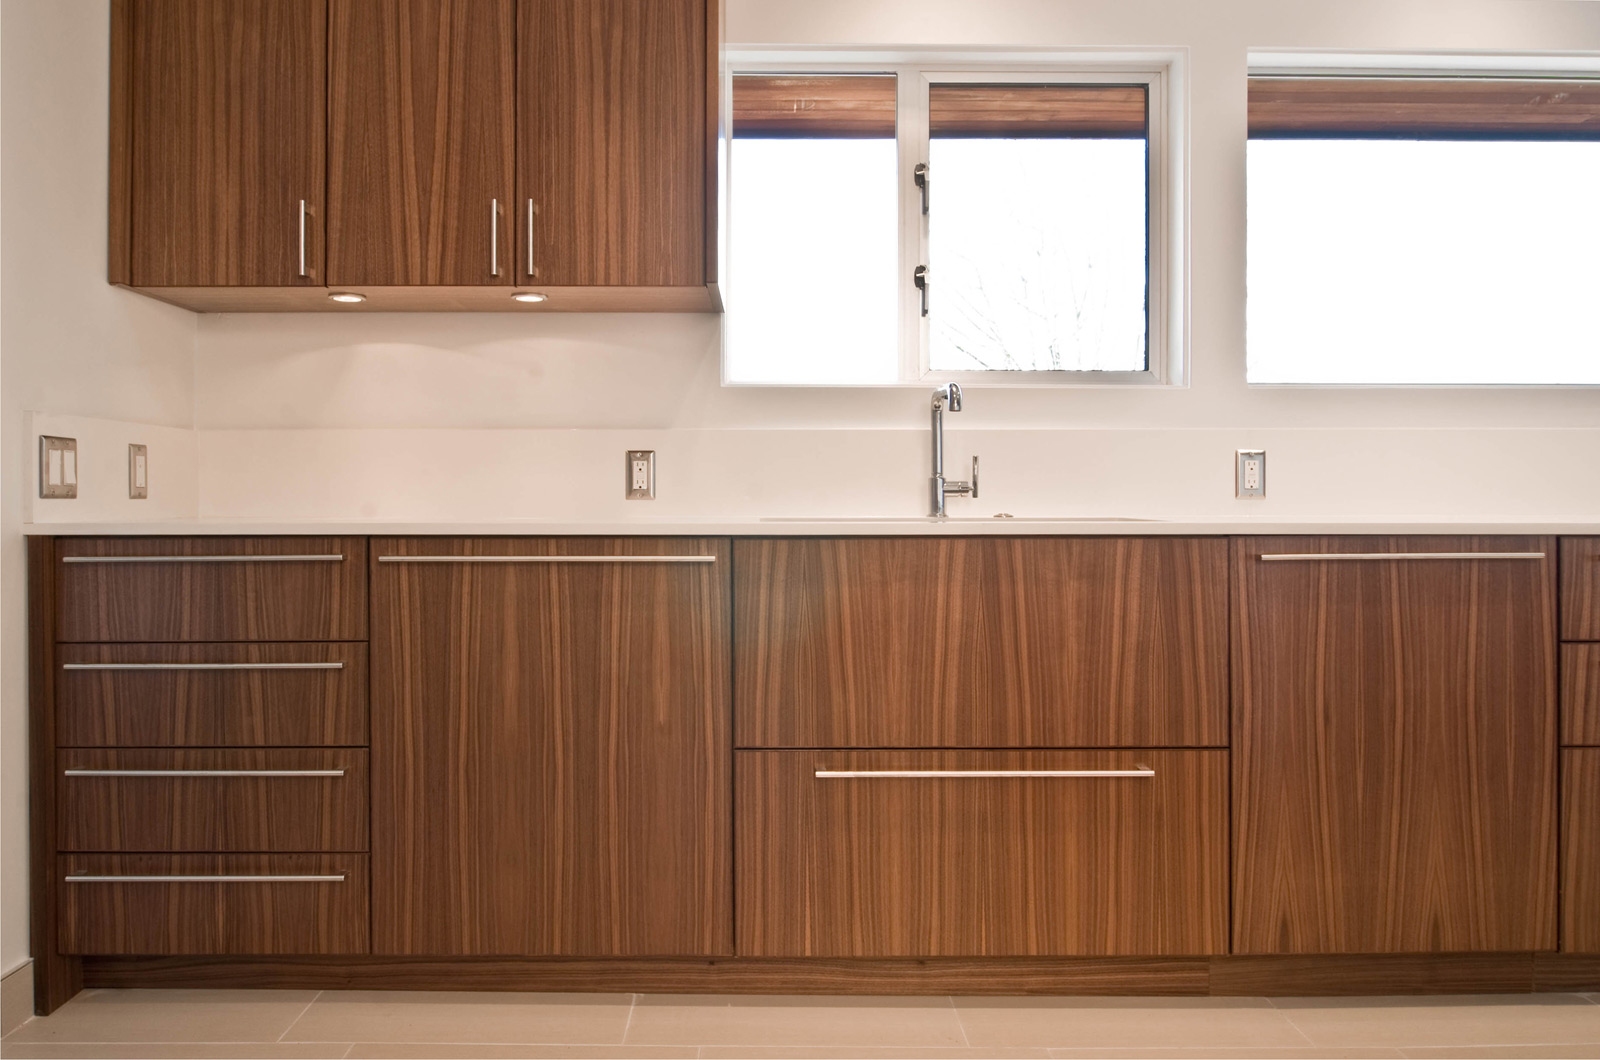
The end product of all of these meticulous details is a gorgeous and timeless cabinet package. Part of the overall harmony with a cabinet package of this caliber rests squarely on the fact that each veneer is carefully sequenced in the order that it was removed from the tree — the completed cabinet package tells a narrative of the tree as the grain pattern unwraps around the room.

A huge thanks to the SPD team who provided all of the knowledge, experience and metrics for this post.
Cheers from Team BUILD & Team SPD


