Having built up a healthy number of kitchens in our portfolio, we’ve got an accurate sense of the cost-effective, modern details that make them functional and aesthetically pleasing. With that said, there are always specific kitchen details that we’re working to finesse and advance. One such item is the venting for kitchen range/cooktop hoods, and today’s post tackles it head on. While it may seem like a trivial detail, the way in which a kitchen hood is vented commands an un-proportionally large amount of the kitchen’s aesthetics. The method of venting a kitchen hood can frame (or block) views, it can determine the cabinet geometry, and it can influence the character of the space. A carefully considered kitchen hood can look masterful, whereas ignoring this detail jeopardizes the success and congruence of the overall kitchen design.
We’ve been thinking about kitchen hood venting a great deal lately — so much so that we’ve gone full archi-nerd on this one. We’ve organized the various kitchen hood venting methods into the categories that most heavily drive the design decisions; namely whether the hood vents to the ceiling, the walls or the floor. This decision, more than any other, governs the remaining design decisions which are further broken out below. We’ll wrap up today’s post with our newest and most favored method for venting kitchen hoods.
1. VENT TO FLOOR
These types of venting systems typically run straight down to the floor framing or crawl space, then out to the perimeter of the house at or just above the foundation.
Downdraft systems
While downdraft hoods keep the space uncluttered and clean, they don’t work well enough to be taken seriously as an option. There are many different flavors of downdraft systems but even with a high, telescoping unit that’s taller than that adjacent pot of boiling water, steam still doesn’t like to be pulled sideways. Downdraft systems that are actually tall enough to function properly sacrifice the visual cleanliness the system aims to solve in the first place. Similar to their purpose, they usually appear in kitchens that are less function and more gallery.

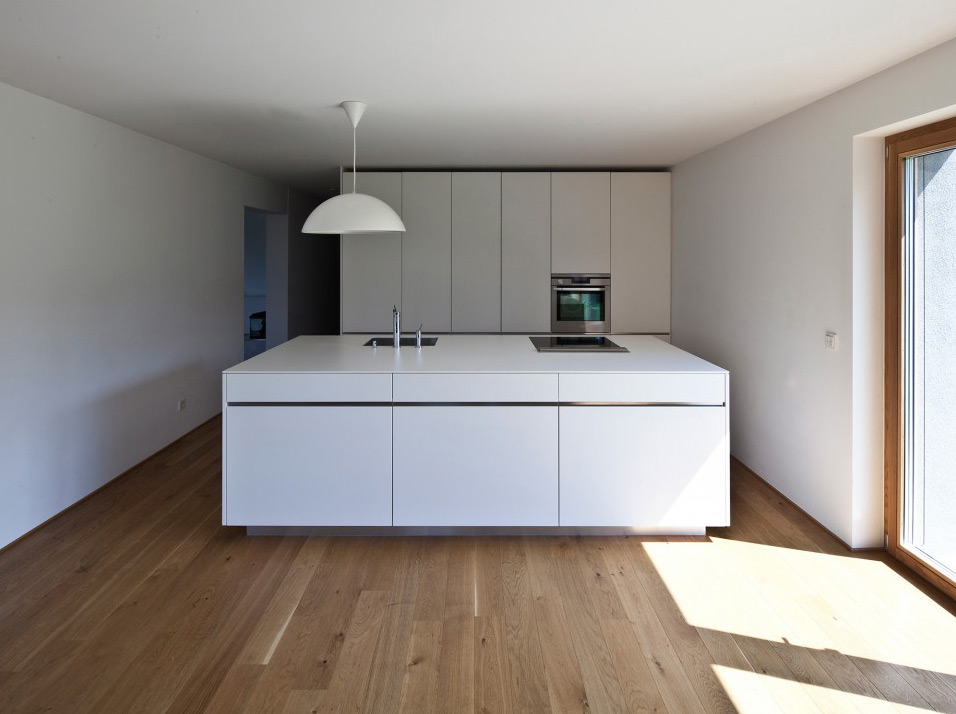
[House R by Dietrich | Untertrifaller]
2. VENT TO CEILING
Straight-forward and simple, these systems use a duct that extends directly to the ceiling. From there the duct can utilize a framing joist bay and extend to the envelope or, more commonly, the duct can continue to the roof. If the range is located on a kitchen island, it’s about the only functional option there is.
2A. Flush mounted ceiling systems
These systems include a host of hoods that are mounted in plane with the ceiling itself and because most kitchen ceilings are at least 8 feet tall, these system are simply not functional. Steam and aromas have already spread too far horizontally by the time they reach the kitchen ceiling for the hood to vent the room adequately. It’s easy to be seduced by the visual purity of a ceiling mounted hood, but we remain highly skeptical as to their function.
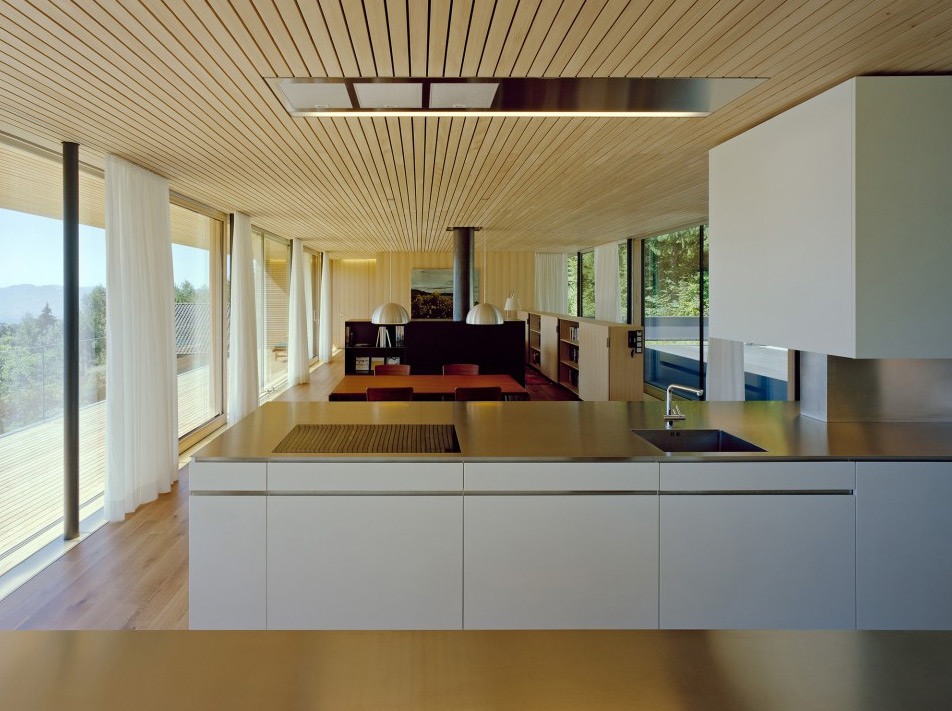
[House A by Dietrich | Untertrifaller]
2B. Fully exposed duct to ceiling
When fully exposed ducting is designed for a wall mount application, the vent typically divides the upper cabinet bank, which isn’t a bad look if done deliberately. This is a highly functional solution as the back wall and surrounding cabinets help direct the steam and aromas directly to the hood.
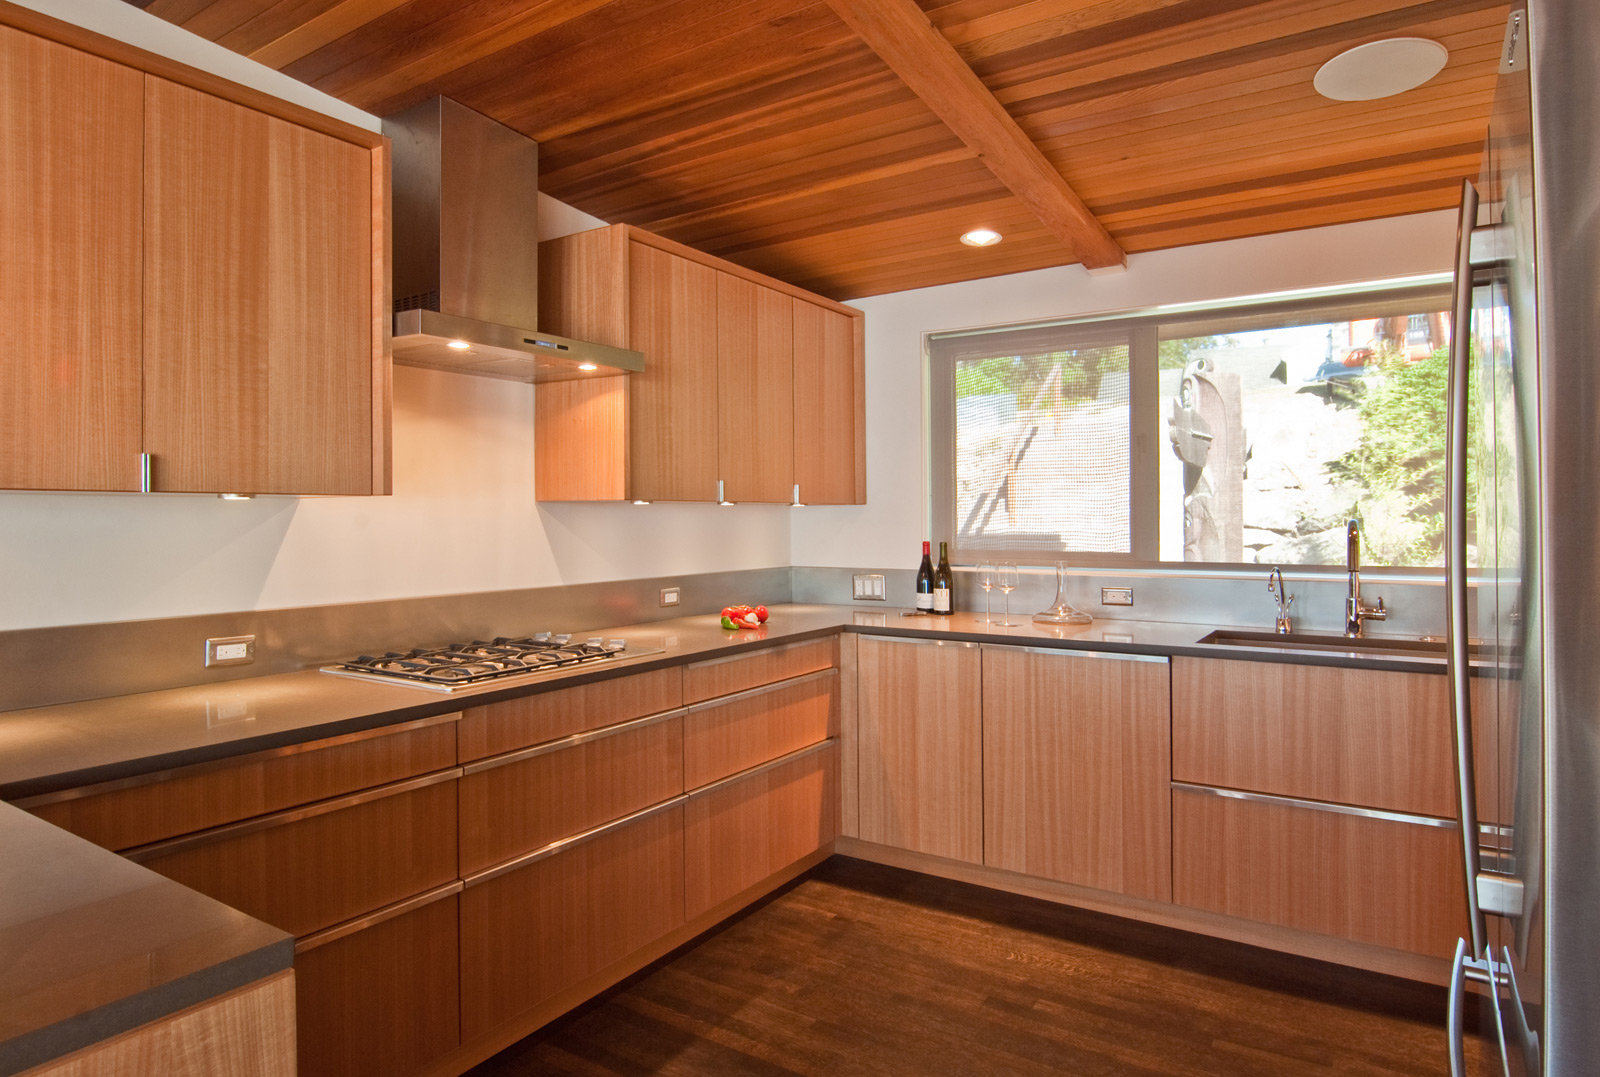
[Risley Residence by BUILD LLC, cabinets by SPD]
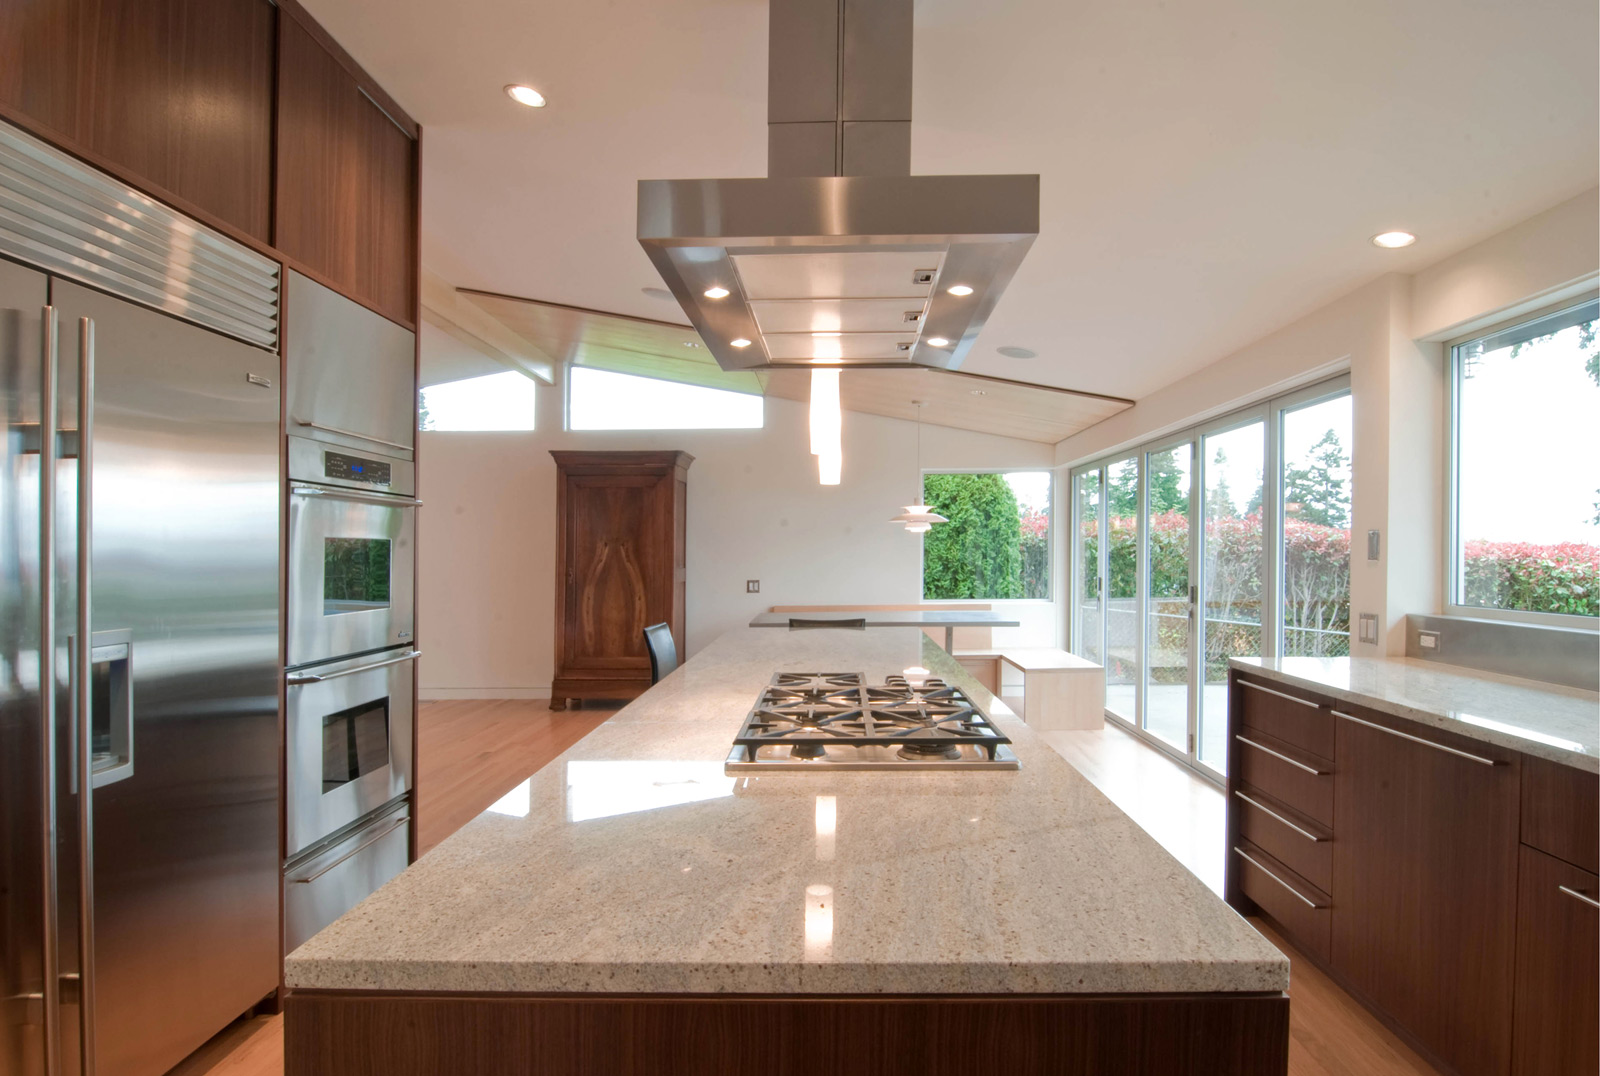
At island applications, the fully exposed ducting becomes a prominent feature in the kitchen. Accommodations should be made for an aesthetically pleasing wrap to the ducting. In the case below, a custom stainless steel housing hides the vent while complimenting the surrounding stainless steel appliances. Occasionally the hood will be sized larger than the range/cooktop below to compensate for the lack of a wall to contain steam and aromas.
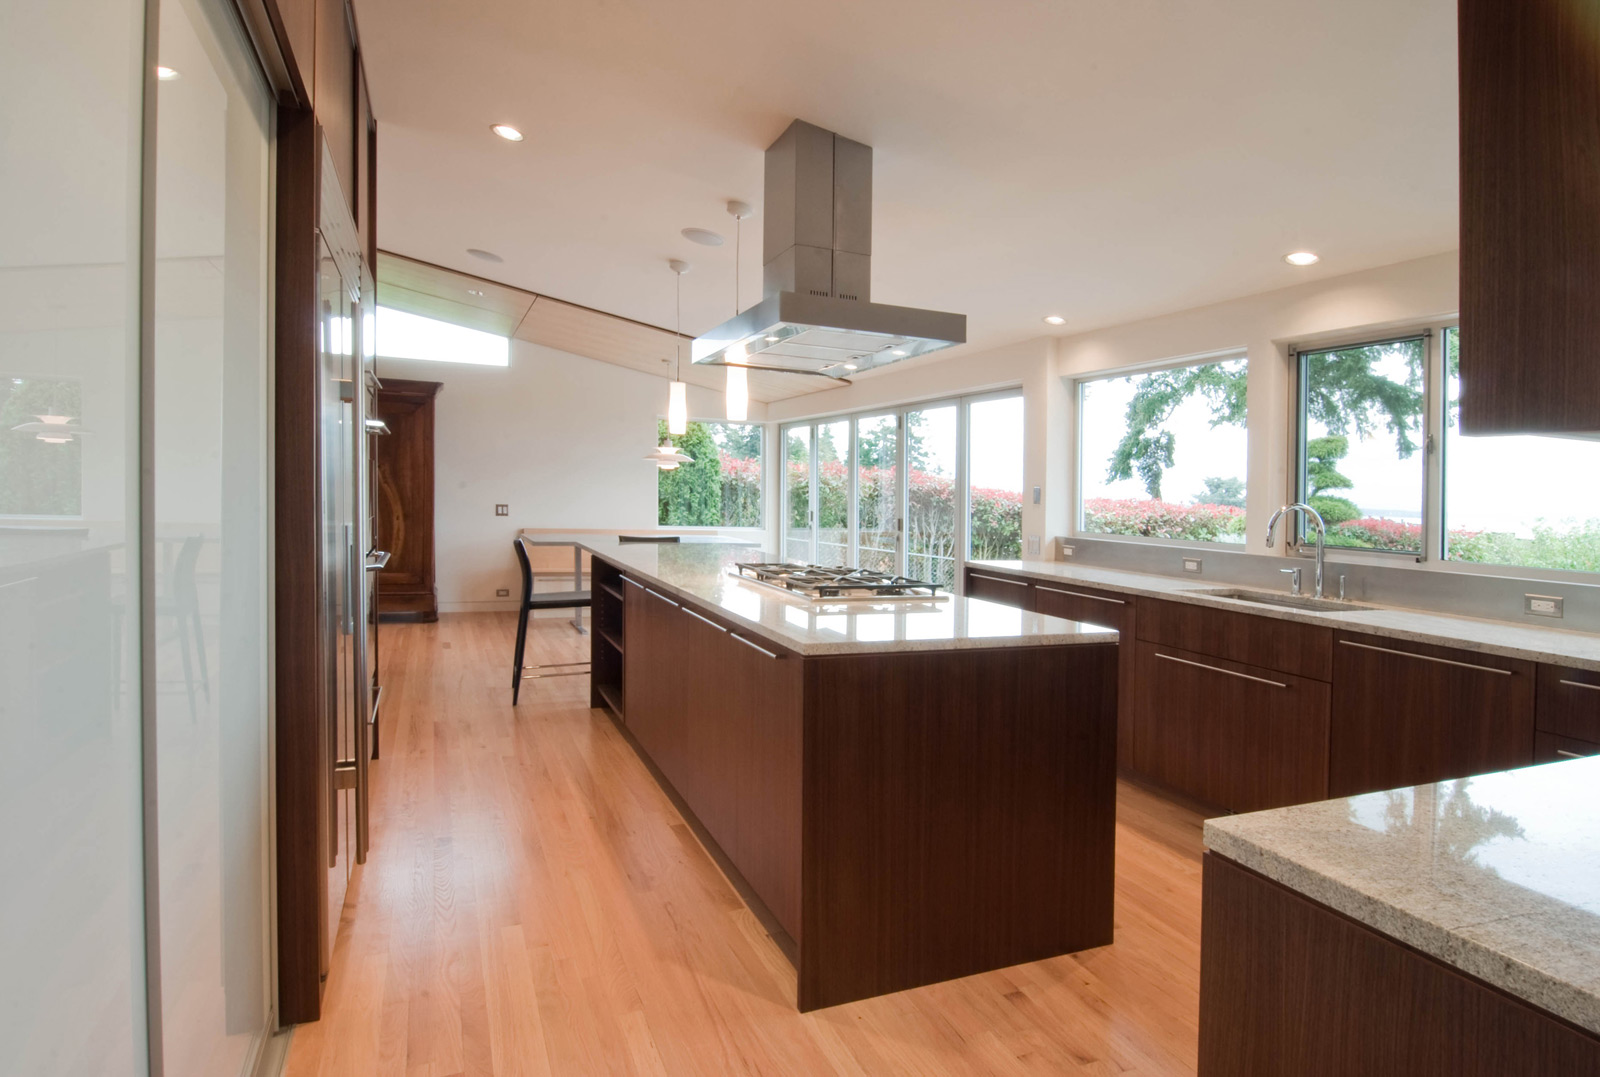
[Innis Arden Remodel by BULID LLC, cabinets by SPD]
There are numerous variations of the island application such as a full extension of the hood geometry to the ceiling or a hood geometry that outlines the island below. These unapologetic solutions keep the lines clean and modern while making a handsome feature out of the hood and vent.

[Tolmie Residence by Batersby Howat]
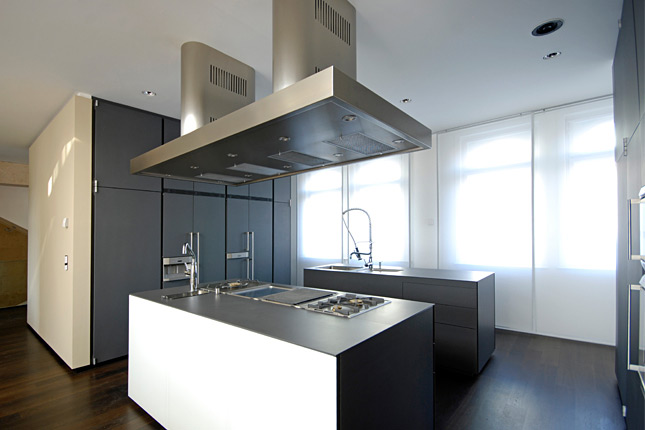
[Penthouse Wien by junger_beer]
2C. Partially concealed duct to ceiling
Typically found with wall mounted systems, the ducting in this application is partially covered to blend in with adjacent materials. Both assemblies below use a panel in front of a portion of the duct to keep a consistent look with the adjacent cabinets. In some cases it’s practical to make this panel operable for a bit of additional storage. The top of the vent is still exposed (wrapped with stainless steel in both designs) but is visually pushed to the background.
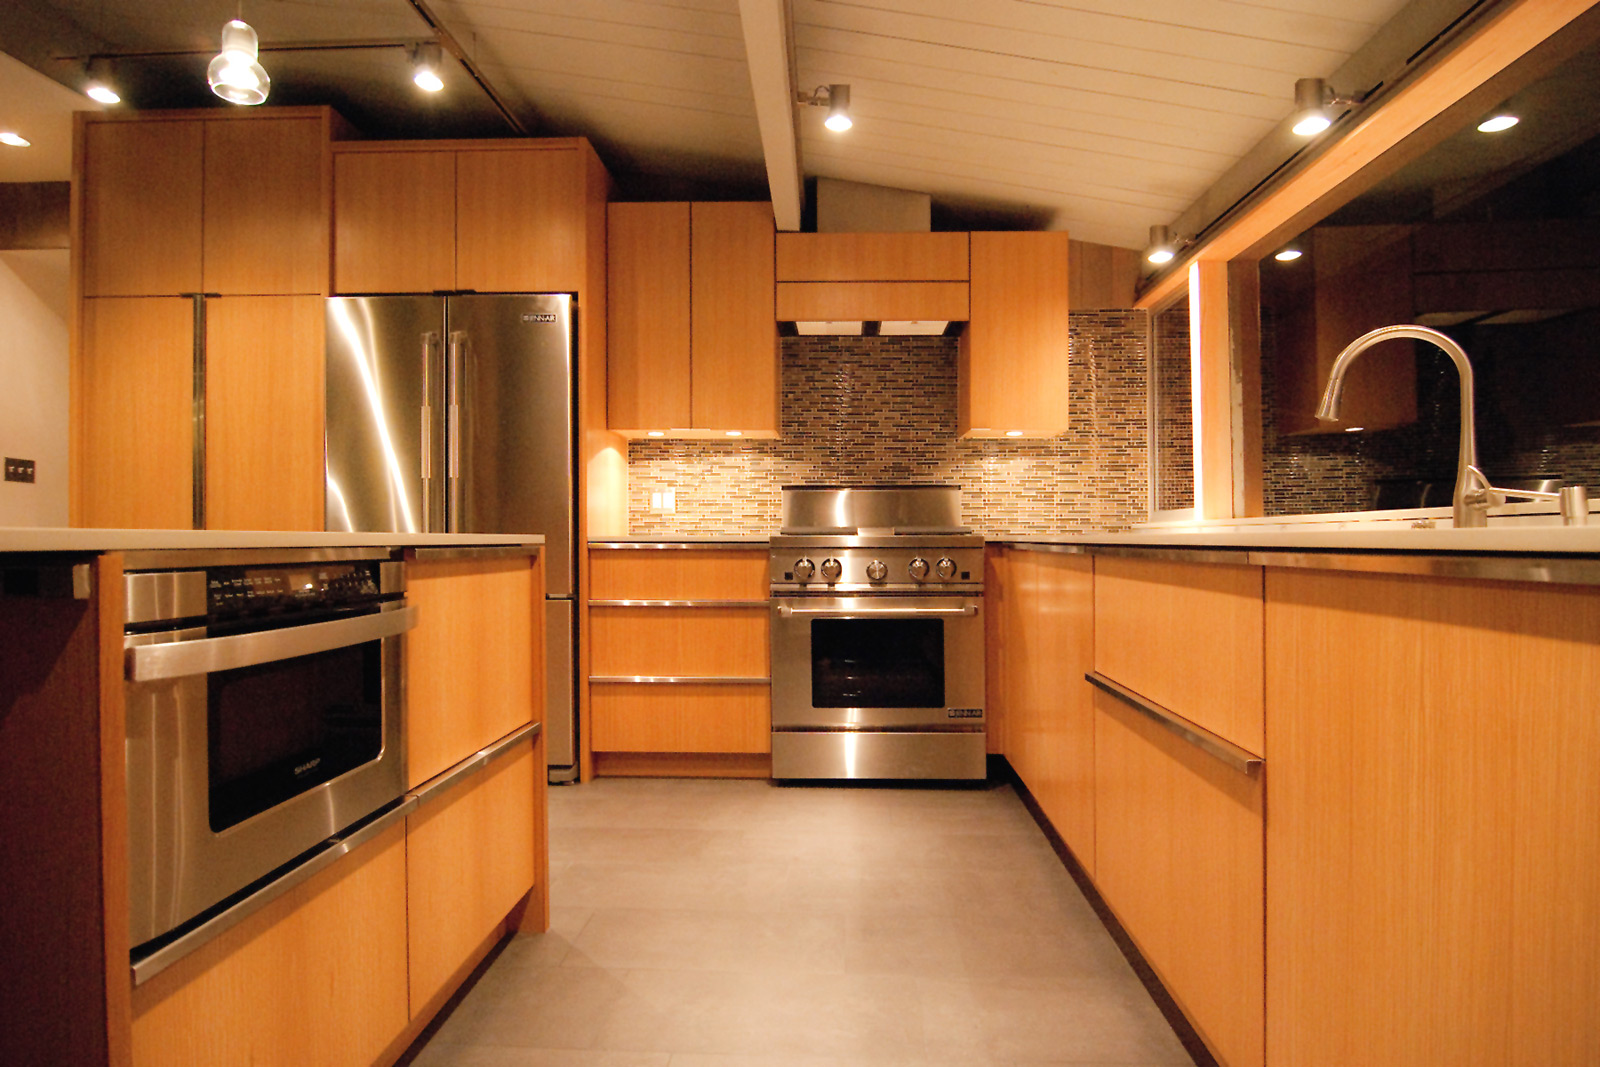
[Mackie Remodel by BUILD LLC, cabinets by SPD]
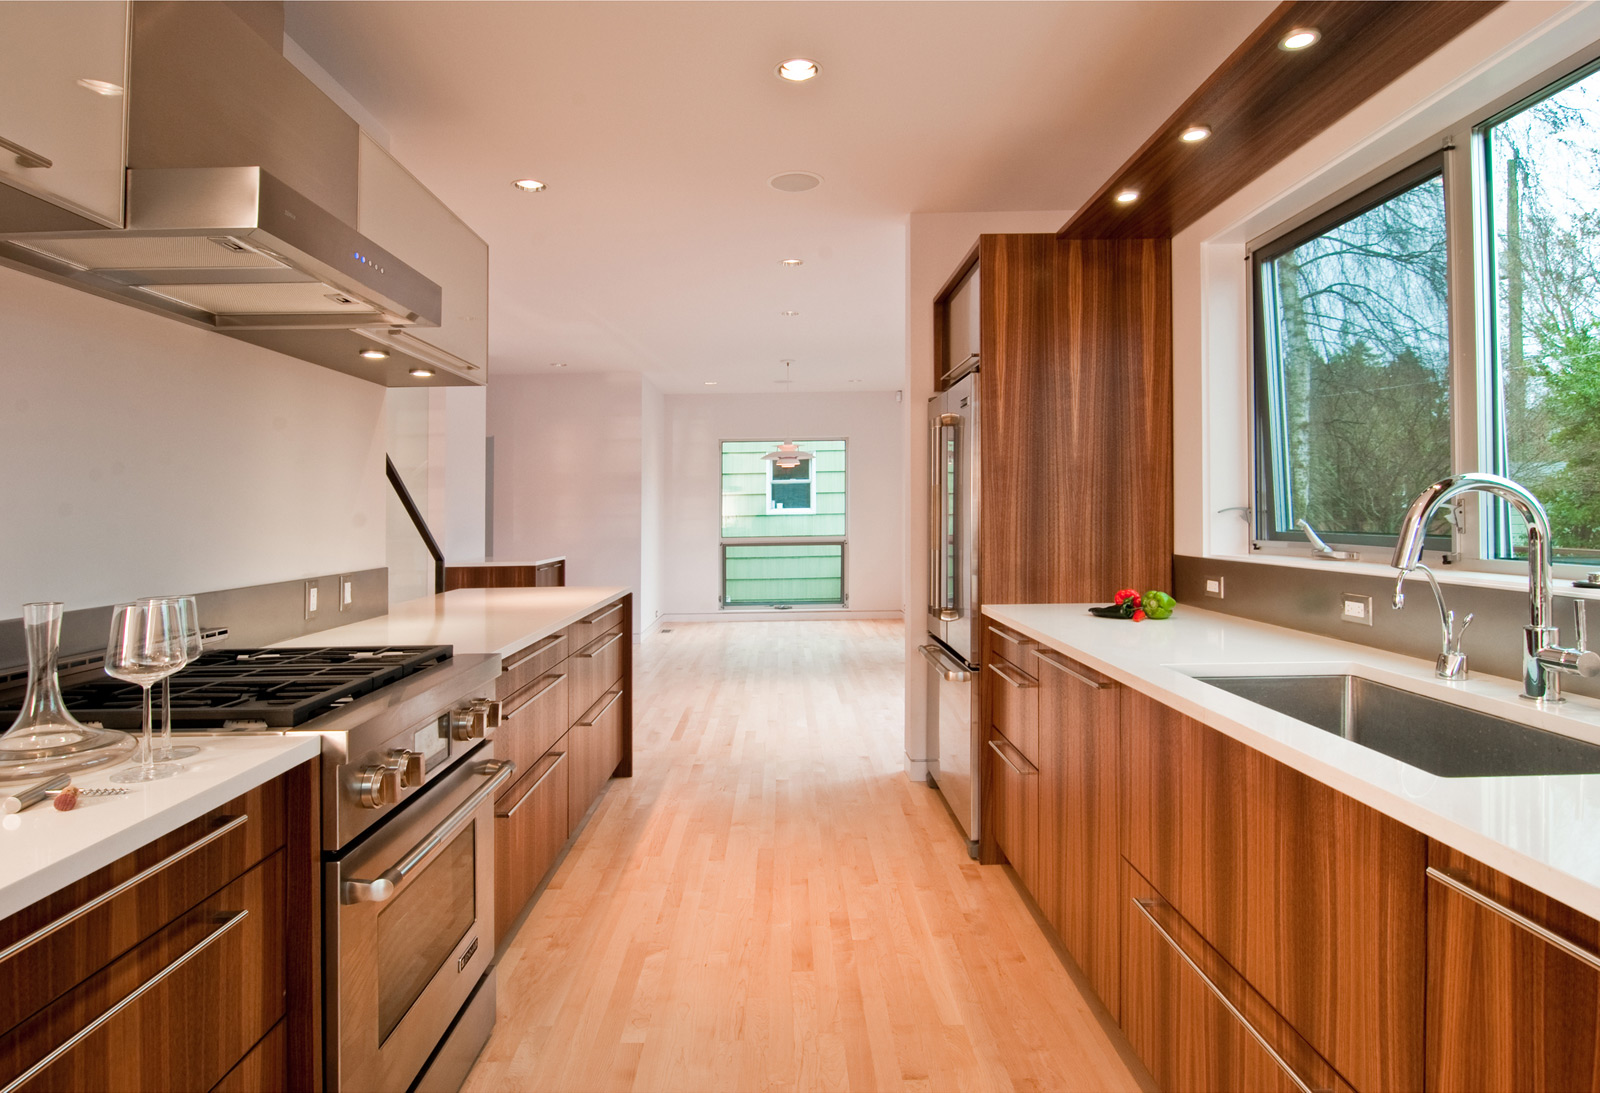
[Kirsch Residence by BUILD LLC, cabinets by SPD]
2D. Fully concealed duct to ceiling
The ducting (and sometimes even the hood) is entirely covered in this application. It’s a nice, clean look that requires some foresight with design strategies like lower ceilings, drop soffits, or higher cabinets.
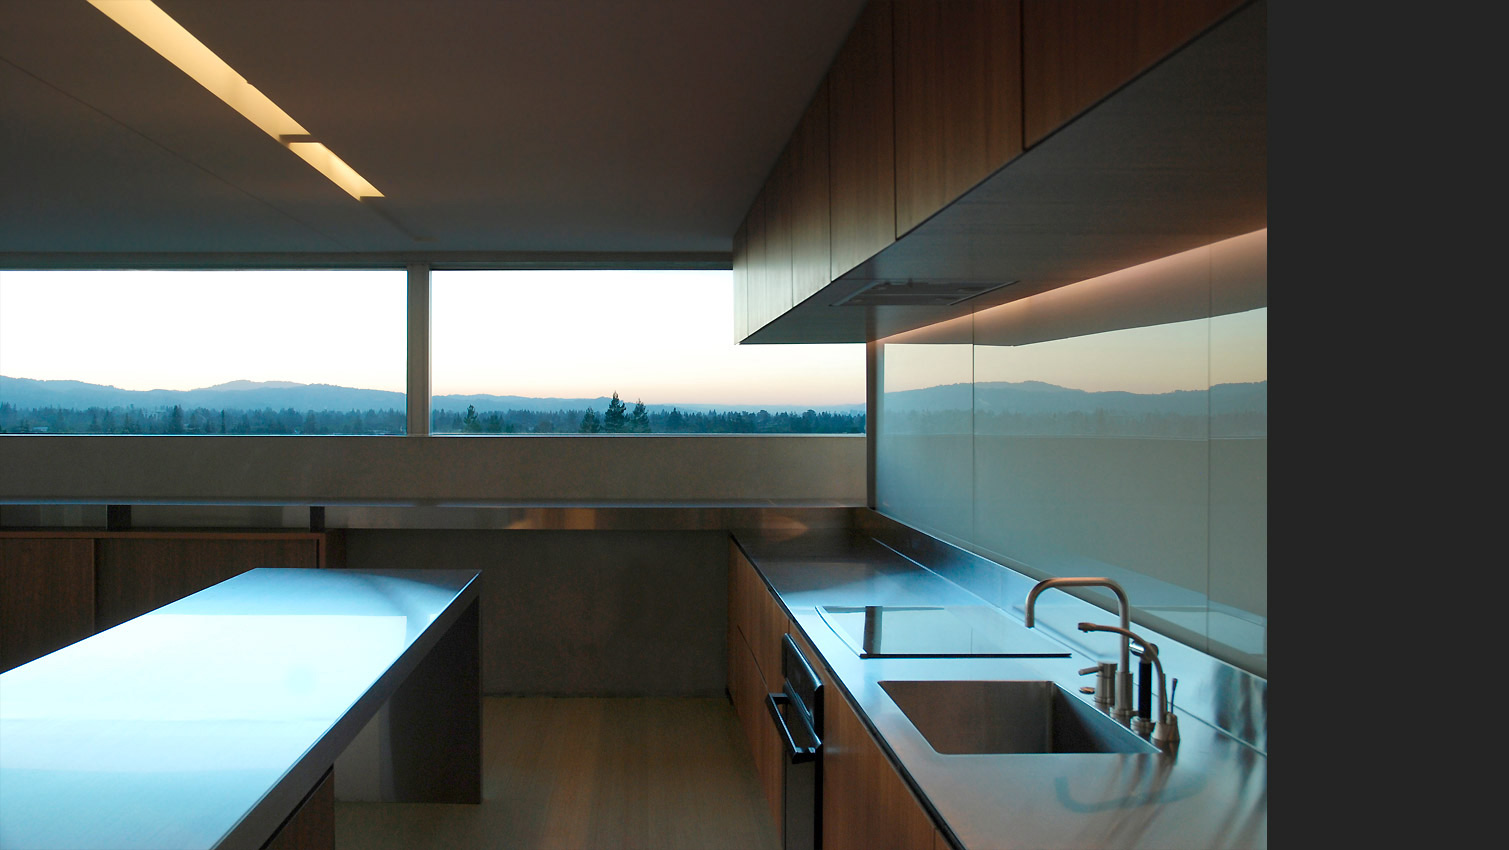
[Shift Loft by Aidlin Darling]
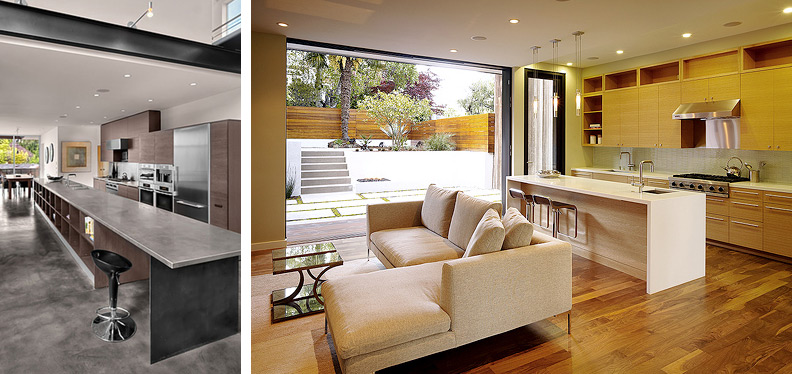
[Sawtooth House by Eric Cobb and Hill Street by JMA]
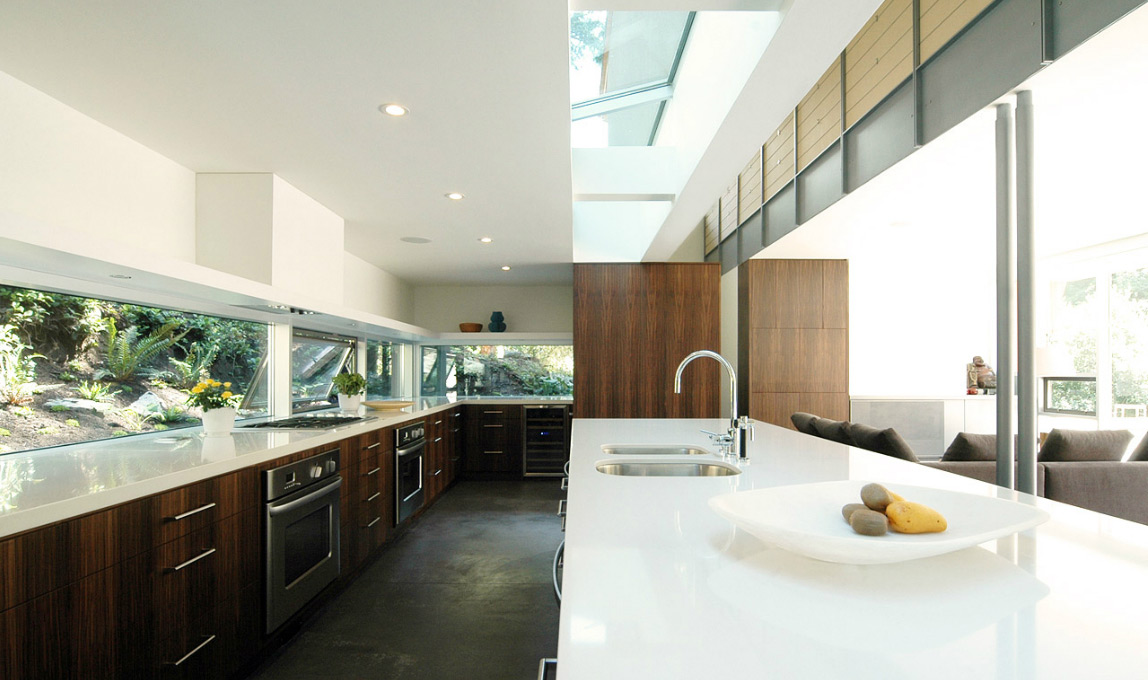
[Bonetti Residence by Battersby Howat]
3. VENT TO WALL
Because this system uses an exterior wall mounted vent, the interior ducting need only extend so far up the wall. The duct needs to continue far enough vertically to draw the air correctly, at which point a 90 degree duct elbow terminates the interior ducting. While this application offers more flexibility, it can actually be challenging to find an appropriate location to end the ducting and/or conceal it.
3A. Fully exposed, partial height duct at wall
Honest and authentic, fully exposing the hood duct reveals exactly what the mechanics are doing.
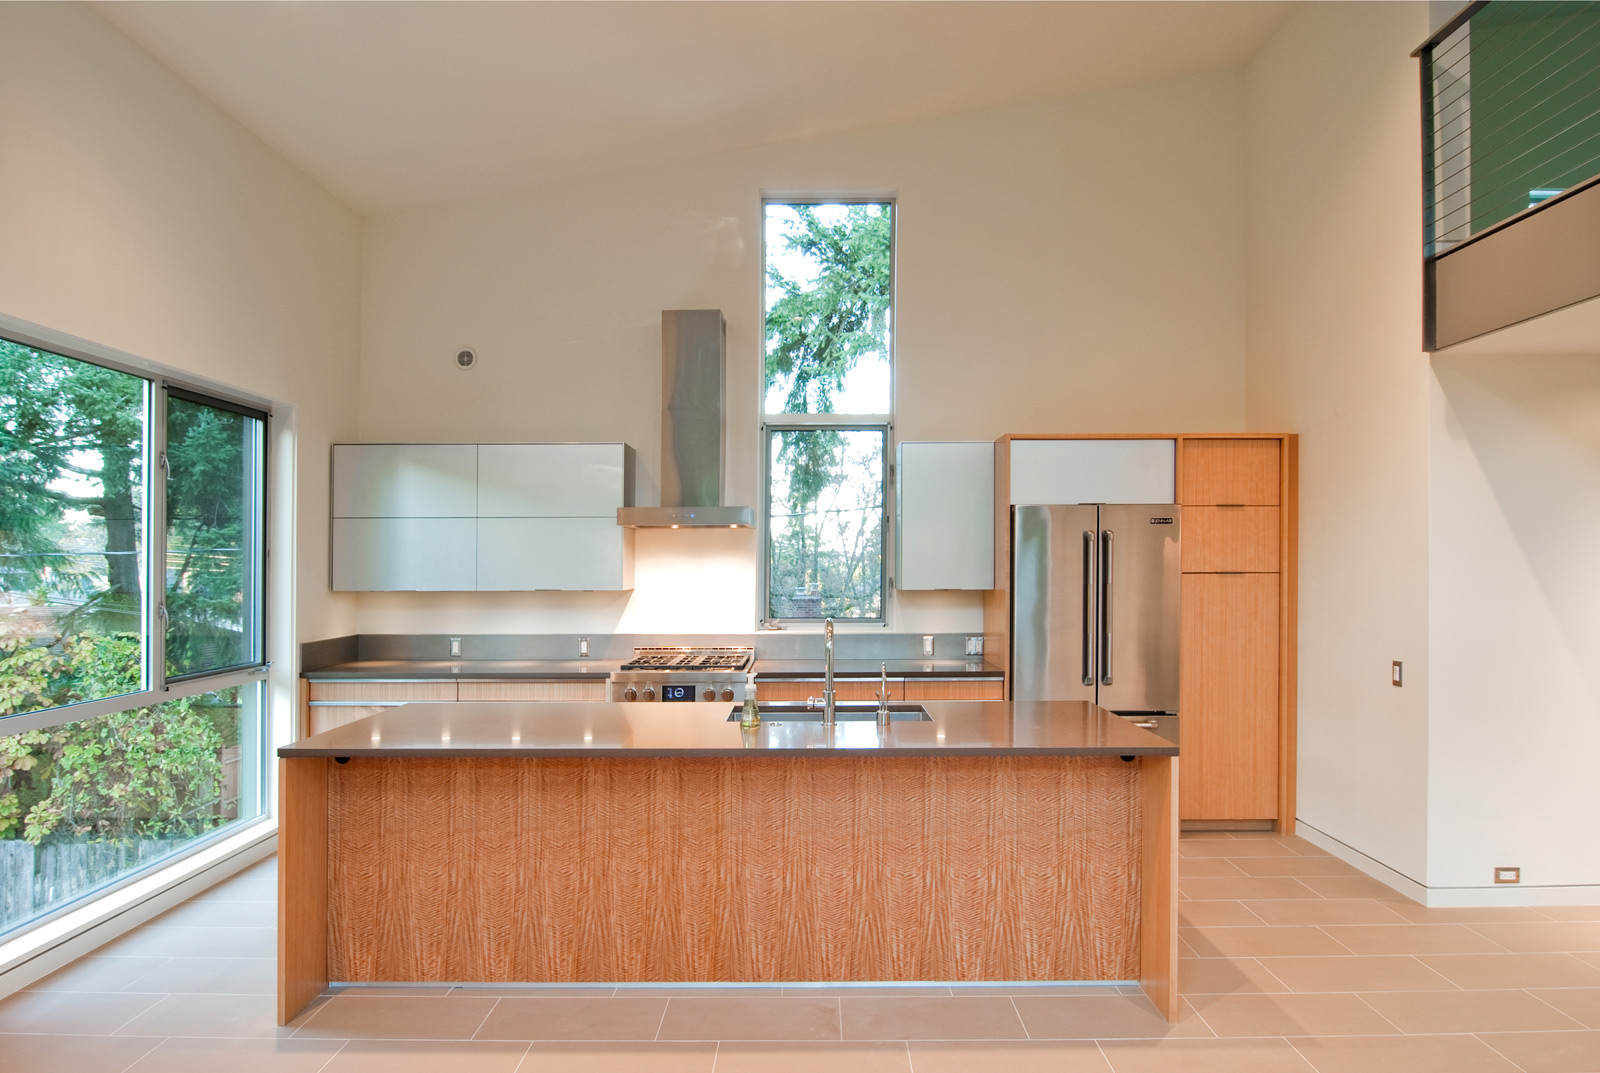
[Case Study House by BUILD LLC, cabinets by SPD]
3B. Partially exposed, partial height duct at wall
Because the ducting requires more vertical run than allowed within the cabinet height, the ducting is partially concealed behind a cabinet panel. In the application below, a stainless steel box is installed on top of the cabinet uppers to house the duct elbow.
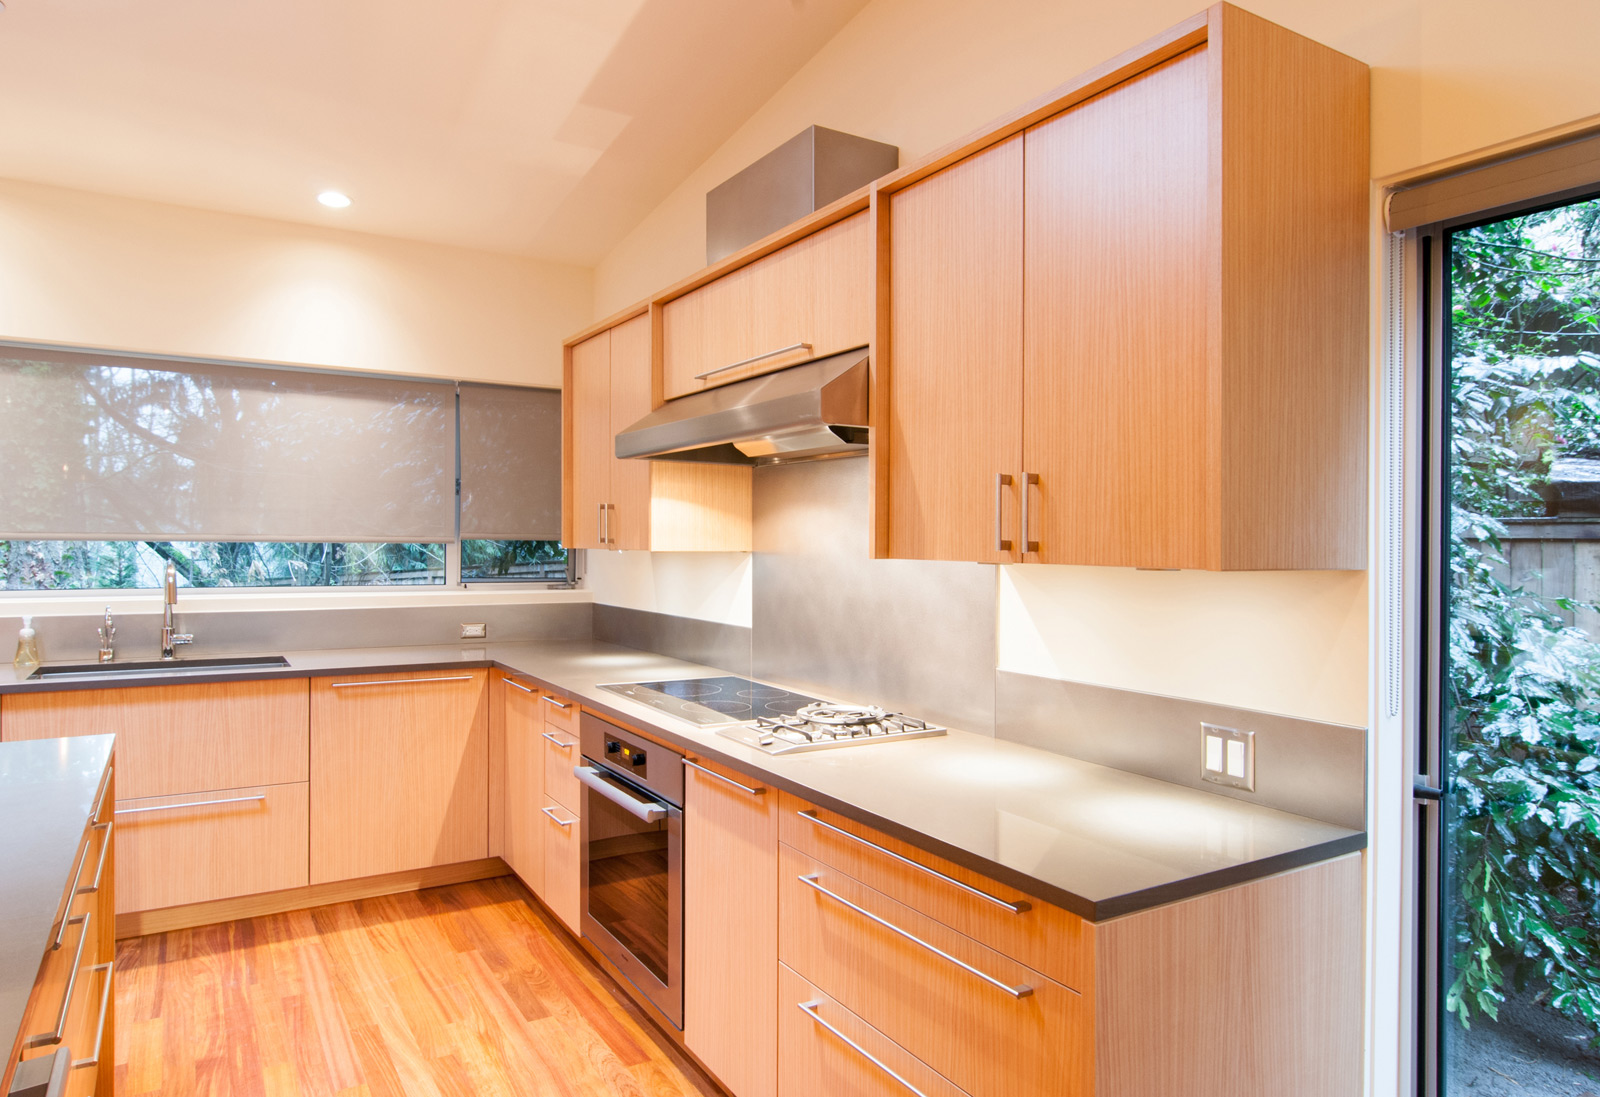
[Beaux Arts Village Residence by BUILD LLC, cabinets by SPD]
3C. Fully concealed duct at wall
As mentioned above, the required vertical run of the ducting and the typical height of cabinet uppers are at odds with one-another, making the fully concealed application more difficult at wall vents. So difficult, in fact, that we couldn’t find any built examples (not that they don’t exist, we just didn’t come across any in our research). And it is precisely this niche where hood venting could use a bit of innovation. Given our access to the Special Projects Division cabinet shop, we dove into our standard cabinet details and worked closely with the knowledgeable techs over at Metropolitan Appliance to devise a solution. By specifying a low profile hood, the Imperial WH2000-PSB (only 6” tall), and combining it with a tight 7” diameter duct elbow (+/- 10” high), the entire assembly adds up to a mere 16”.
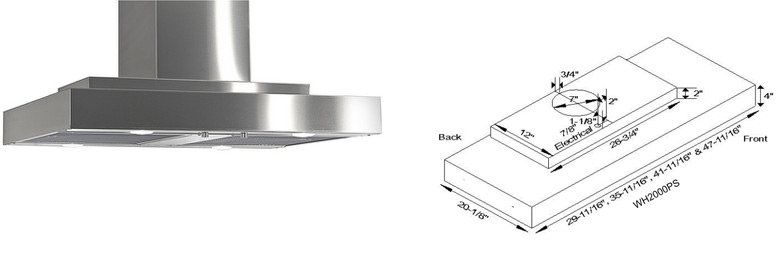
Mounting the bottom of the hood 6’-0” above the floor (so that taller individuals aren’t constantly bumping their head) and exposing the 4” hood extension, the remaining mechanics can be concealed within a 12” high cabinet panel (or a 16” cabinet panel if an 8” diameter duct is used). This required one simple move from the cabinet shop end of things; moving the horizontal datum line of the upper cabinets from 88” (our previous standard) to 93” (our new standard). The end result is drawn up in the elevation study below.

It should be a clean subtle look that provides plenty of function while keeping a consistent line of cabinets around the kitchen. We’ll be implementing this solution on our upcoming projects so stay tuned for the built results.
Cheers from team BUILD.


