With over a decade of designing and building under our belt, we’ve got a process that works incredibly well. Even still, we’re constantly searching for ways to improve upon that process, and there’s no shortage of opportunities in the translation between drawing and building.
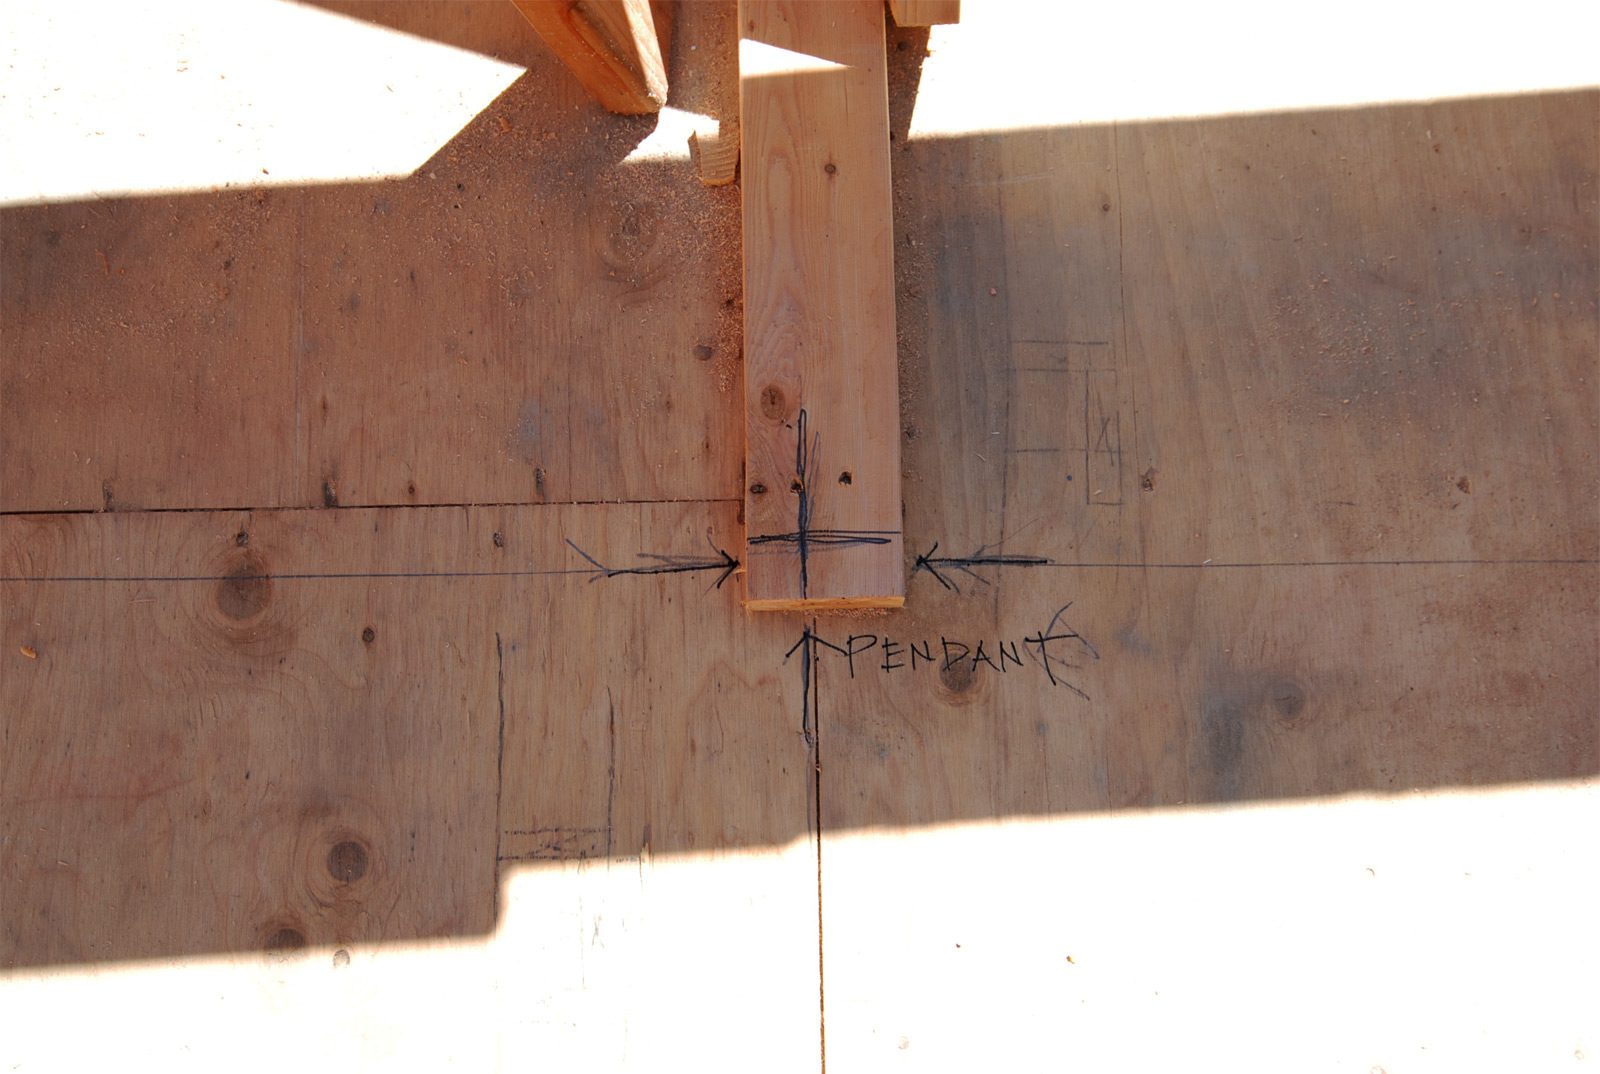
On the last couple projects, we’ve started to add a relatively quick and easy step to streamline our design intent with what is constructed. Almost literally, we’re drawing on the jobsite. We’ve started to mark our construction site with the light fixture locations. Marking overhead lights helps the framers know which areas need to be clear of joists. It’s also a helpful exercise for us as architects, as we see firsthand how the final build will come together at full scale. It doesn’t take very long, and in the end is worth our time; we avoid the time and energy lost in having joists relocated. Here are the top 5 things we’ve learned along the way:
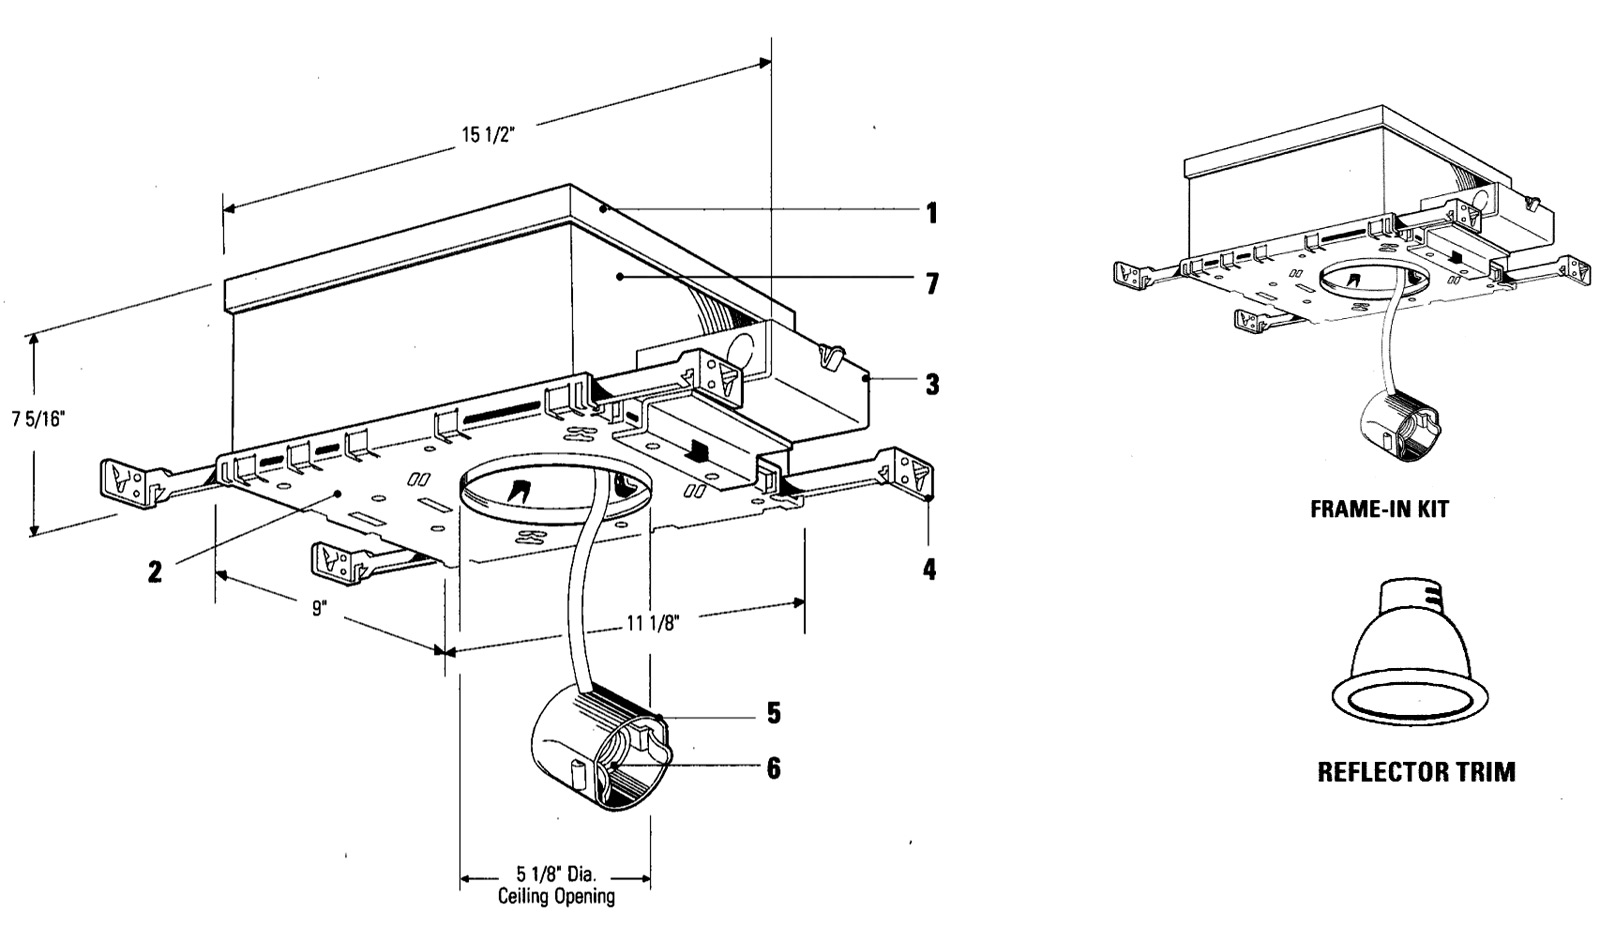
1. Know your clearances. The typical Lightolier recessed can lights we specify require a chunk of space — a 5″ diameter can light requires a recessed box 9″ x 15-1/2″ — and this exercise has proved to be an important step to avoid reframing down the road.

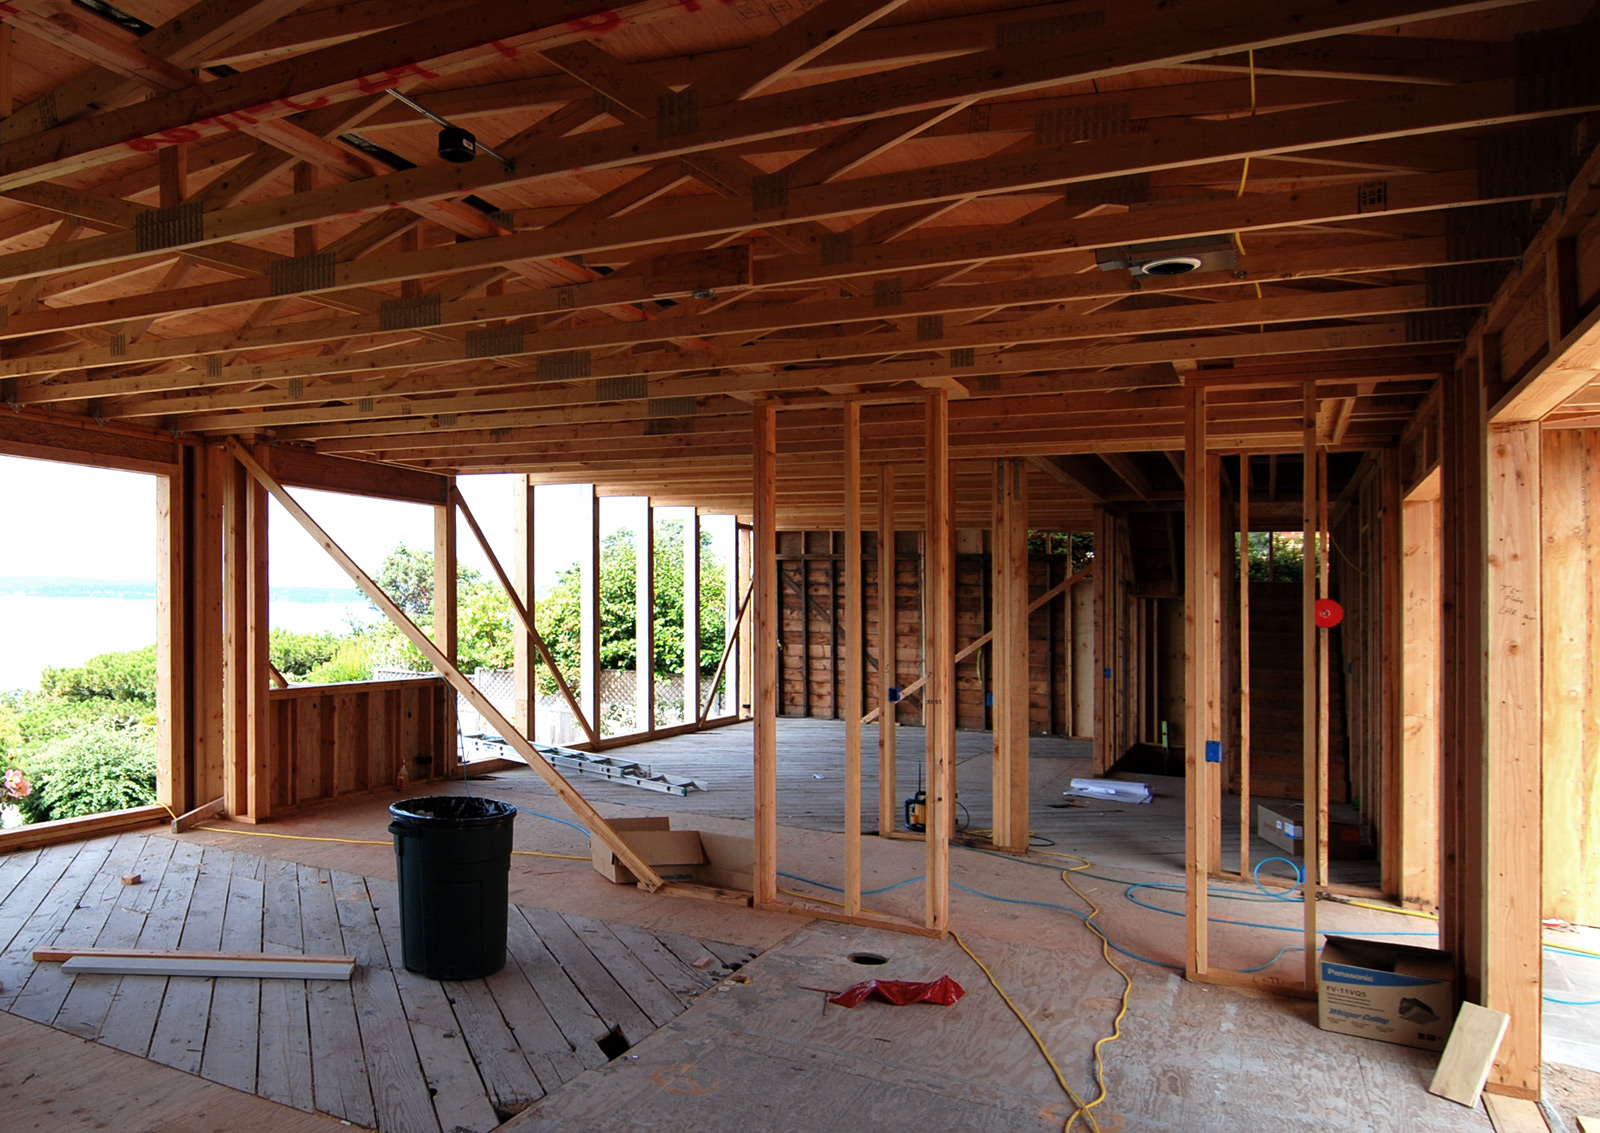
2. Alignment is key. Not only does aligning elements in a space just look better, but it avoids having to make adjustments for too many joists. The recessed can lights in the image below are aligned within the same joist bays, making an efficient relationship between the lighting plan and structural layout.

3. Use it as a final check. It’s one last chance to tweak locations, quantities, and configurations of lighting while we’re in the full-scale space. You’re essentially marking up the building like you’d redline a set. Except the do-over is a bit more complicated than a couple keystrokes.

4. It’s about the experience. There’s a leap between a nicely aligned two-dimensional drawing and a harmonious experience of a three-dimensional space. It’s important to prioritize center-line relationships to windows, doors, and other elements as a person would experience the space. Often the 3-dimensional experience is different from the geometry of a 2-dimensional floor plan and the jobsite markings help translate between the two.

5. Bring the right tools. A pencil and fresh sharpie (or two), a plywood eraser (aka sandpaper) for those ctrl-z moments, and optional spray paint if you want to really highlight your marks. An extra hand is also helpful in speeding up the exercise.

Cheers from Team BUILD


