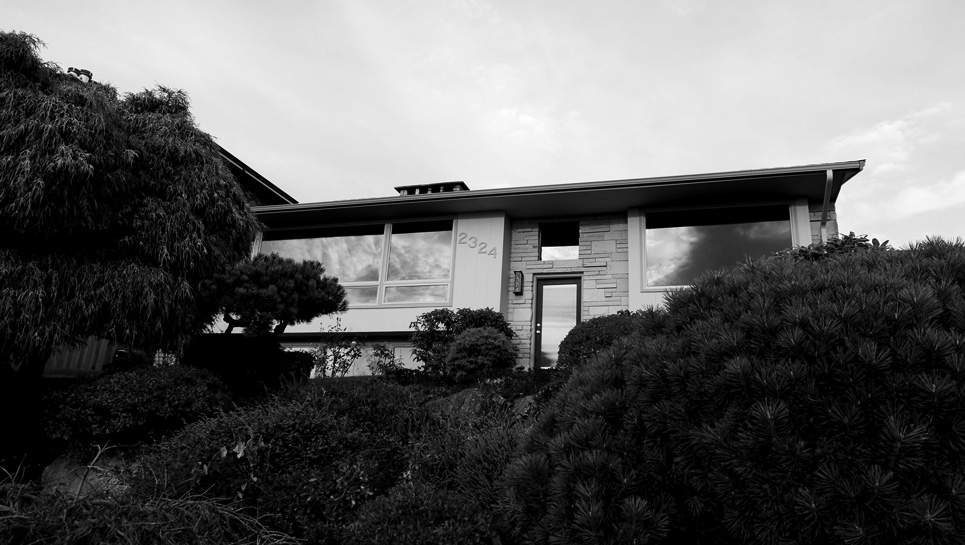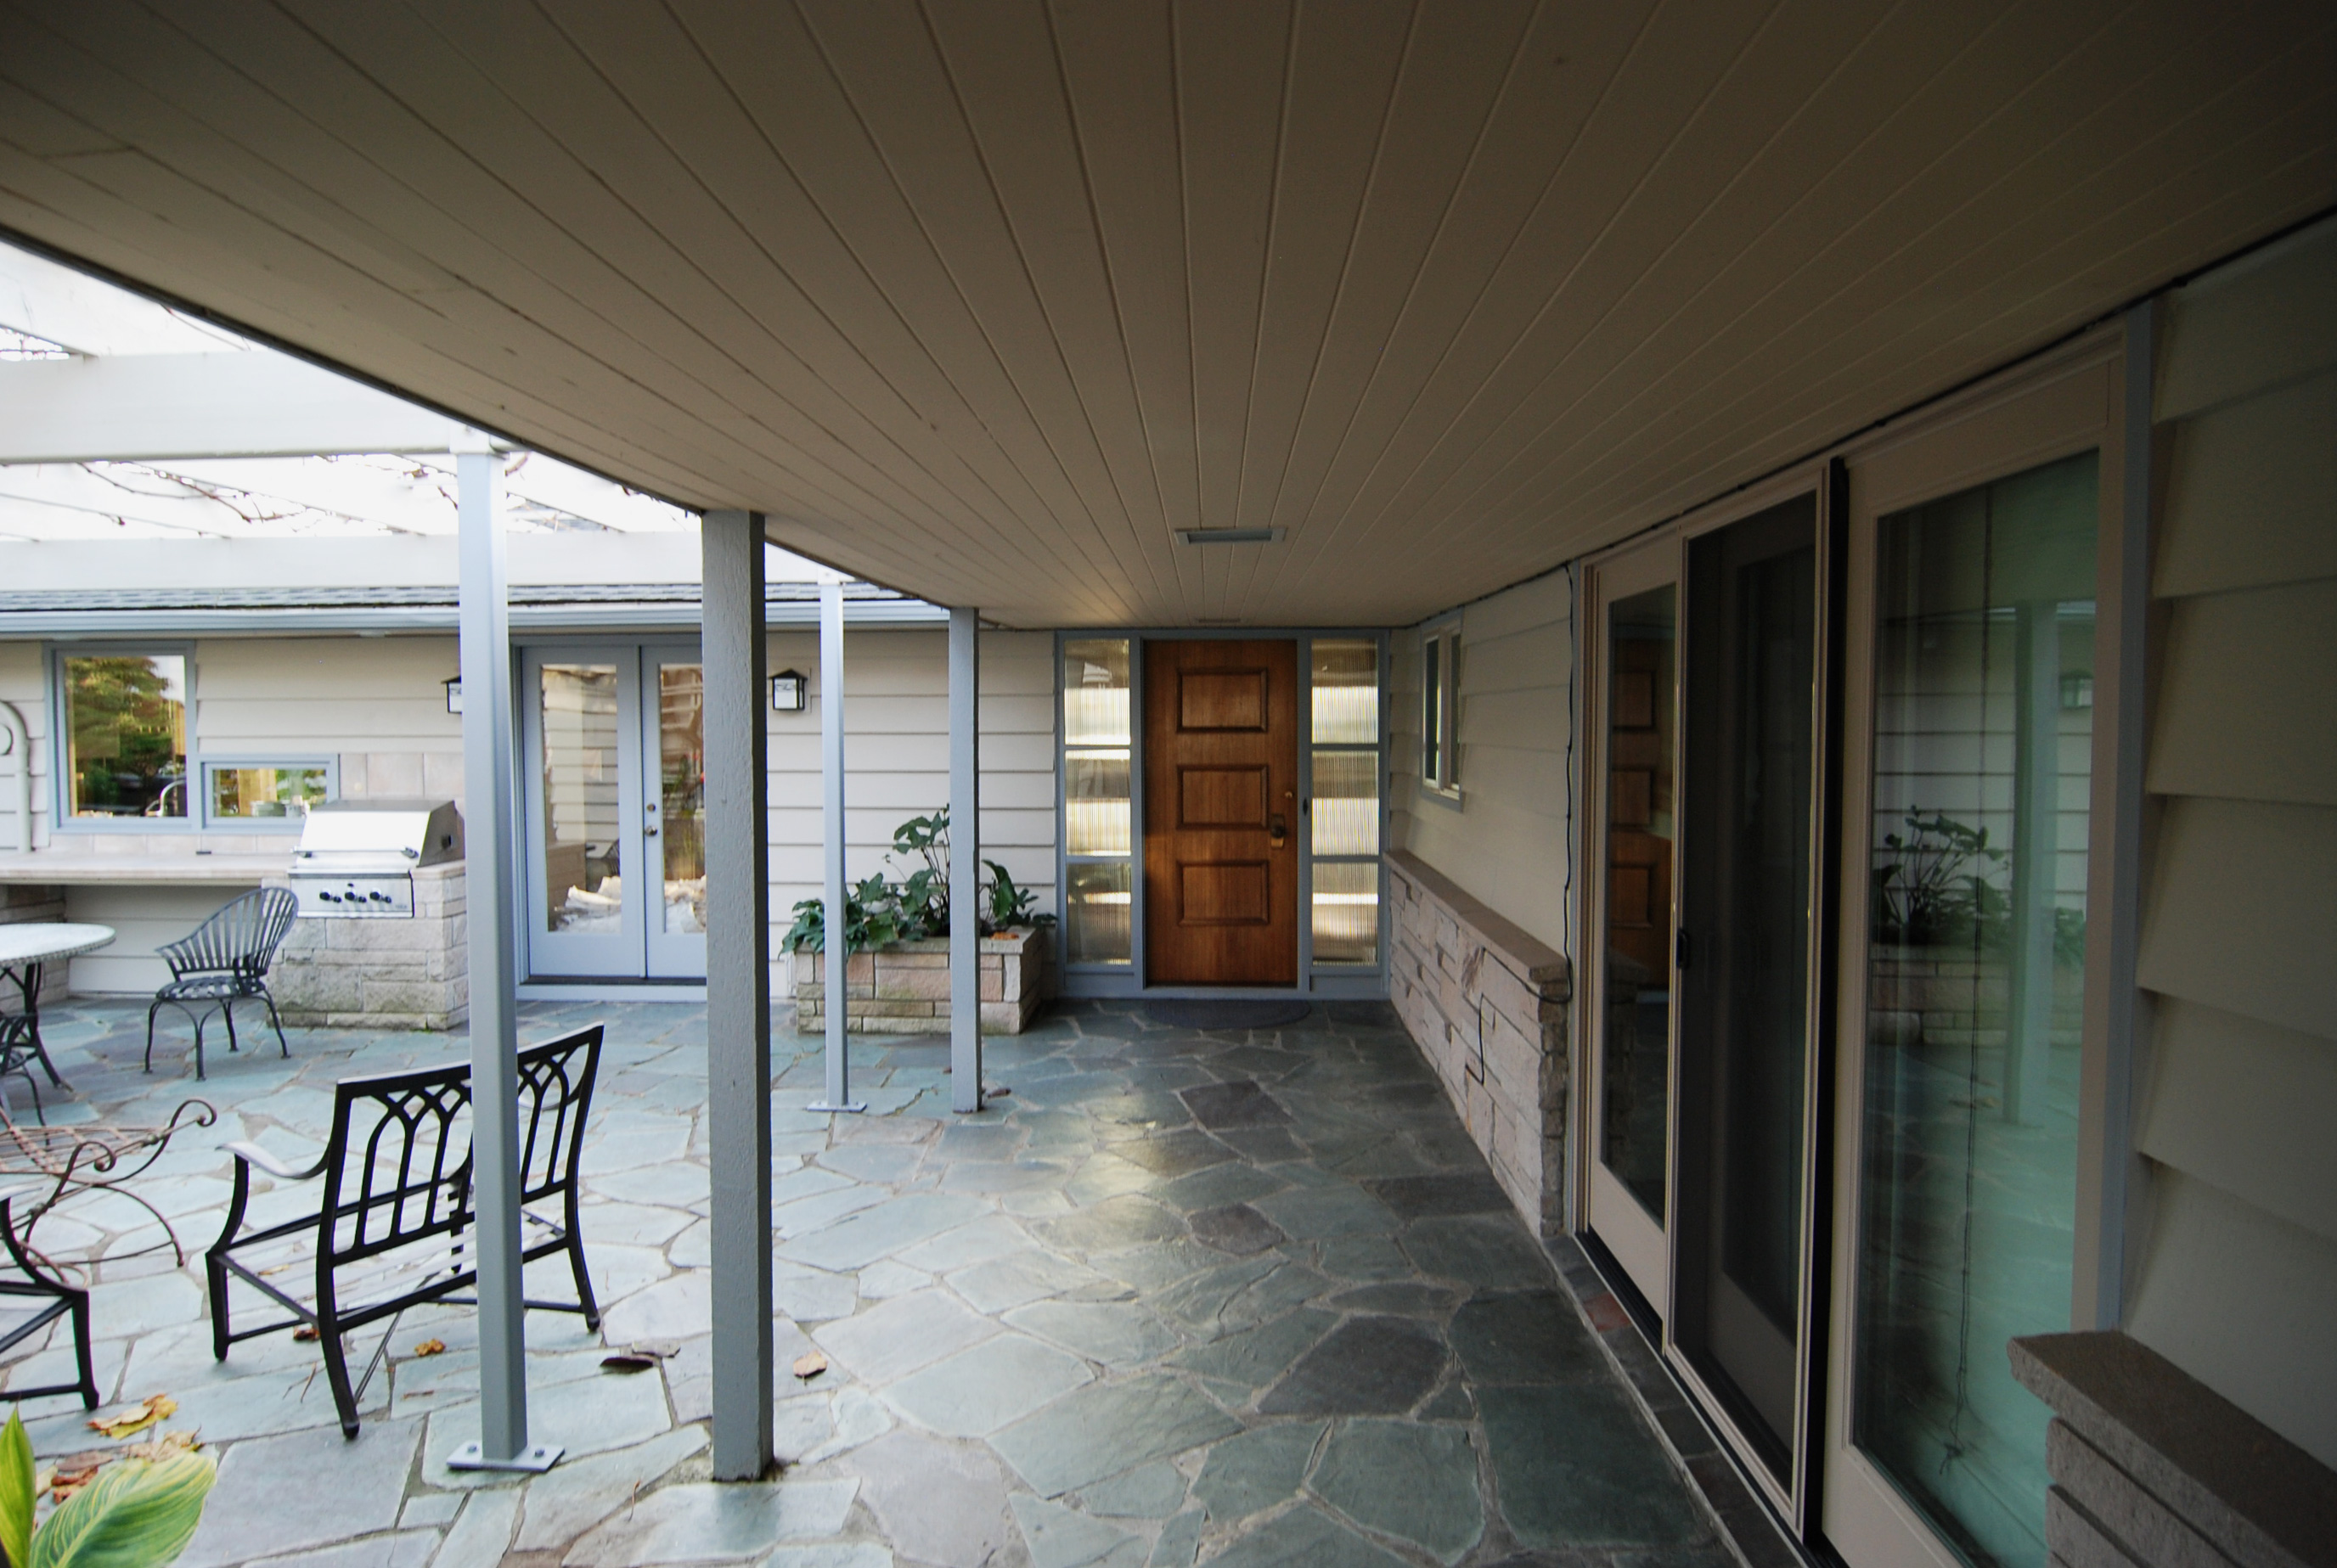
[All photos by BUILD LLC]
One of the first pieces of information gathering for any residential project involves taking inventory of the existing home. For houses, as-builts are often the only record of the structure, and city records can be spotty with older homes. Well-drawn as-builts are an accurate record of what was actually built, which can differ from what was designed. As an introduction to a new project, it’s also an excellent opportunity to review the state of the home: not just the dimensions and configuration, but the overall condition as well.

The as-built drawing package is a staple in our research and info gathering phase. As early as possible, we’ll schedule a time to go out on site with the necessary tools and document the project inside and out; this usually takes between a half day and a full day. Typically we’ll schedule a 2nd site visit to verify dimensions or grab any supplementary information; this usually only takes a couple of hours. These initial drawings will continue to be referenced throughout the life of a project, so accuracy and thoroughness are important. And as a project moves forward, these documents reveal the relationship of the building systems, the structure’s relationship to its site, and interesting quirks that tell the story of the house and any remodels it underwent.

In order to get the information we need for a complete as-built package, the proper tools and an efficient method of gathering reference points of the structure are key. Here are our quick-hit Top Ten aspects to consider when doing as-builts:
1. Bring the right gear:
- 100′ Tape or Laser Measuring Device: Great for those long length/height measurements, just try not to point the laser in someone’s eye.
- 25′ or 30’ Tape Measure: Never leave home without it.
- Flashlight: Because attics and basements can be dark (real dark).
- Camera: You’ll be referencing these as-built photos for the entirety of the project.
- Laptop: It will get you more than halfway complete with the drawings, and immediately brings to light any inconsistencies in measurements.
- Pen + Sketchbook: This goes without saying. Simple hand sketches of unique conditions is sometimes quicker than drafting and often more effective than taking a photo.

2. Plan on getting dirty. You’ll need to gather information from that damp crawl-space and that dark attic –in fact those areas lend some of the most important information because you can see and measure the beam sizes, joist size, foundations, etc.
3. Dress for the weather. You’ll be spending considerable time outdoors. If you’re in Southern California, this may be a non-issue, but up here in Seattle we’ve got to be ready for anything. In our world, if it’s clear out when we arrive on a site, we’re tackling the exteriors first.

4. Get the overall structure dimensions first. This will provide a double-check as you measure walls individually, verifying that things add up. The laser comes in handy here.
5. Determine reference points and datum lines based upon elements that can be referenced both inside and outside or between stories. For example, window sills for the relationship of the interior finished floor to exterior grade, or stairwells for floor-to-floor dimensions.

6. Photo-document thoroughly. Walls, floor, ceiling, and close-ups of unique conditions captured on photo will be referenced constantly. Plus, it’ll save you a trip back to the site for something you forgot to note in the drawings. A new tool which we’ve started to dabble in using is Photosynth, available on the iphone and ipad. It’s a quick and easy way to photo-document overall conditions of an interior space with a couple clicks.
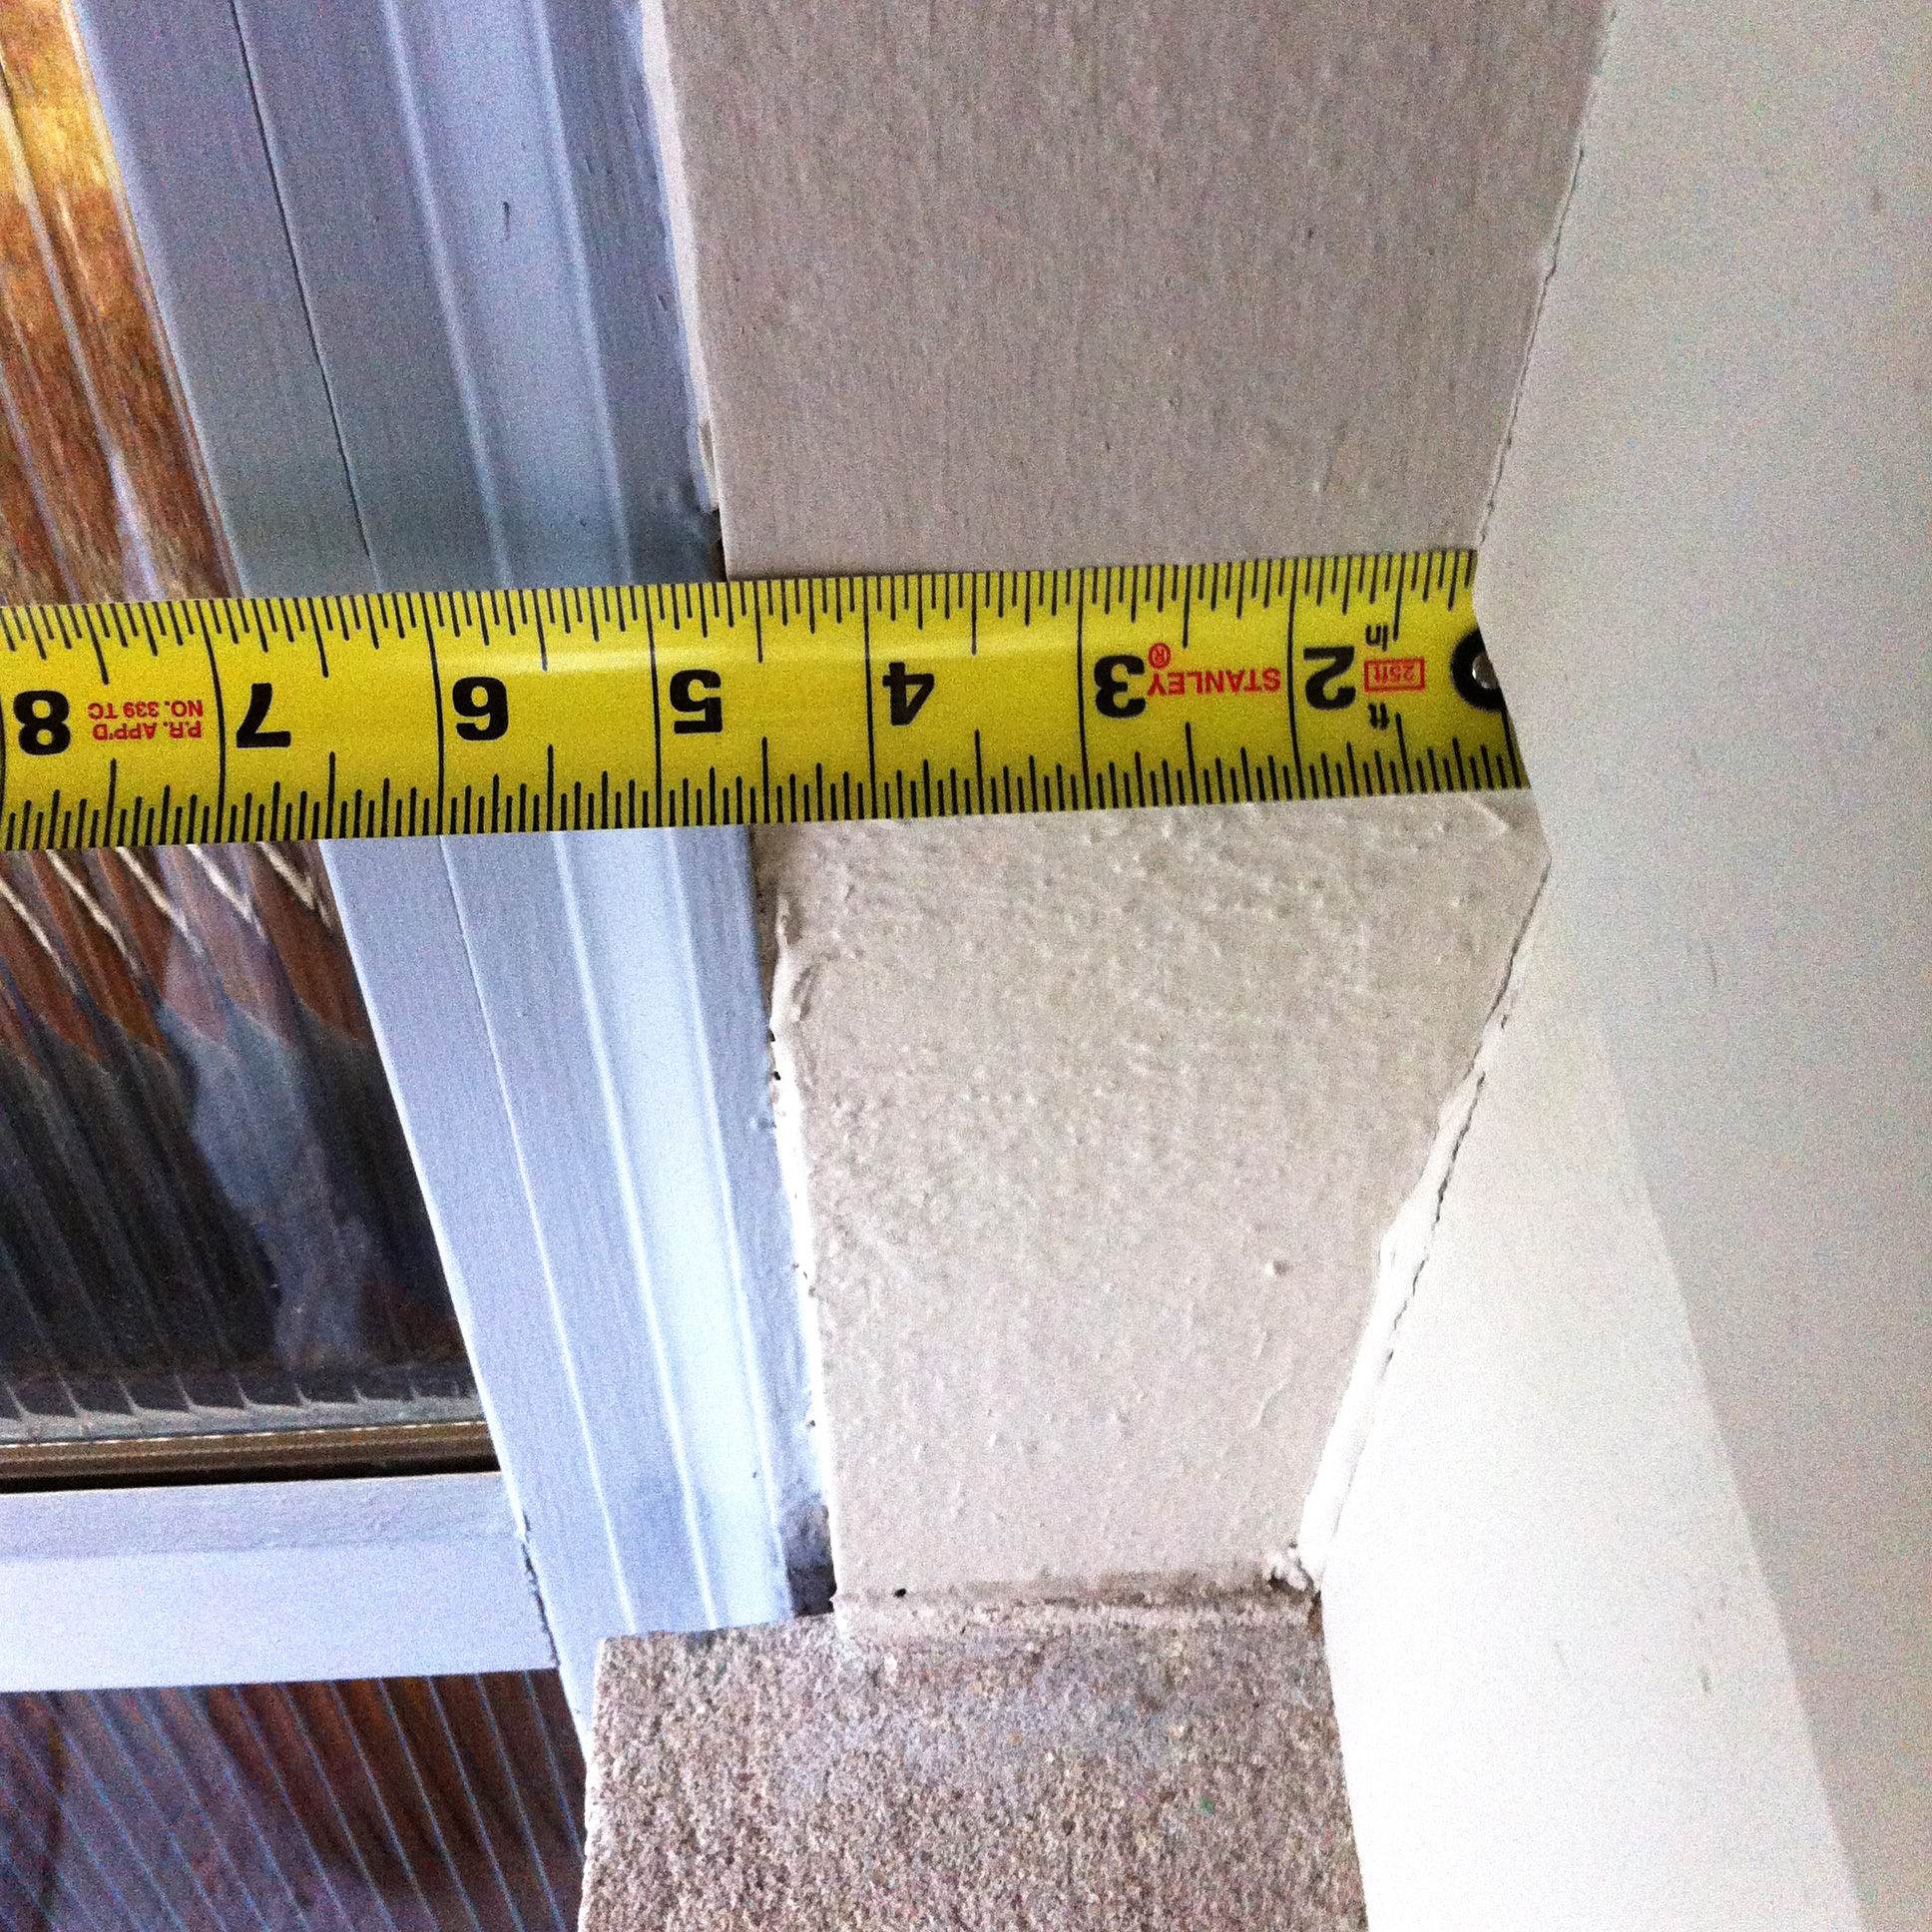
7. Snap photos of the tape measure at detail elements. This is helpful in a time crunch where you may not be able to get everything drawn up on site.

8. Note and photo-document important items not directly on the project’s site. This would include elements in the immediate vicinity–like the height of neighboring structures, location of city utilities and strike points at the house.
9. Look for breaks at walls and floors. Unless you’ve got x-ray vision (we don’t) determining what’s going on inside the walls and floors can be a challenge. Look for penetrations in the floor systems that may accommodate floor vents or return air grills at the walls. Cover plates can be easily removed allowing for a peak at the structural members, insulation and whatnot.


10. Quality should also documented. In addition to dimensions and configurations, the quality of features may also play a role in the eventual design. It may be desirable to replace single pane windows, while double pane window might be retained in the new design. It’s hard to tell which elements may be replaced in the design process and the more information you have about the existing house, the more informed those decisions will be.
There are some other good online resources pertaining to the required tools of the trade — like our friend and fellow-blogger, Bob Borson, whose post on the essentials in an architect’s tool bag is worth a read. Let us know what makes your must-do list in the comments below.

Cheers and Happy As-Builting from Team BUILD


