[All images by BUILD LLC]
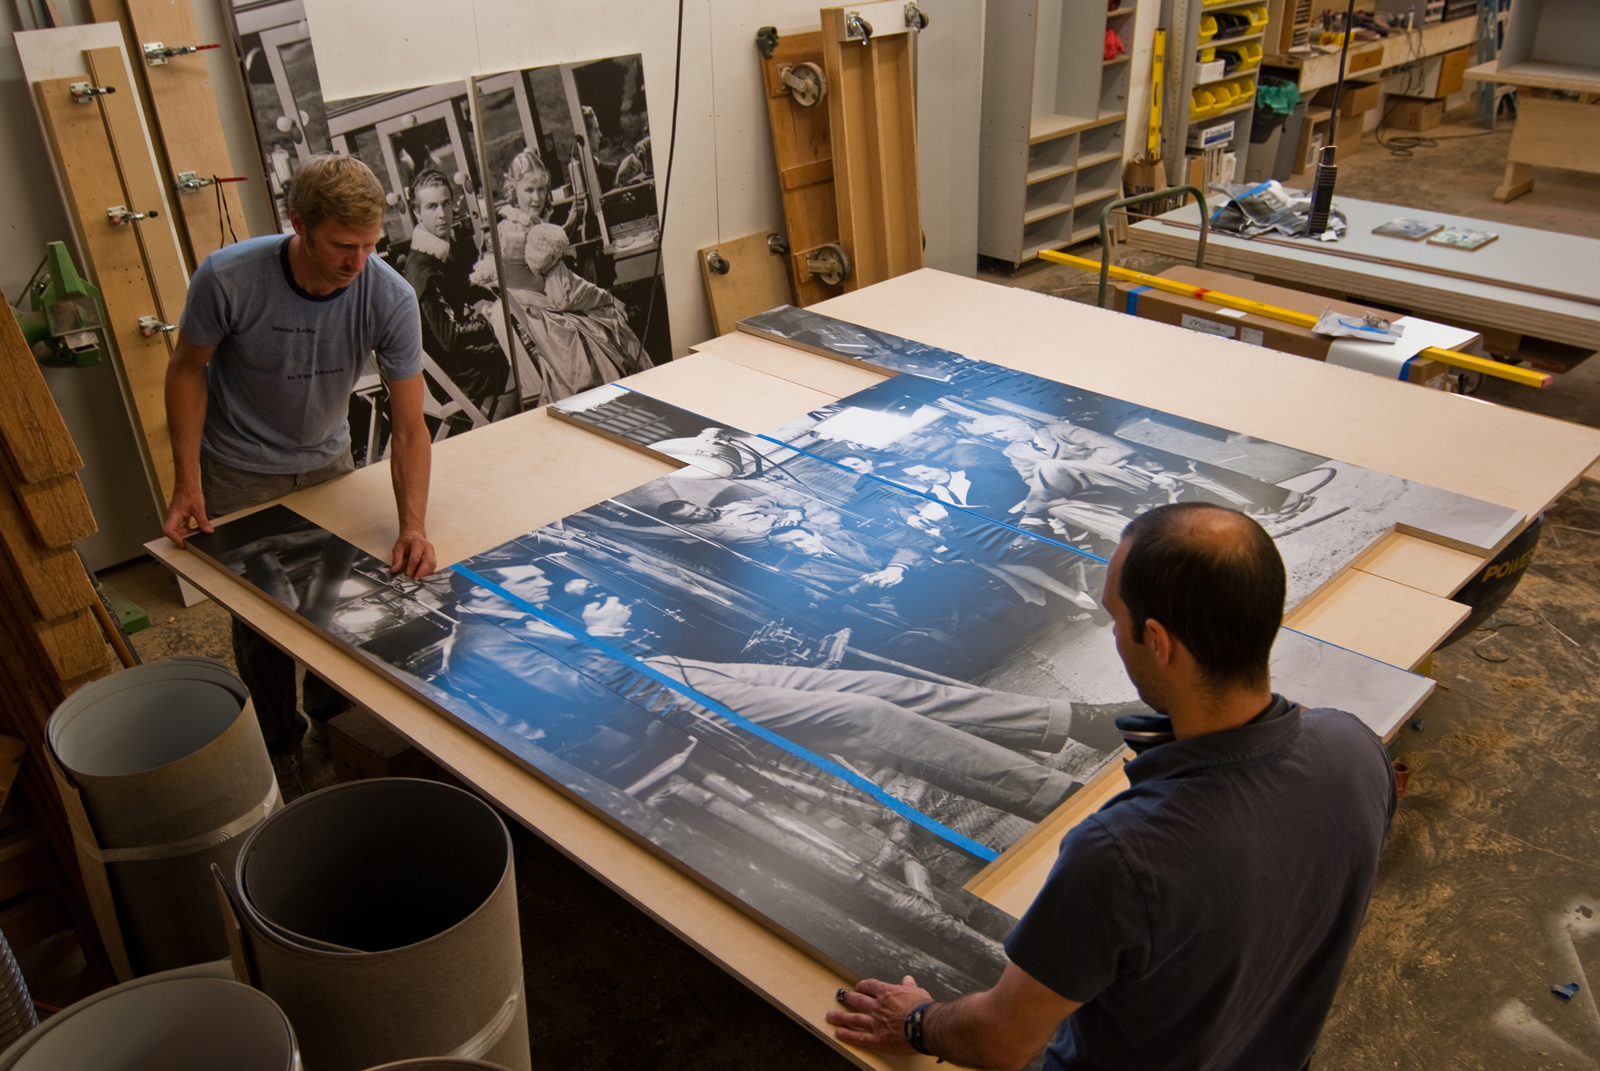
We’re currently wrapping up a commercial interior project and some of the design concepts involve cabinet faces with applied photographs. The various drawers and doors each make up pieces of the overall photograph, so that when you stand back several feet, the entire photograph becomes apparent. Making this happen has been quite a process. It’s taken a great deal of coordination between the design team in the office, our cabinet shop, and the suppliers. The technique involved has a lot of moving parts and now that we’ve been through the whole process, it’s a good time to share our experience. Keep your eyes on the BUILDblog to see the finished project. Here are our top 10 tips:
1. Methods. There are several different methods to apply graphics to a cabinet package; we went with a sticker application and in the process we learned of a couple different techniques. It’s possible to have any image embedded into a laminate now through Wilson Art. The cost runs about $380 – $500 per 4’x8’ sheet and can be produced in multiple sequential sheets for larger images. This method would have saved several steps. Another recommended method is a Vetrex based material that embeds the image under a protective layer of clear flexible acrylic.
Since we went with the sticker route, most of the subsequent tips relate to sticker applications.
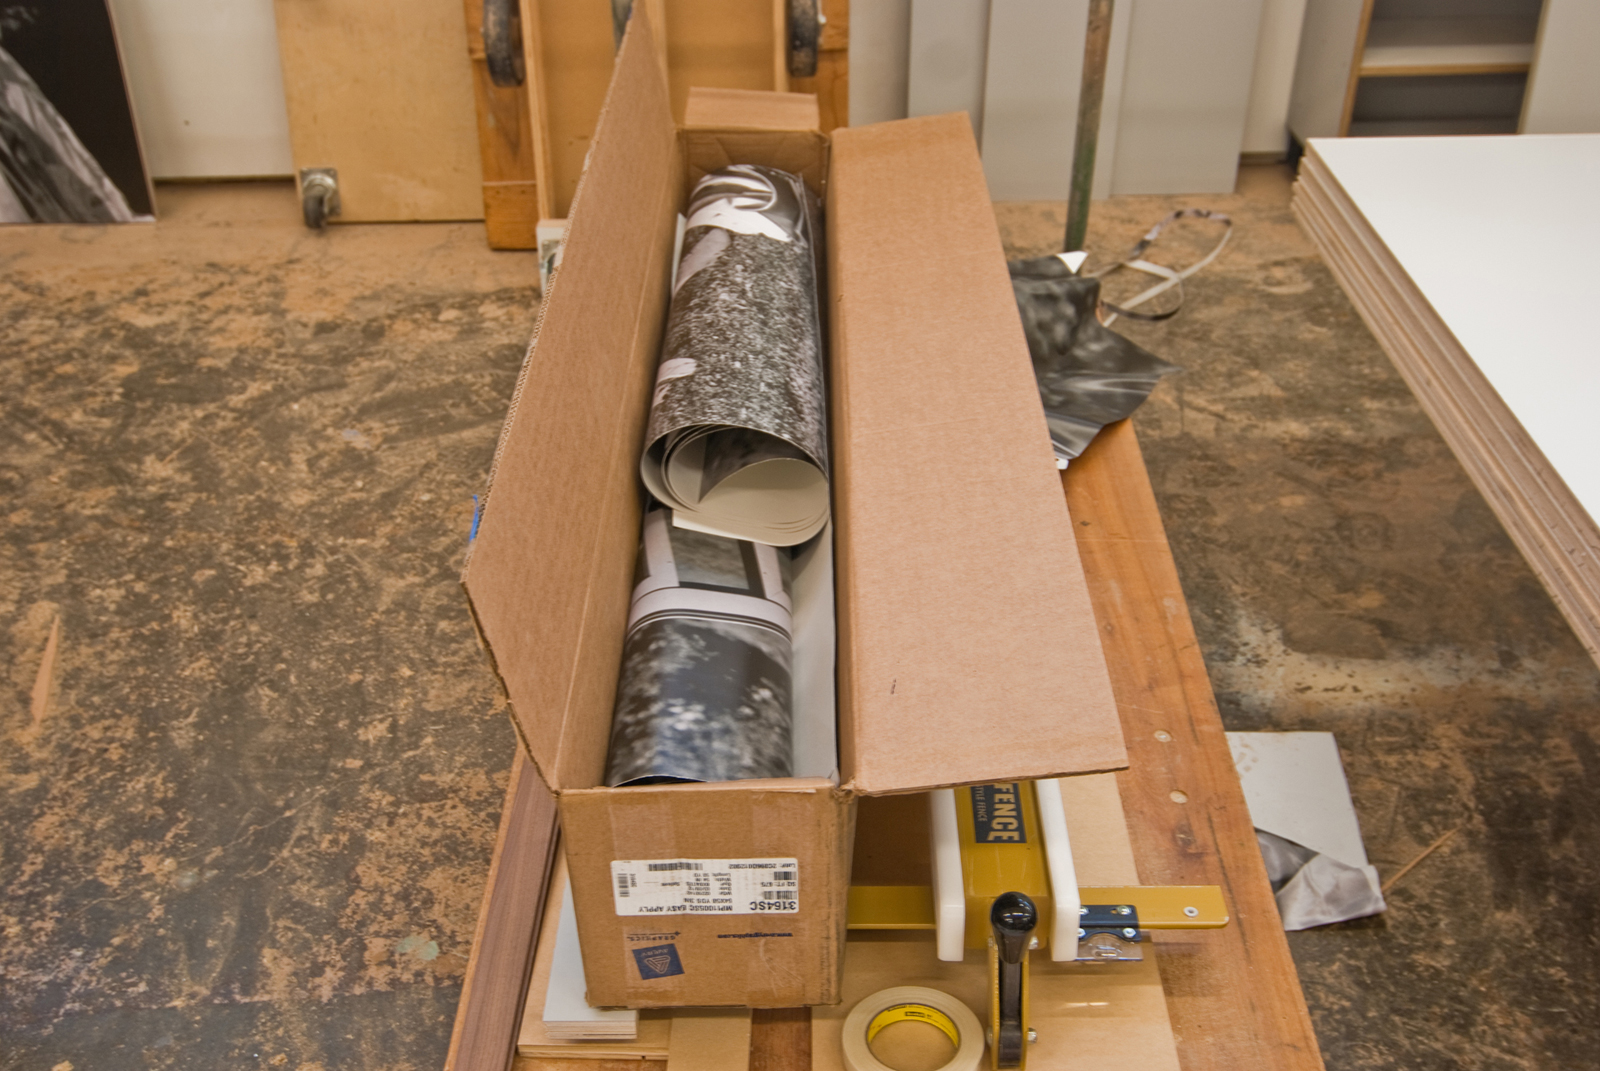
2. Products. Most companies offer different options for the adhesion strength. We went with a QuickStick product that allows for stick and re-stick (to some degree). You can’t peel it off in a large section and re-stick it without the product stretching and losing some of its original adhesion strength, but it is more flexible and offers some room for error. Through the process we learned that 3M makes a product called Super 90 which is an adhesive that can be used on the substrate in addition to the peel and stick backs. There are also less forgiving products that act more like wallpaper. For the sheet itself we went with a vinyl print using a latex ink which is more environmentally friendly.
3. Resolution. The resolution of the image is an important factor since it will be enlarged several times the original intent of most images. We used a high-res 230Mb scan which worked fine for the 8’ x 13’ application. We were also going for a bit of nostalgia and grit in the old black and white photos, a welcomed result of the graininess of the images.
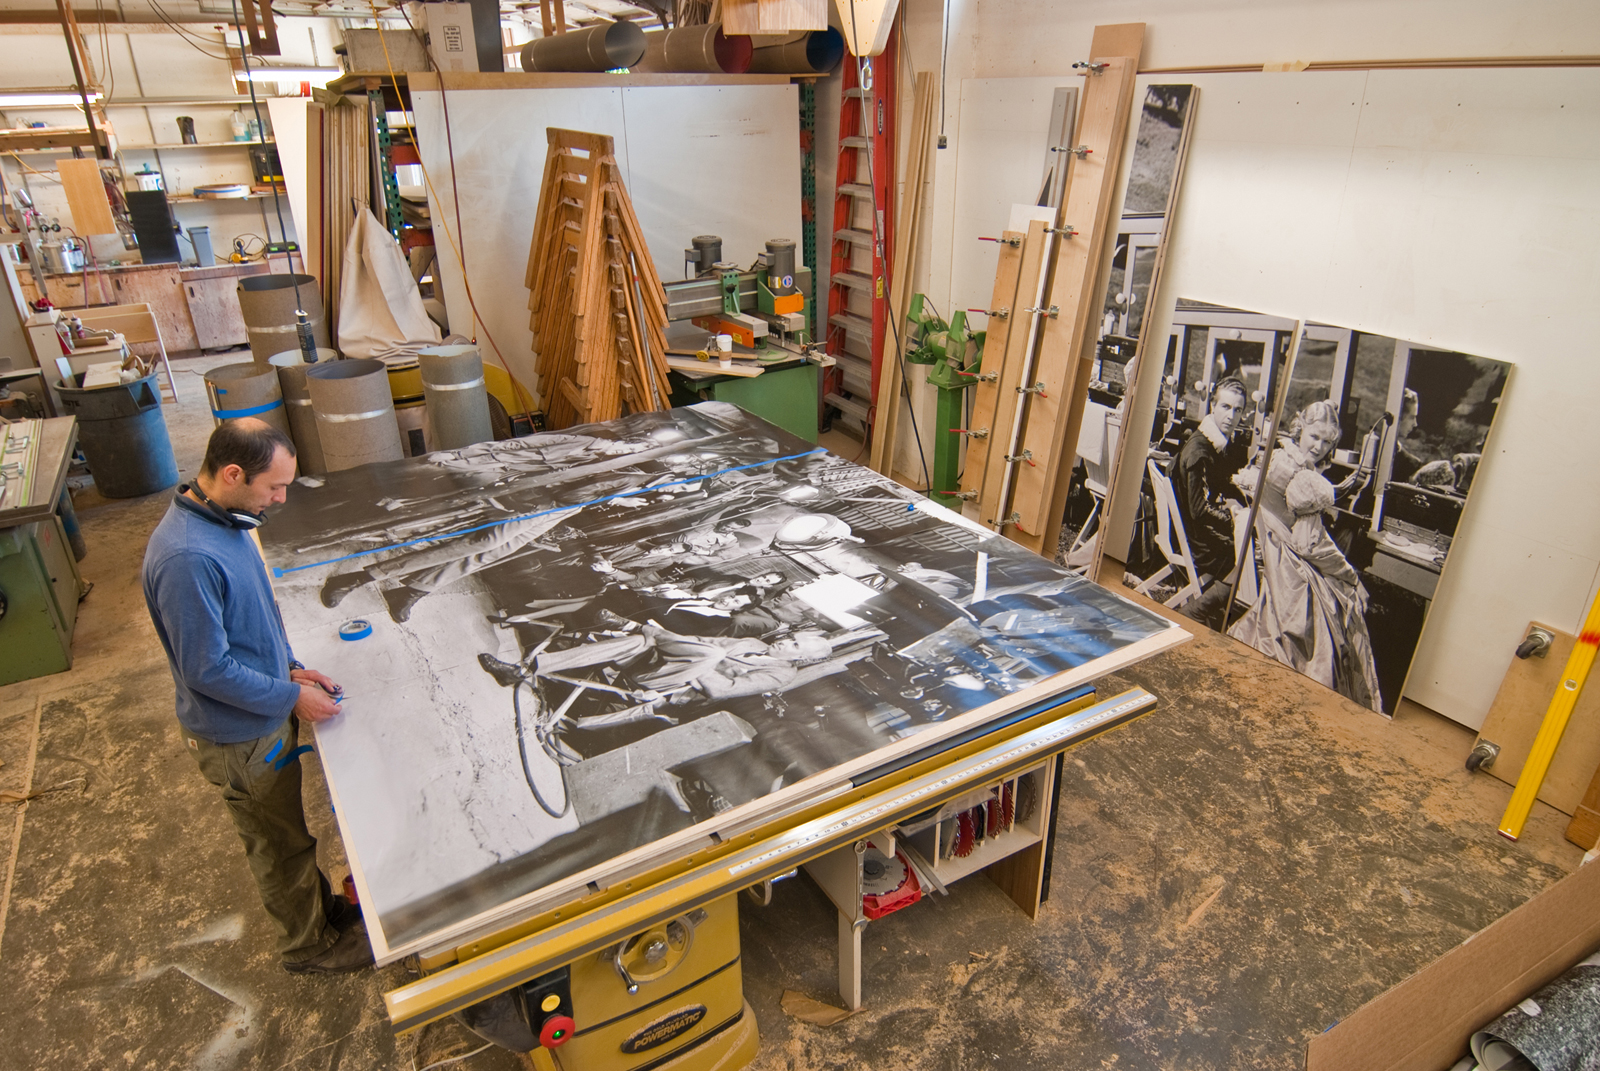
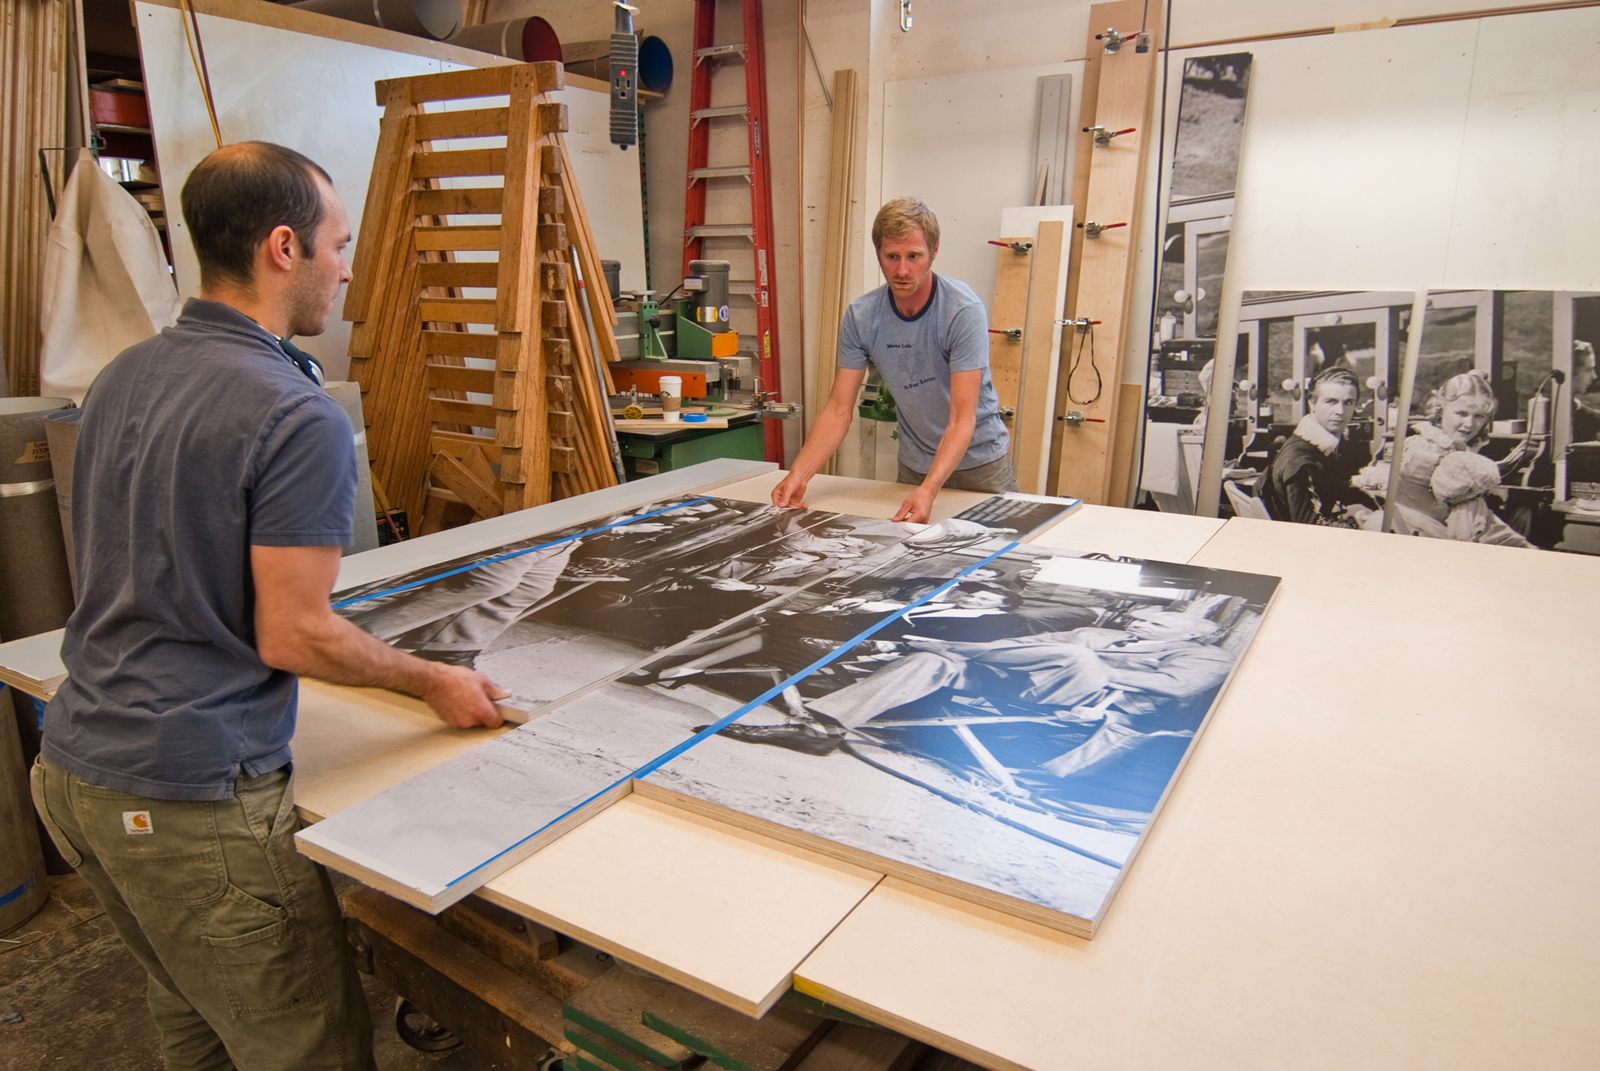
4. Size. Large vinyl stickers will come in multiple sections and the number of seams can quickly become a factor. In our case, the full image was 8’ x 13’ and it produced three sections of vinyl sticker. Be aware that the seams intentionally don’t align. The manufacturer includes a bit of overlap allowing you to make the final cut and adjustments for accurate alignment.
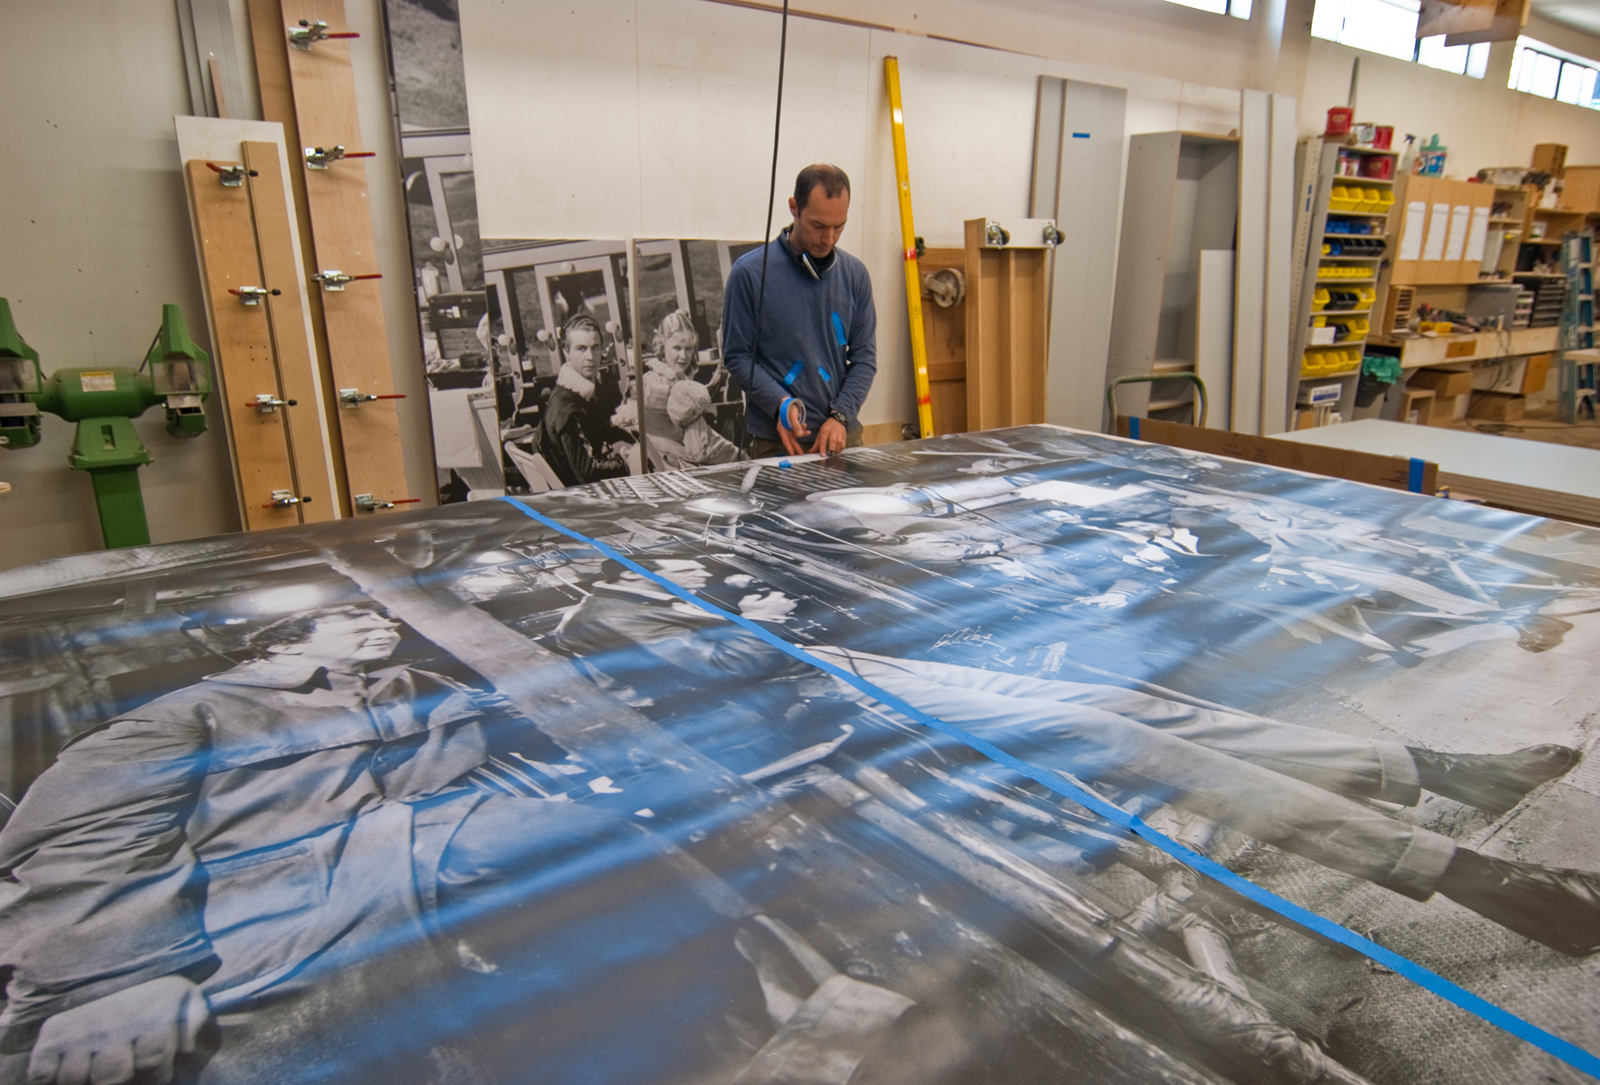
5. Cuts. A project like this is a great time to change out those blades and use sharp fresh blades for cuts that need to match up precisely.
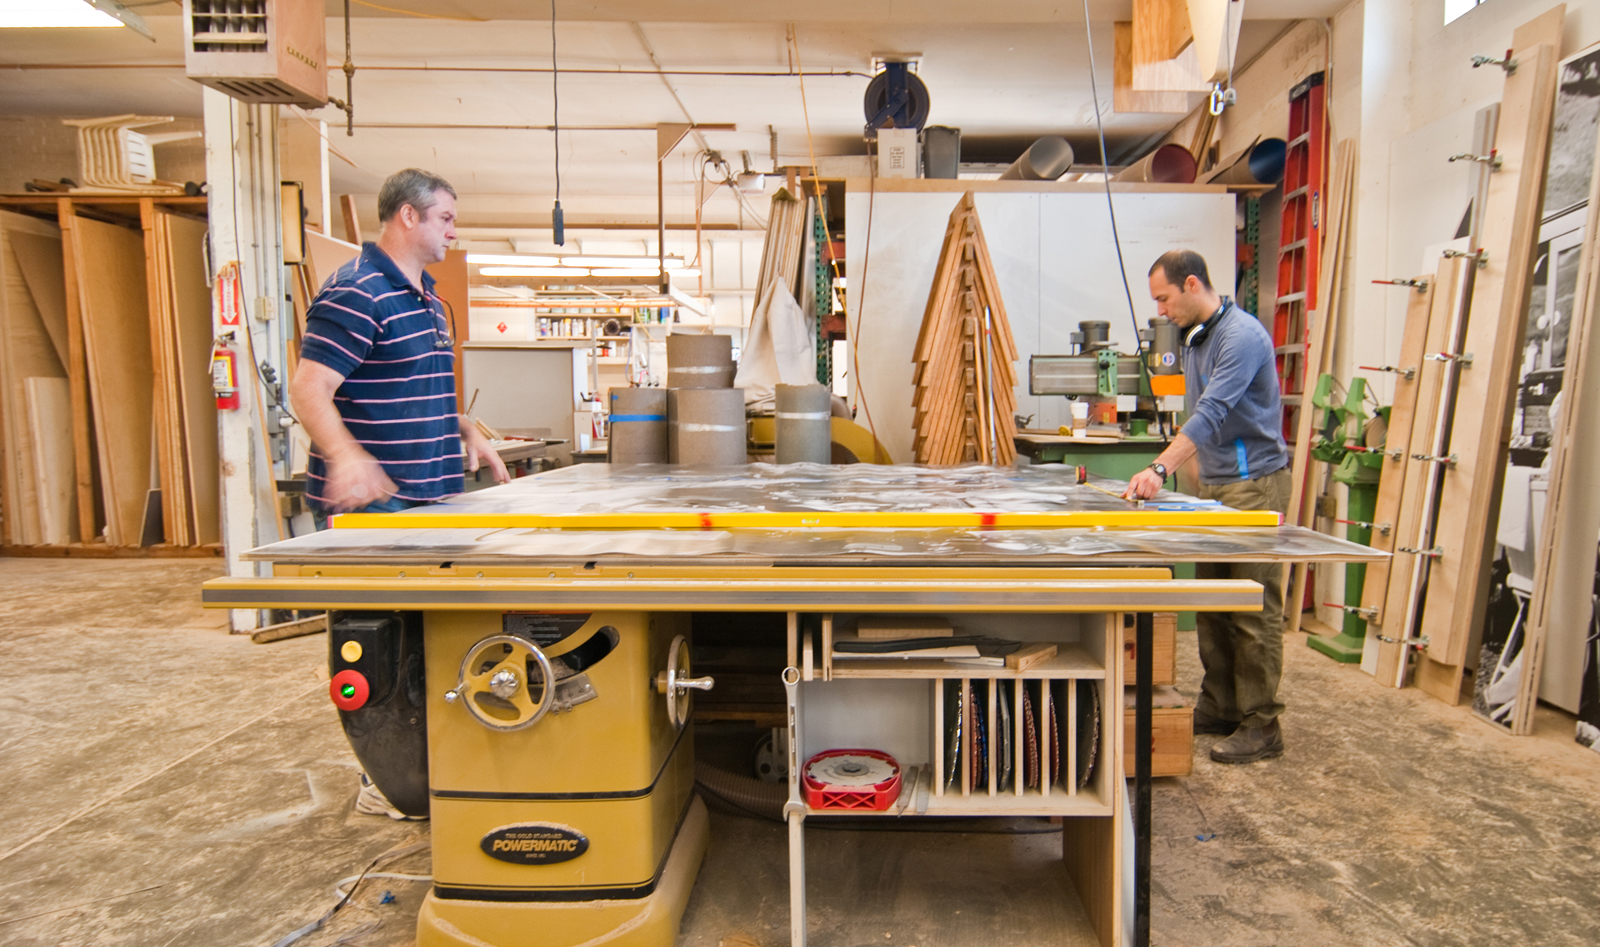
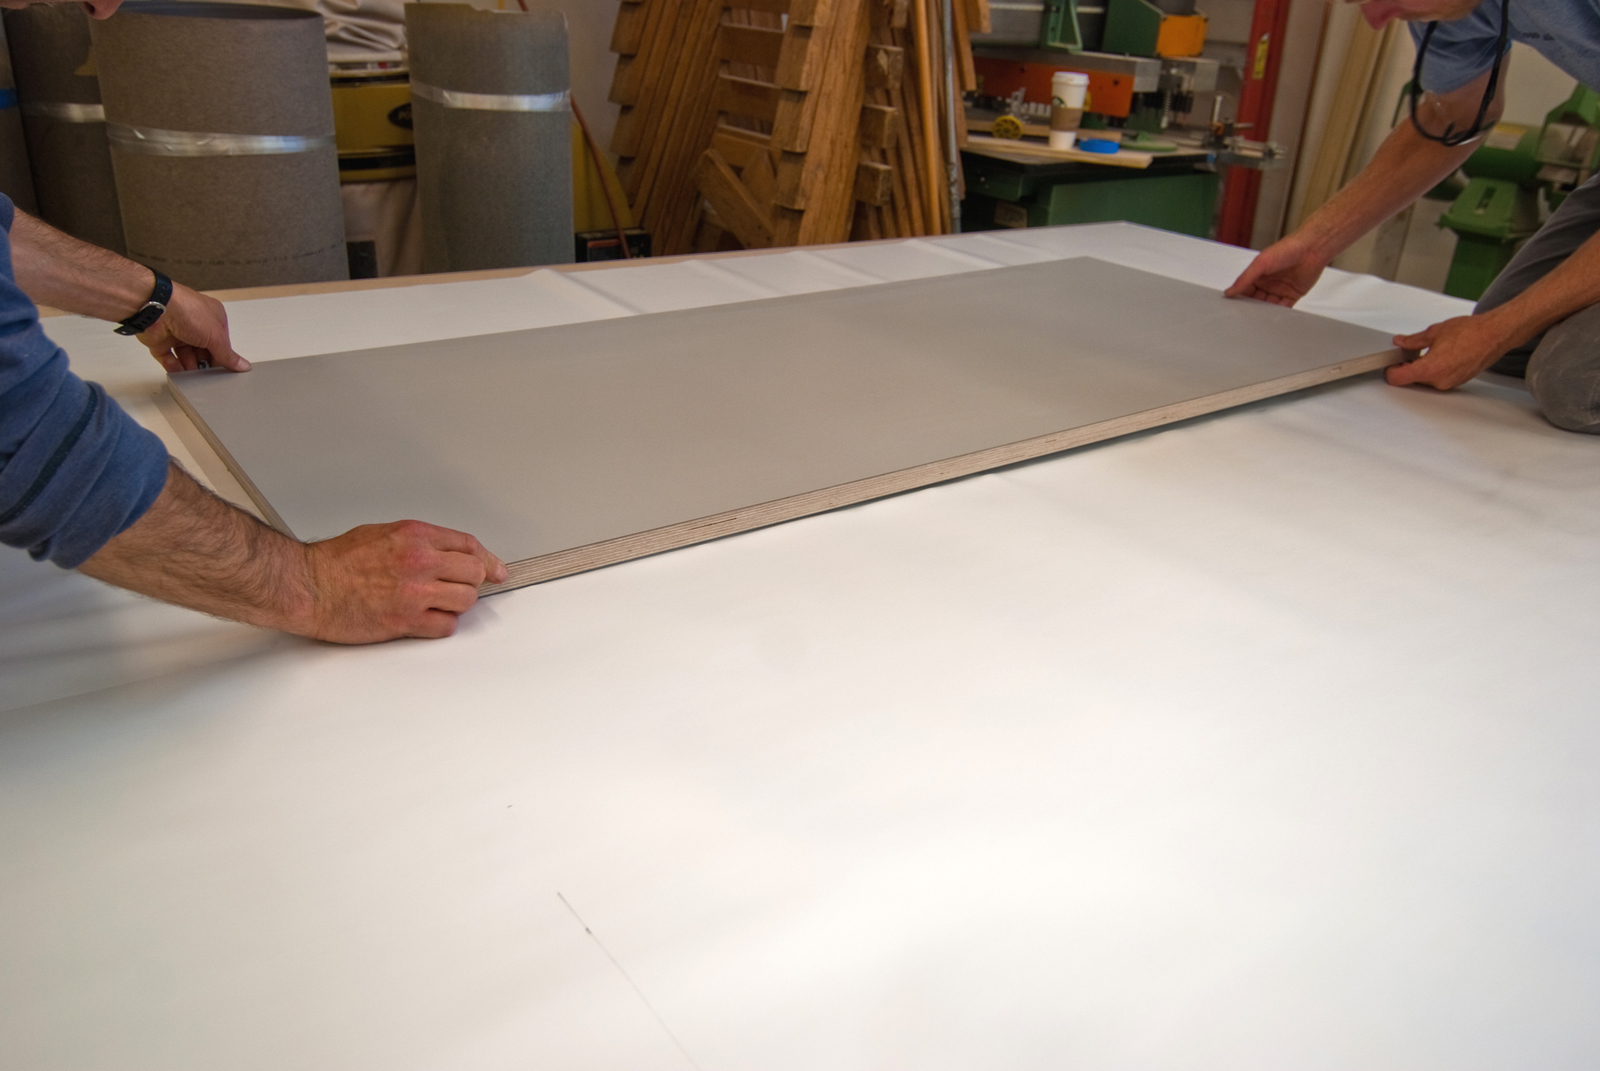
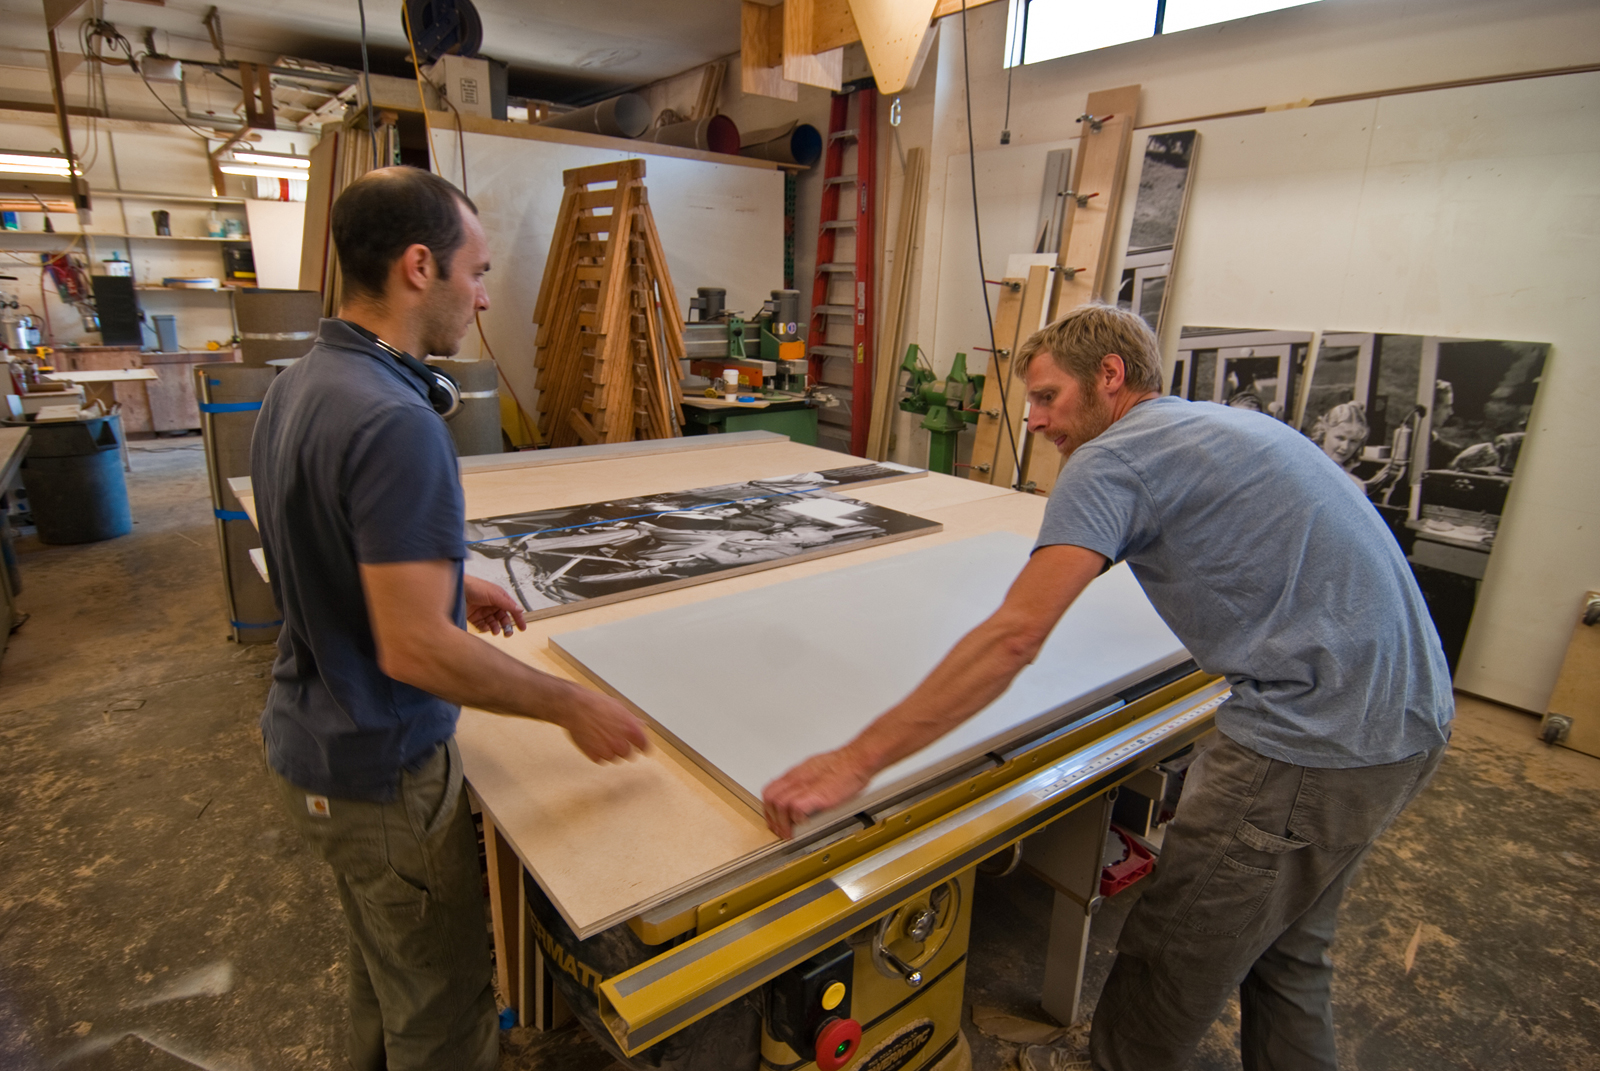
6. Application. Make sure the substrate is clean. Any dust at all will transfer to the sticker and you won’t be able to get it off once it’s stuck. In this case, the substrate we used was a Europly, which makes for crisp exposed edges.
Large stickers must be applied horizontally, face down with the sticky side up on a firm but not hard surface like cardboard. The substrate then lays face side down onto the sticker. Static charge is a problem when you peel off the back so you need to tape down the sticker before laying the piece down to keep it from jumping up onto the substrate.
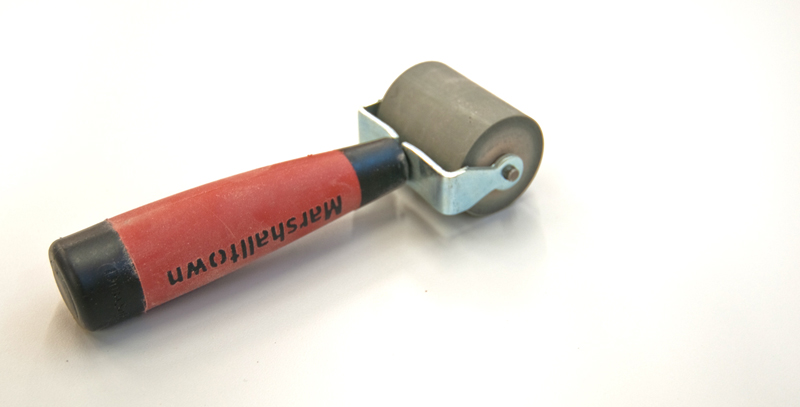
7. Pressure. Have a laminate roller on hand to iron out the wrinkles. The vinyl product we chose, along with the QuickStick adherent allowed us to roll out the bubbles and smooth out the inconsistencies.
8. Test. We decided to do some cleaning tests on a few samples, which turned out to be a very wise move (kudos to the guys at the shop). This particular application is for a kitchen, a work space, and some bathroom stall partitions, so we wanted to make sure that the use and abuse could be cleaned with typical household products. General cleaning products like Windex and Lysol had negative and noticeable effects on the product; fading, and greening of the stickers was readily apparent. Urine also had a noticeable and unpleasant result (apparently the guys at the shop are very thorough in their testing).
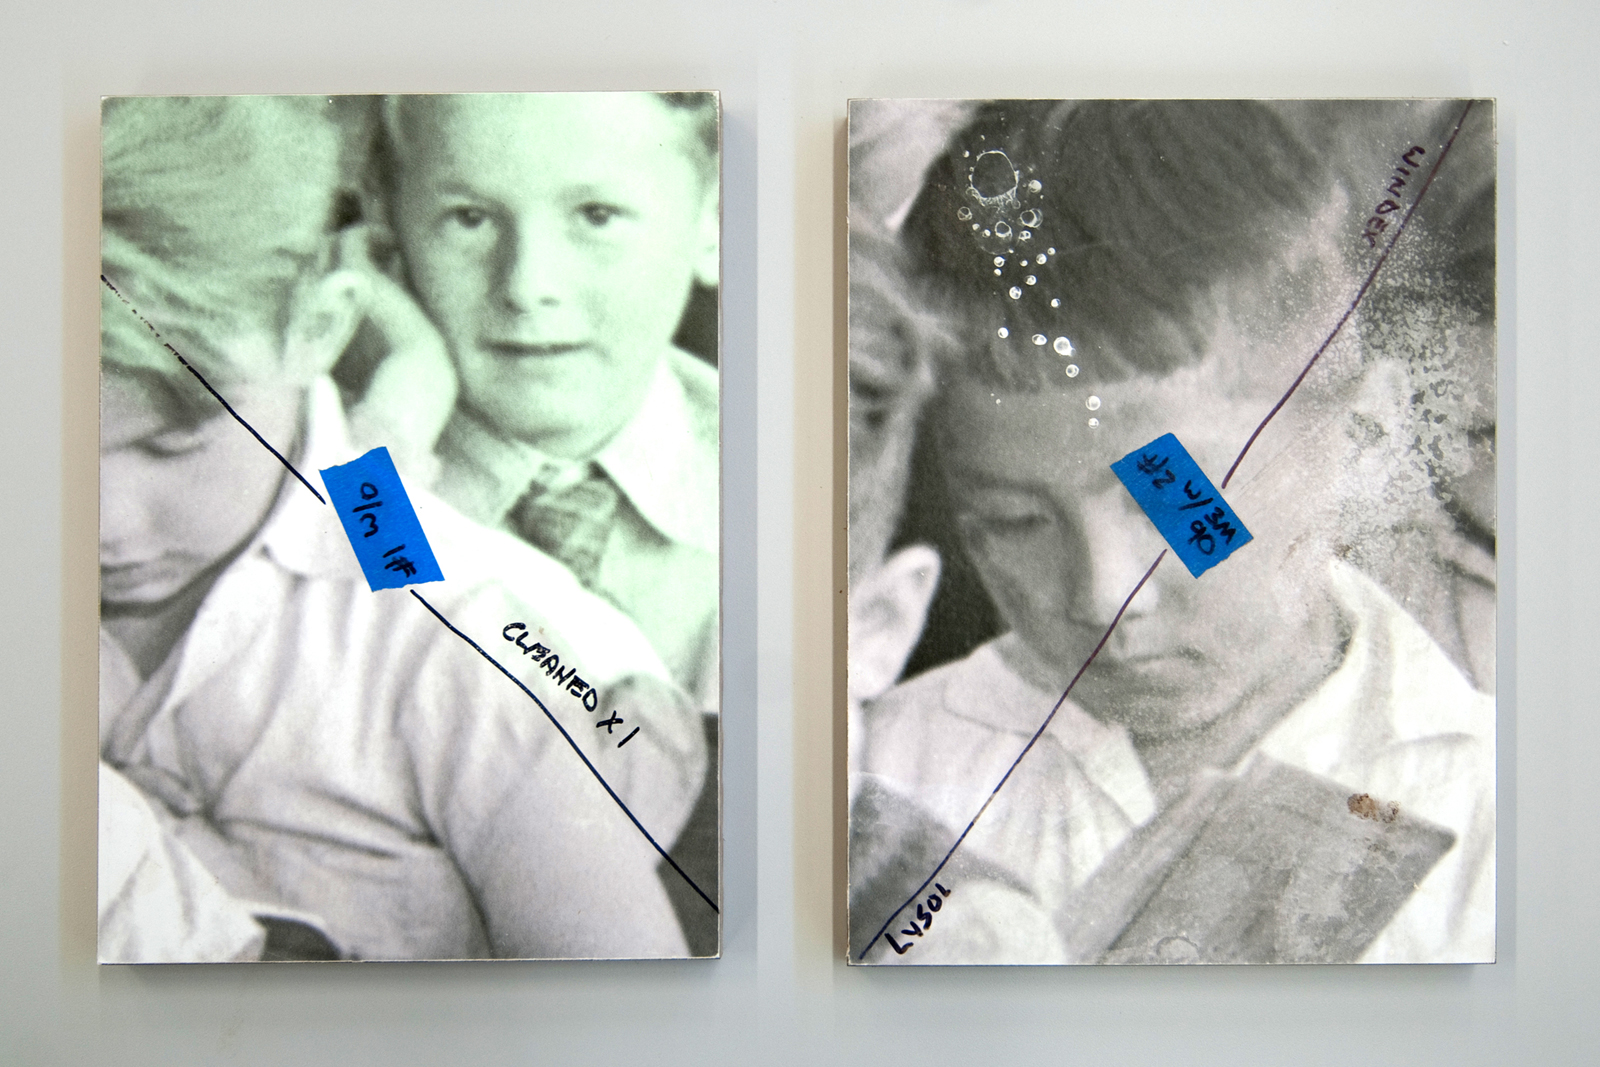
9. Protect. In light of the results from #8, we recommend applying a protective coating. If the vinyl is going to be used in a high humidity area (like bathrooms or kitchens) we recommend ordering a protective film laminate which is applied during production.
If you prefer to apply the protection afterward, as in our case, be sure to only use a water-based clear laminate which can either be sprayed or rolled on. The laminate should not contain ammonia as it will eat through the vinyl. We used a Clearshield Liquid Laminate product.
If no protective laminate is applied then the vinyl should only be cleaned with a damp cloth.
10. Credit. Photos of this size and of this nature (especially when used in a commercial application) need to be accompanied by the appropriate credit. The school room images used in this post are credited to the Post-Intelligencer Collection, Museum of History and Industry. The Hollywood set images used in this post are credited to Magic Murals.
A special shout-out goes to Mike Fleming, CEO at Magic Murals for his assistance and advice with the order and process.
Cheers from Team BUILD


