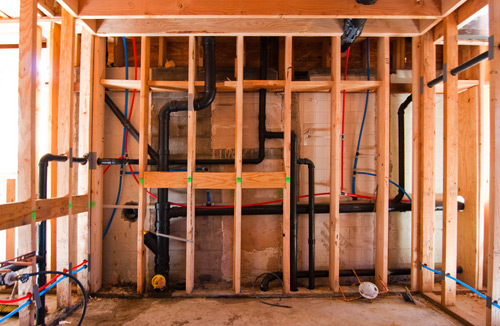
Being a design-build firm, we spend a lot of time on-site. It allows us to have a very close relationship with how things are built and installed. The construction tends to inform the design process and we’re constantly fine-tuning the architecture side of the business to more accurately align with the materials and methods in the field. Today’s post is a quick hit on systems install. It covers some of the lessons we’ve learned over the years regarding Mechanical, Electrical and Plumbing rough-in. These are just our top 10 tips, though, so hit that comments button and share your wisdom.
1. Make sure the plumber, electrician, and HVAC mechanics play nice. We have them walk the rough-in together if possible, or start work nearly on top of each other so that interference issues can be sorted out.
2. There is an ideal sequence to installing the systems, it is: plumbing waste, mechanical, plumbing supply, then electrical.
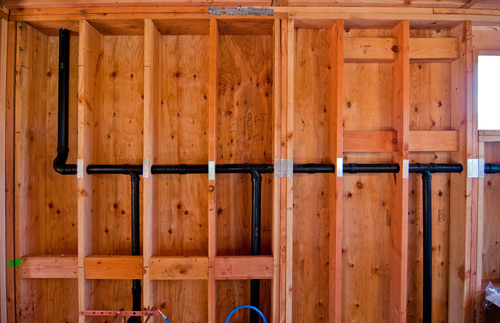
3. Get the subs to lay-out their systems before they run them. Some of them will complain, they may even hate you for it. Tell them that you’re a measure twice and install once kind of person. Tell them that they’ll hate you more when they don’t do a lay-out and you have them uninstall the system to re-install it the way you want it done.
For the electrical; lay-out all the can lights first and then verify the lines, then layout the rest of the lights and verify, then the switches and verify. It’s a pain, no doubt. It’s more of a pain to live with a renegade can light that’s off doing its own thing.

4. Train the sub-contractors to follow the information that is clearly delineated on the drawings. If there is a diagram that illustrates the proper height to mount switches, you may have to refer to it every time you’re on site. Keep hounding them; make it easier for them to follow the instructions then to have another conversation with you about proper switch heights.
5. When there are problems on site, there is opportunity for poor decision making. Have someone on site as much as possible during systems install (when the sub-contractors are there). Of all the team members, it’s most cost-effective to have a project manager on site.

6. Don’t allow the subs to scale off the drawings when there is a detail or diagram to follow. Scaling off the drawings leaves too much up to interpretation. If things are being interpreted incorrectly and there isn’t a detail or diagram it’s a pretty good indication that the architect needs to draw some up.
7. Train the general contractor/subs to call the architect when something isn’t clear. Good architects don’t mind answering questions.
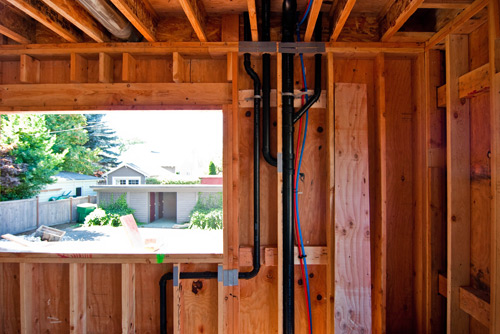
8. Add wiring (or wiring pathways) for future technology -but don’t go crazy with it. Adding wiring for items like future ceiling speakers is a good idea but we’re always a bit dubious about running lines to the roof for future solar panels. If the installation is a few years off, that technology changes quickly enough that the requirements will most likely be different by then.
9. Recheck all alignments (can lights, switches, etc.) just as the wall/ ceiling finish starts. That stuff has a way of moving when no one is looking.
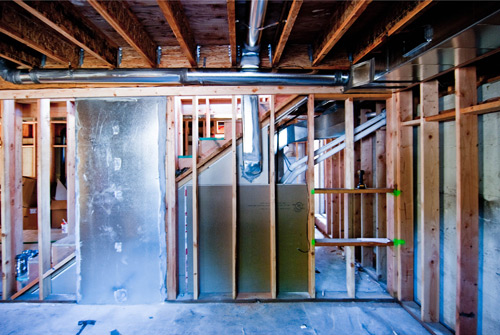
10. Photograph or video tape everything carefully. Once the drywall is up, it becomes expensive to map where all those lines are going.
Cheers from team BUILD


