


[All photos by BUILD LLC]
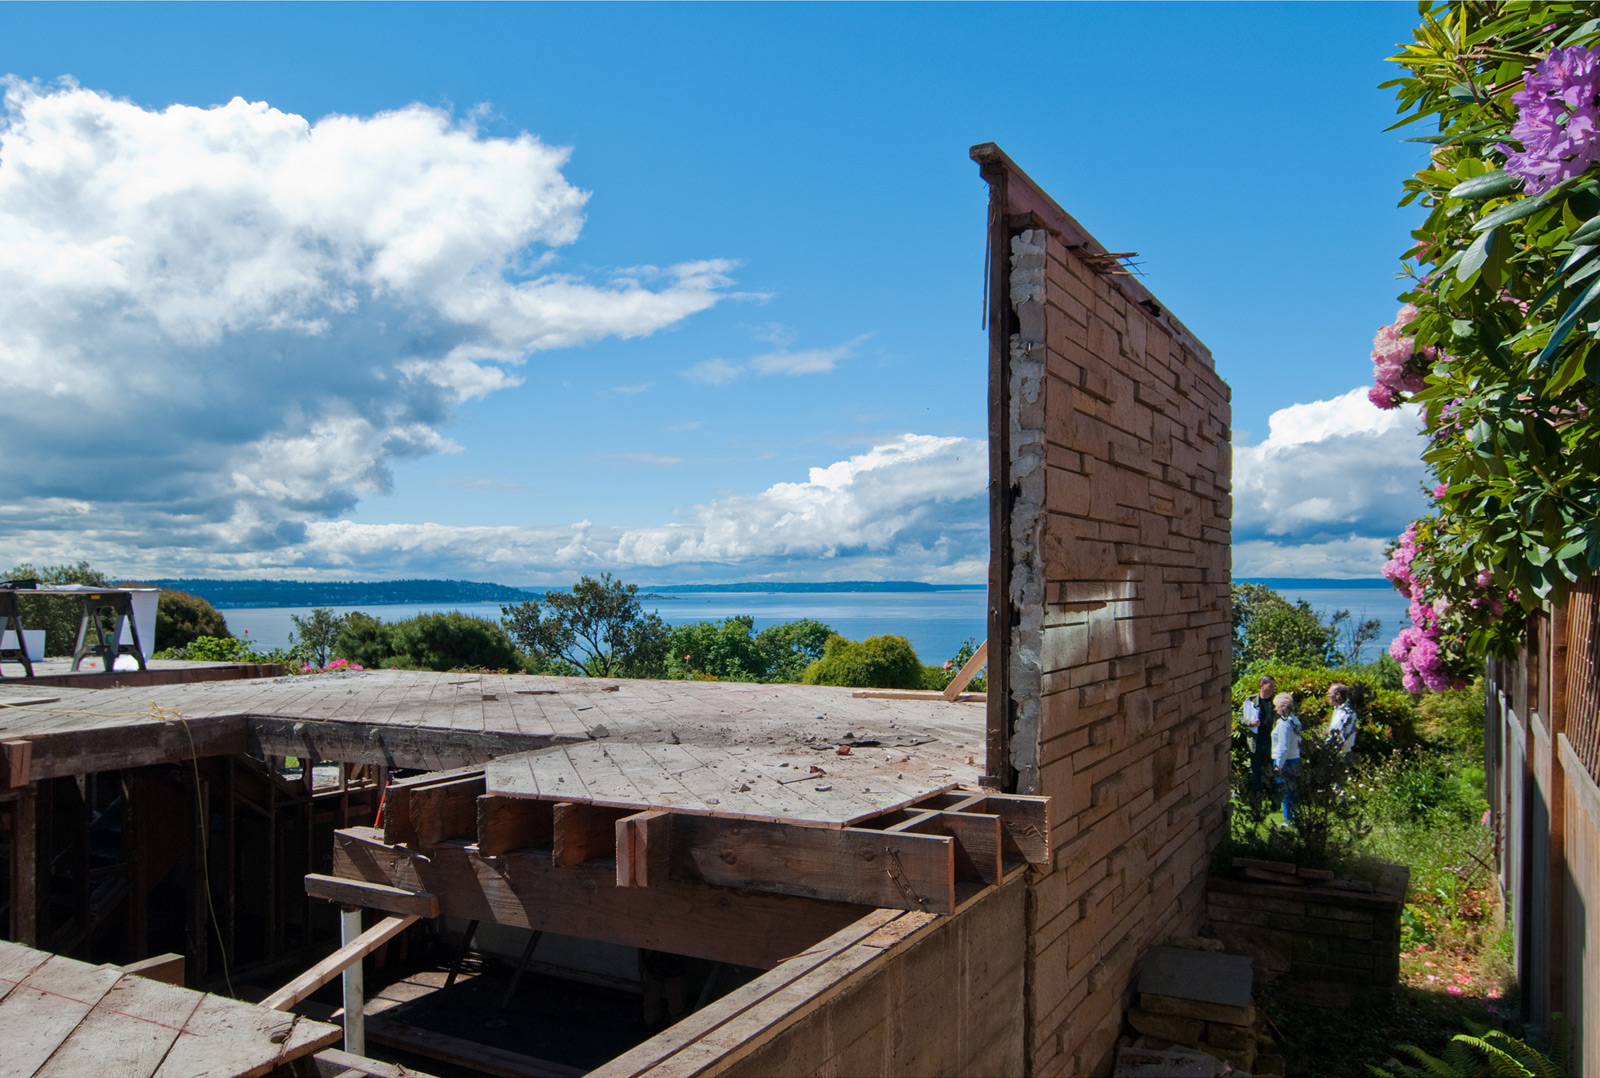
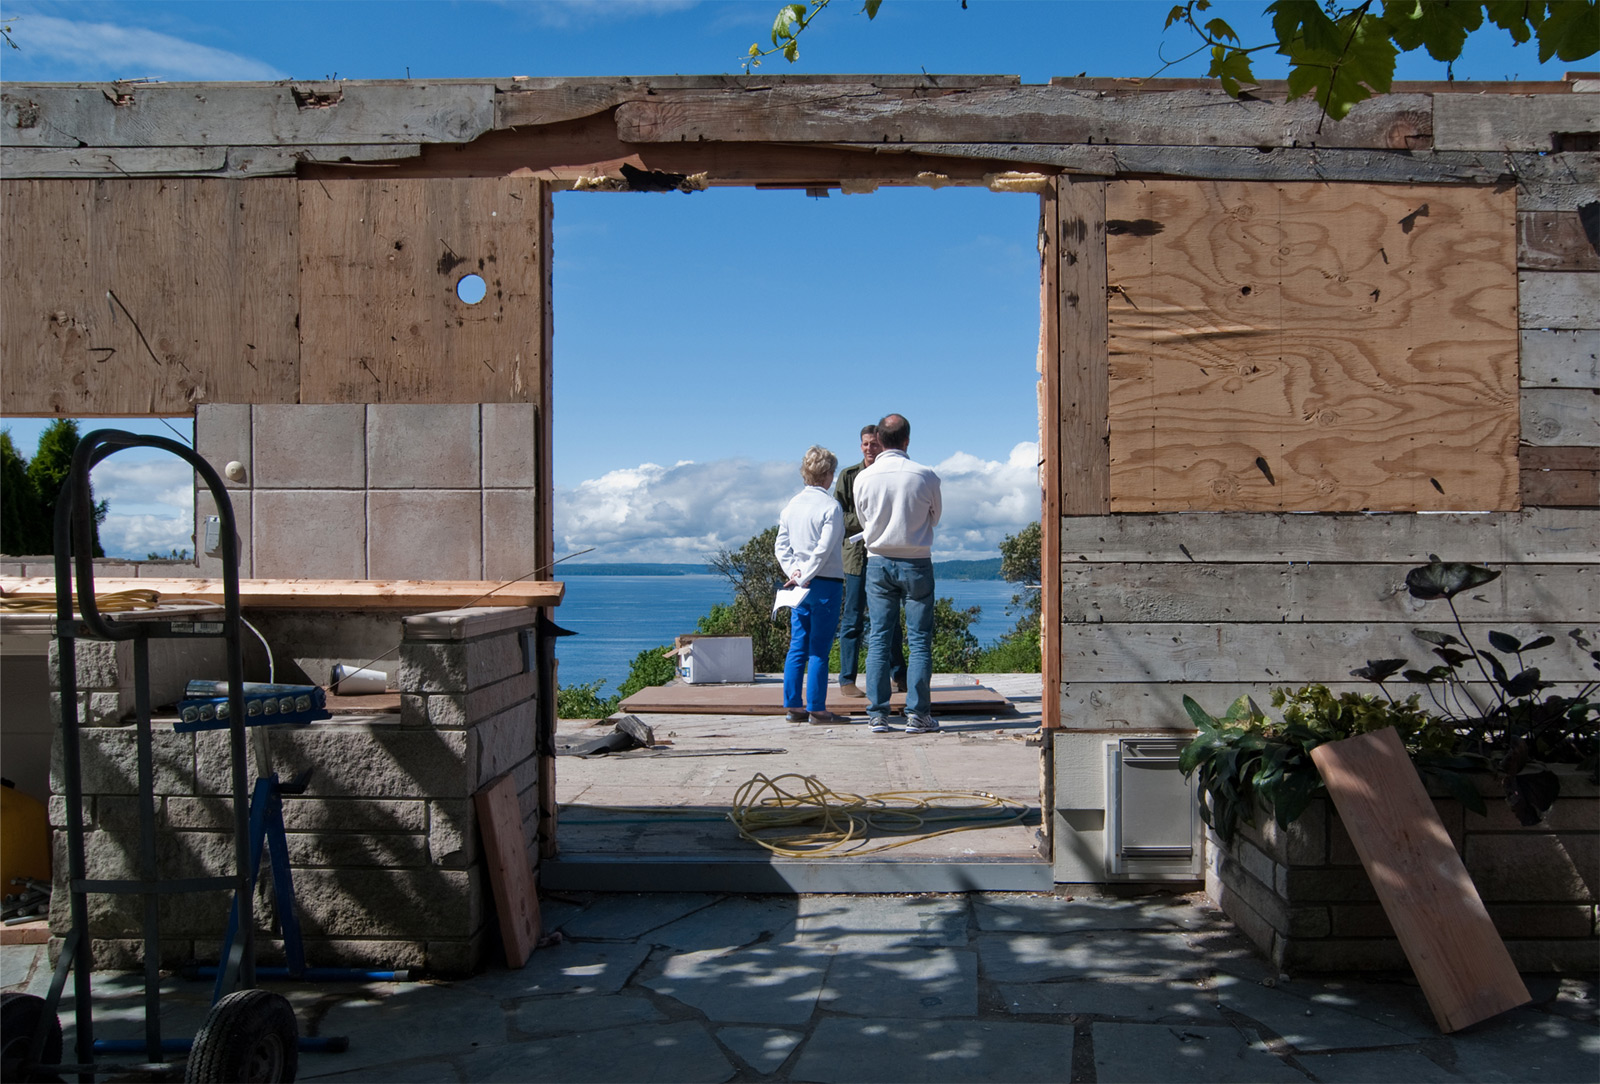
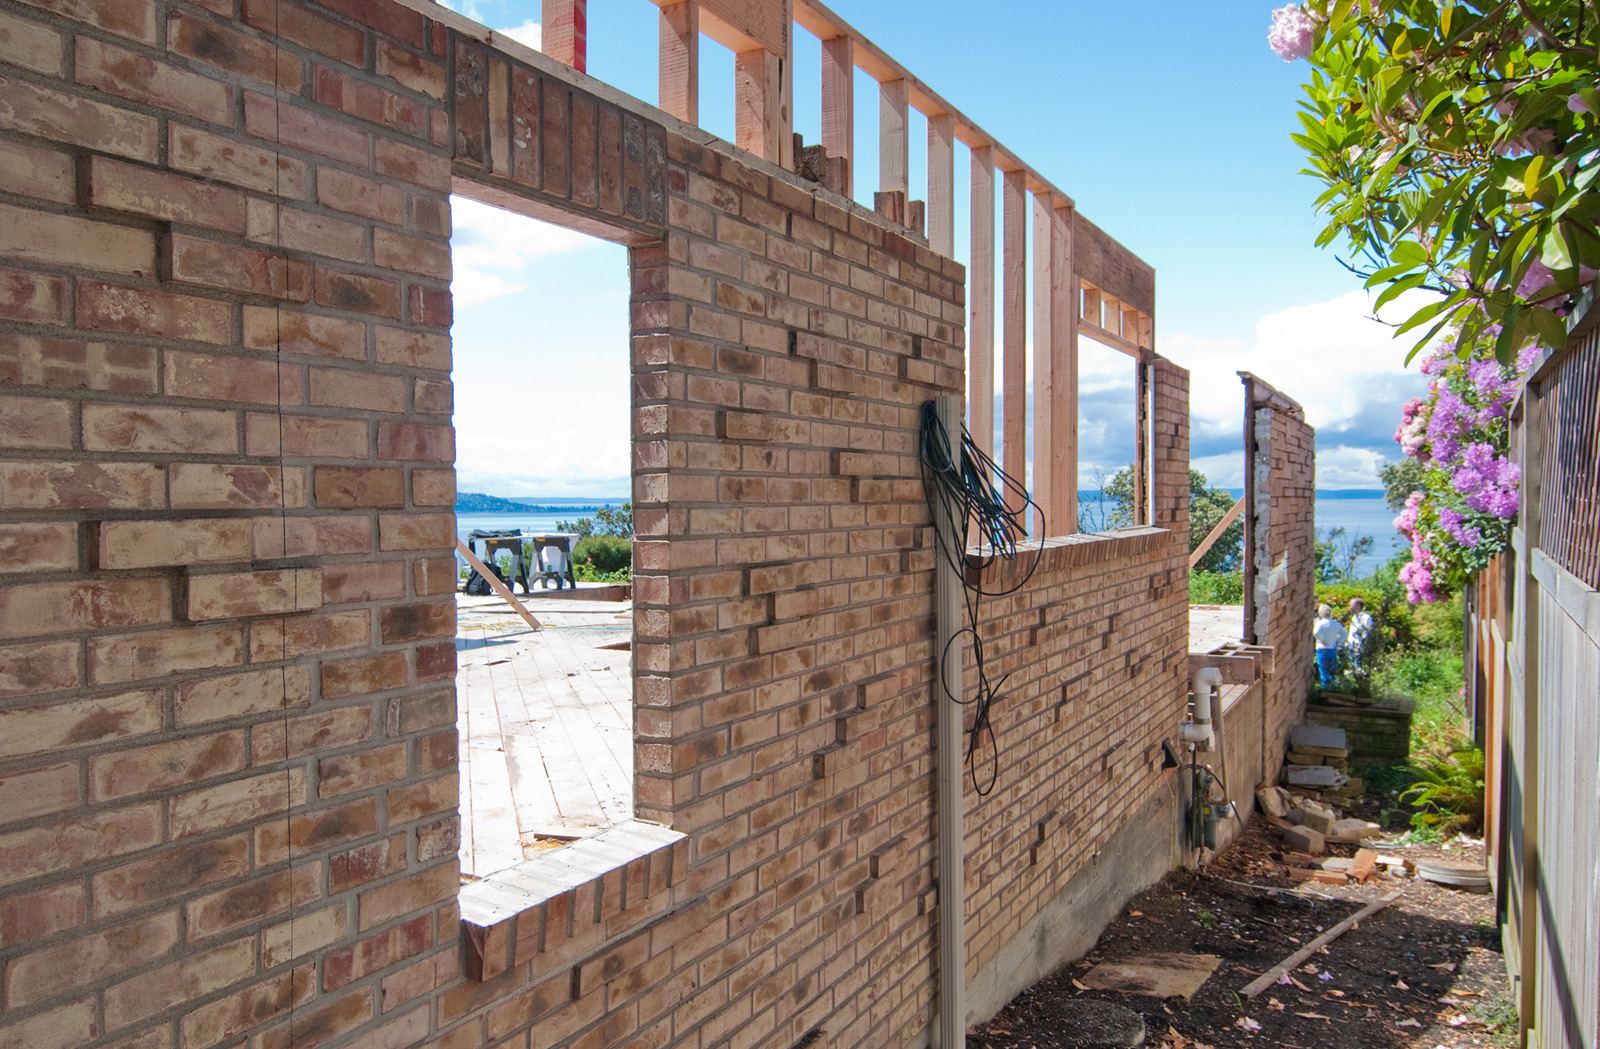
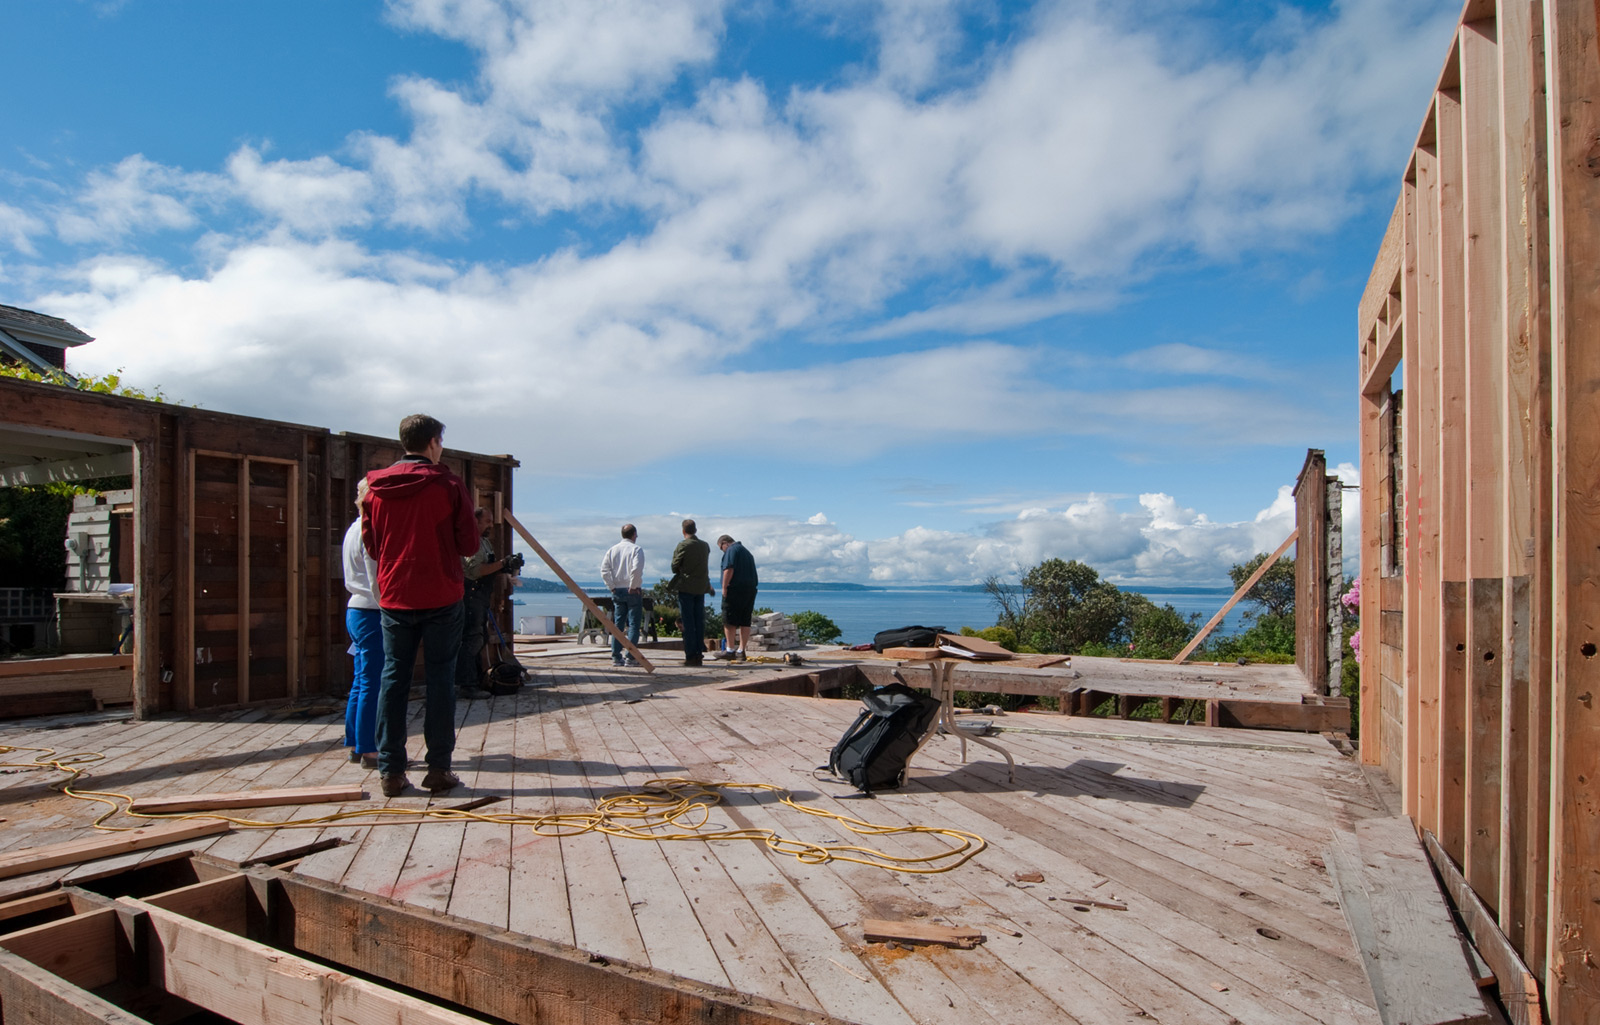
Working on mid-century-modern homes as often as we do, we encounter quite a bit of existing brick and stone. These materials have several characteristic that we prize on a jobsite; they lend texture and materiality to the finished project, they’re usually located at the base of the structure and therefore realistic to preserve, and they would be expensive to replicate in today’s labor-pricey economy. Because they offer so much to the architecture (and nearly for free), we try and save as much brick and stone as we can – but there are some important tactics we’ve developed over the years to do so. Today’s post reviews our strategies in terms of where and when brick/stone is saved, how we maintain it through the construction process, and how we finish it to seamlessly fit with the completed project.
First, we assess whether or not to keep the brick/stone based on a number of factors:
1. We typically save brick/stone at high touch areas. These are the areas where it is highly visible and more likely to be appreciated. Front entry sequences are always good candidates, as are backdrops to courtyards and patios. There needs to be a critical mass in order to merit saving brick/stone; we’ll often remove it if there are only small incongruous patches scattered around the envelope.

2. Check for settling. If the original foundation wall has settled over time and needs to be corrected, the brick/stone will most likely need to be demolished. All that additional weight just makes the settling much worse and complicates measures for correcting the problem.
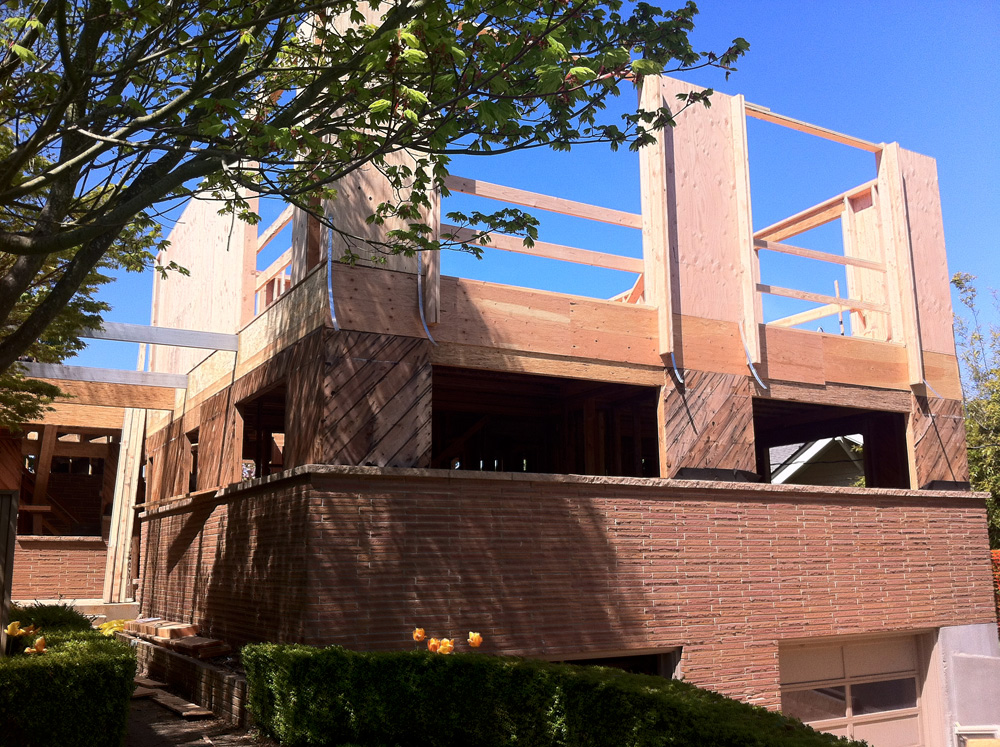
3. The structural considerations may be a deal killer. The brick/stone is often attached to exterior walls required for lateral and/or gravity stability. We bring our structural engineer in early and if the brick/stone compromises the integrity of shearwalls or excludes important structural connections, it gets eighty-sixed. This is most relevant with second story additions where the shearwalls below are required to handle larger lateral forces from above.
4. Inspect the quality of the mortar. If the mortar is in such poor condition that the brick falls apart with a bit of pressure, it’s a solid case for getting rid of it all together. Re-pointing the mortar only treats the surface of this issue.
If the brick/stone passes the tests above, here are some important considerations for its preservation:
5. Plan on a bit of repair work. More often than not, we’ve found that the grout caps on top of brick/stone walls or chimneys have been compromised over the time. They’ve been hard at work for 50+ years and are commonly loose or in need of replacement. There may also be some re-pointing or patchwork necessary to get the walls back up to snuff. A good mason can whip these items back into shape without much difficulty.
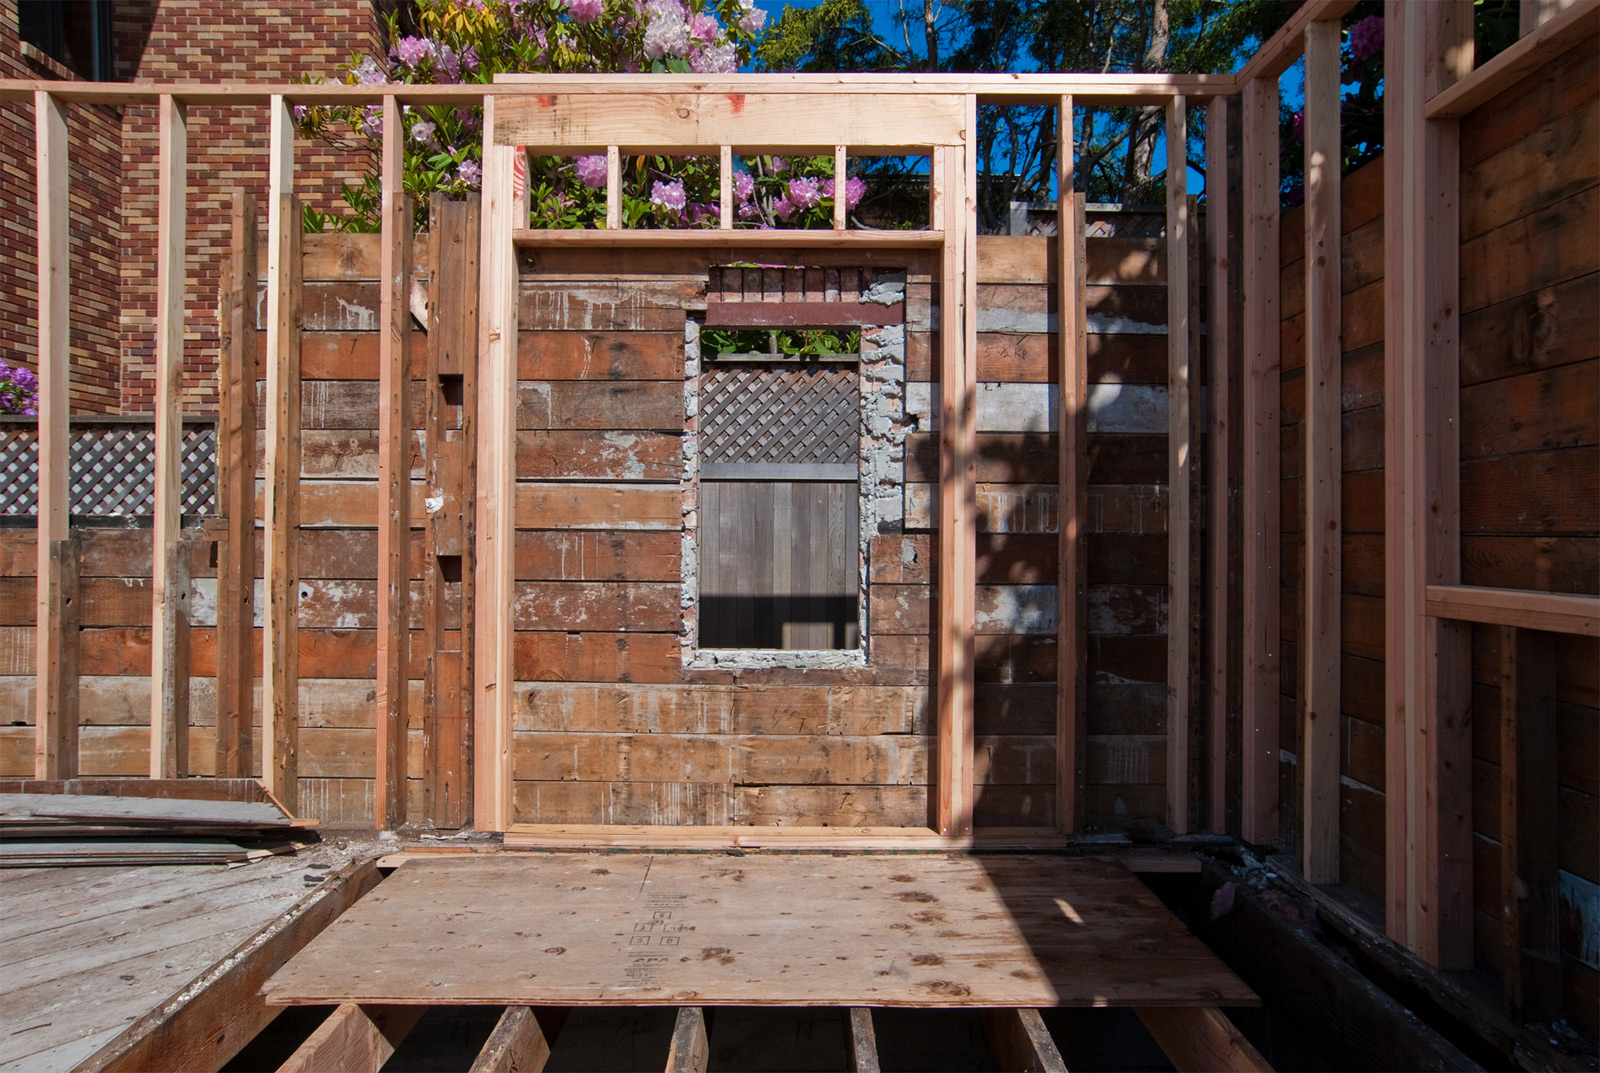

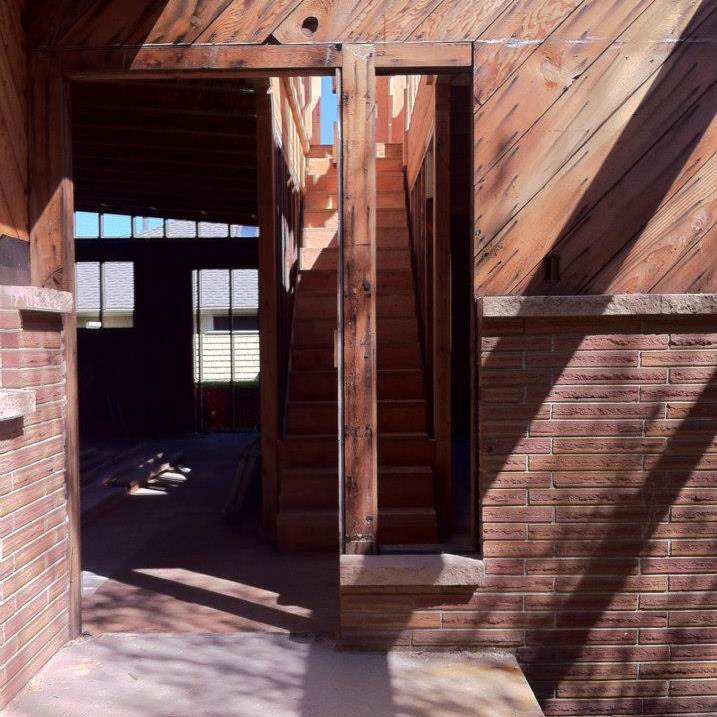
6. Brace the walls. A couple of 2x4s and a few minutes of the framers time provide some very good insurance that the brick/stone will be part of the finished result.
7. Flashing is your friend. MCM design is known for many attributes, but great flashing isn’t usually one of them. Brick/stone walls from the mid-century typically need to be updated (if they even had flashing to begin with) or, more likely, outfitted with new flashing to correctly waterproof all of those special nooks and crannies.
8. Don’t depend on the paint for anything but color. If there is any work to be done to the grout (like re-pointing) remember to do it prior to painting. While it’s tempting to bury a mediocre grout job under a coat of paint, this will only cause more problems later.
Integrating the existing brick/stone in with the new design, there are a couple of important items to plan around:
9. Windows and doors got bigger in the last 60 years. With good modernism these days, windows commonly go all the way to the ground and doors can be a bit wider. Plan on cutting some of the brick/stone to accommodate the larger openings, indicate the dimensional cuts on the drawings, and tuck a bit of budget away for a concrete cutter to spend a bit of time on site.

10. The pink test. Painting brick is always a difficult decision, primarily because once it’s painted there’s no going back. Whether or not the original brick/stone works with the new exterior and interior color palettes depends on a handful of factors, but one of them is always the deciding factor for us. Is it too pink? There can be a range of brick/stone sizes, textures, relief, grain and whatnot, but if the color is too pink it usually looks off with clean crisp modernism (regardless of the other factors).
Stay tuned for more coverage on a couple of current projects that preserve both stone and brick walls. We’ll have plenty more info to share as these projects progress.
Cheers from Team BUILD