[Photography by BUILD LLC]
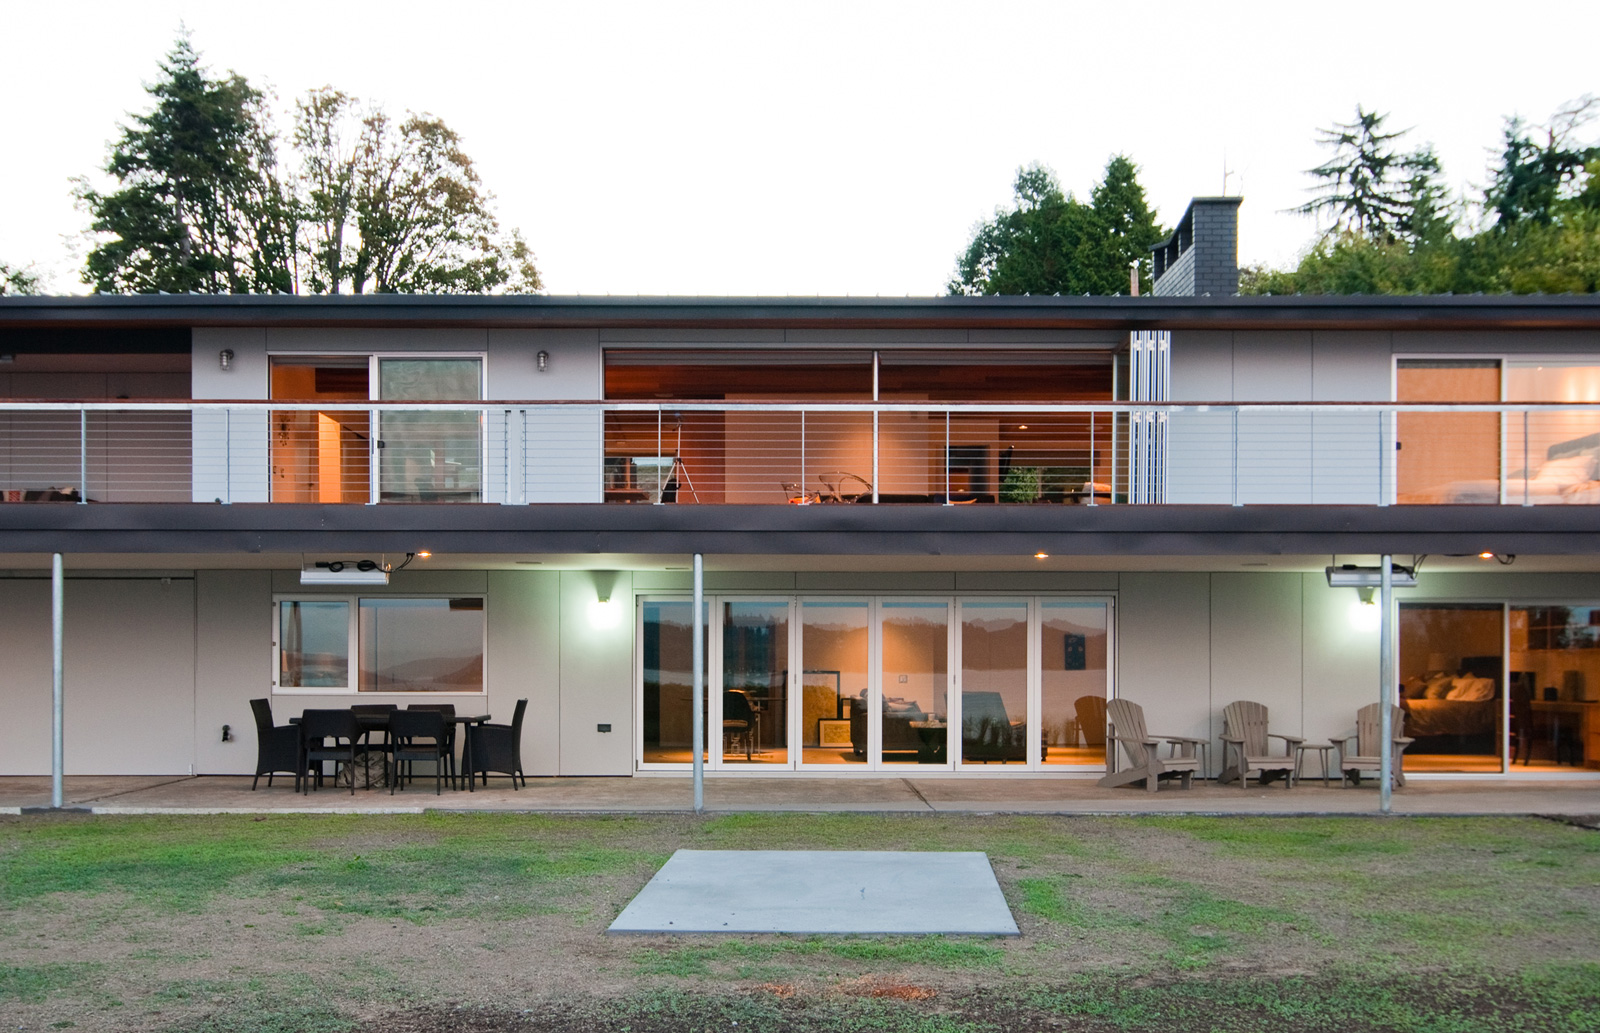
When it comes to our kit-of-parts for a residential project, one of the most important components is the aluminum window package. We use aluminum windows for a bunch of reasons: they’re extremely functional, maintenance free, and complement the attenuated clean lines of modern design. They’re more expensive than vinyl (thumbs-down), but much more cost-effective than wood or steel windows. Certain aluminum window packages also meet the new, stringent energy code here in Washington State. For all of these reasons, we’ve been using Marlin’s 1505 series AT-17 fixed, casement and awning windows for several years now. As far as finishes go, we like the clear anodized aluminum; the bronze anodized aluminum is also a nice look under the right circumstances. These profiles and finishes also do a nice job of matching the other aluminum components we specify like garage doors, sliding doors and accordion doors. While these decisions and specifications produce a successful window package, there are number of additional considerations that lead to a successful end result. Here are our top 10:
1. The window panes are more energy efficient than the aluminum frames; therefore the more vertical and horizontal breaks a window has, the less energy efficient it is. We believe that the potential energy loss through the frame is more than offset by the durability, low maintenance and clean aesthetic.

2. Use a combination of double and triple pane windows to meet the energy code (at least in Washington State, where the code is rigorous). We tend to use triple pane windows at the operable windows where the thermal bridge of the aluminum frame is greatest (refer to Item #1). Keep in mind that triple pane windows have a subtle difference in tint and double pane windows tend to be clearer, so use triple panes judiciously.

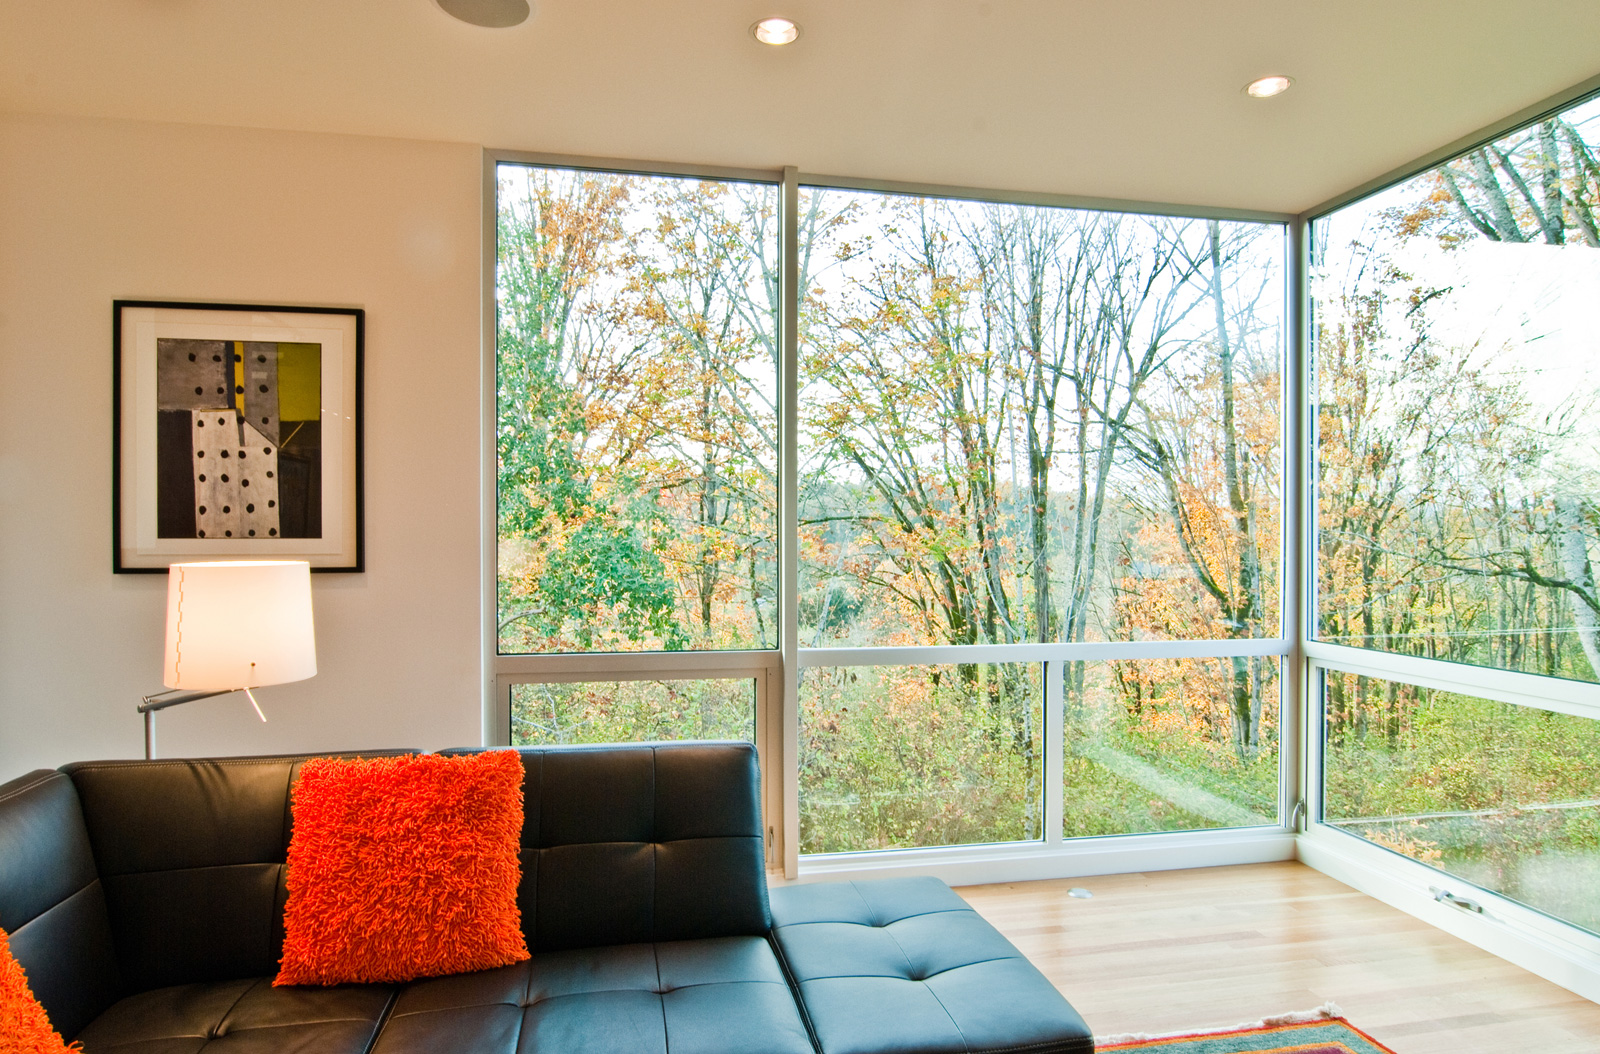
3. Use a kerf wood liner, installed prior to sheetrock, to minimize the appearance of trim as well as creating a straight, durable and crisp finish to look through the windows rather than at the window frame and related trim.

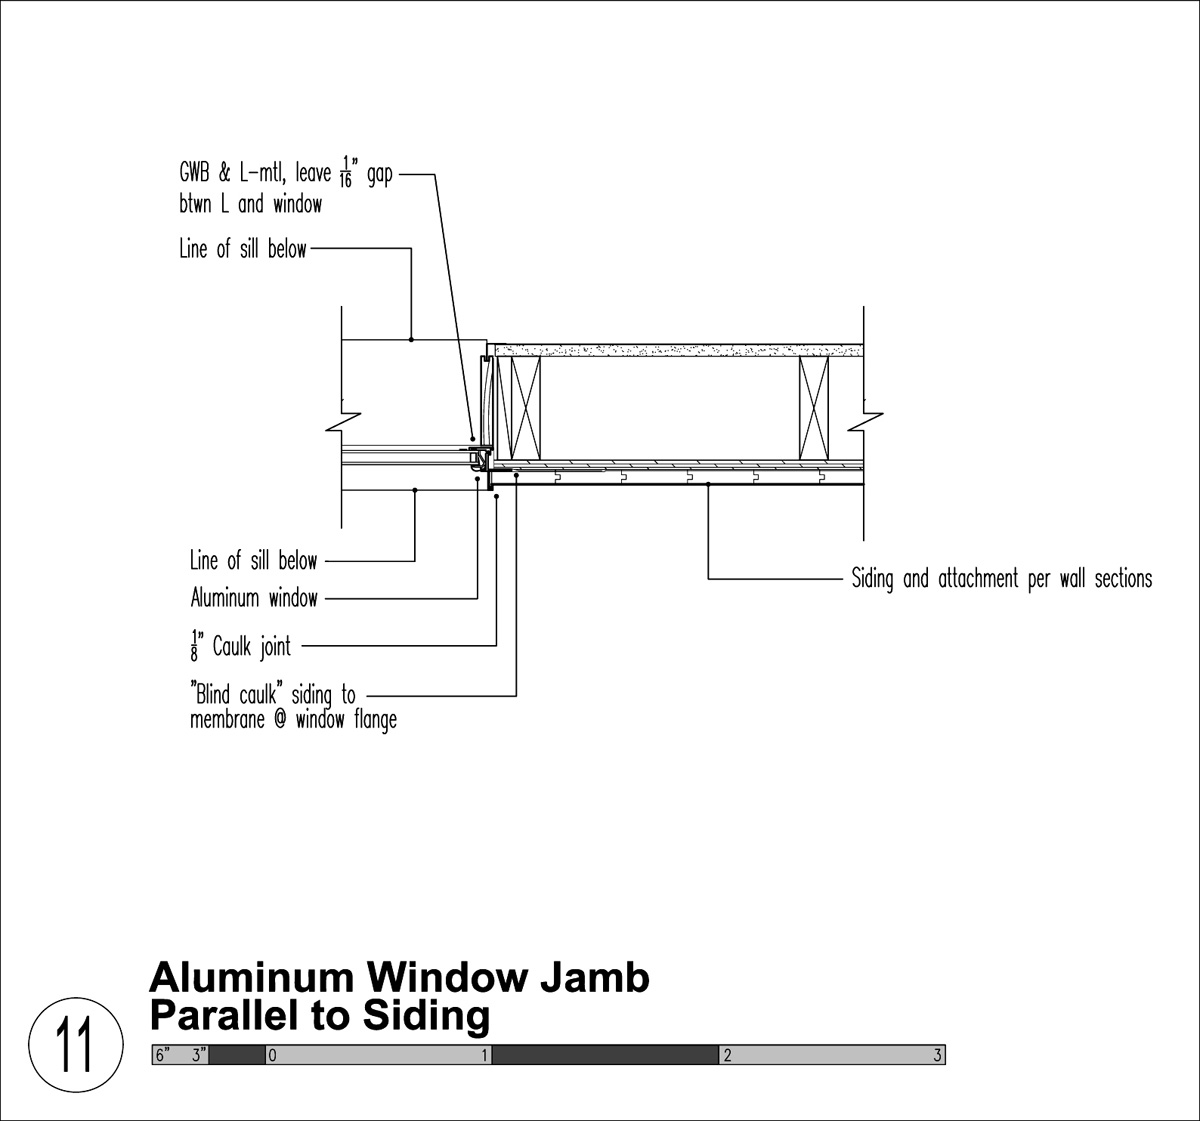
4. Leave a heavy 1/16” gap between the interior wood liner and the aluminum frame, as even thermally broken aluminum frames experience differential expansion due to humidity and temperature. We’ve found that an intentional line/gap is a maintenance free detail as opposed to caulk that may eventually crack or discolor.

5. Double-check exterior alignments as applicable. Door heads, lines of other features, siding breaks, etc., as well as the lines that will be created once offsets for flashing and siding offsets are factored in at finish. Equally (probably more) important, check interior alignments and mullion breaks. For example, ensure that all cabinet and other finish materials are hitting any specific window lines they are intended to align with. Also, double check all mullions to ensure that they are not in a line of sight (standing at the sink, seated on the sofa, etc.).

6. Use awning windows where possible (hinge at the top, opening at the bottom). Here in the Northwest, we have the potential for frequent rains, and awnings can be left partially open regardless of the exterior conditions.

7. Use roto-style hardware for operable windows where screens are desired. We like push out windows and all, but once you place screens on the interior side of the window, the little doggie door detail to access the window is terrible. Much better to simply have the roto handle.

8. Align the bottom of the windows at the top of the interior base for an intentionally modern aesthetic. This is a great way to provide floor to ceiling windows and maintain continuity of the interior detailing

9. If the windows get too big, the glazing will have to be installed in the window frames on site. With Marlin, anything over 40 sf for triple pane and 50 sf for double pane has to be assembled in the field. This is due to weight and manageability. Site glazing is typically an additional charge, but for larger expanses of glass to embrace light and/or view, the upcharge is totally worth it.
10. Create a relationship with your window manufacturers and local distributor. We’ve also gotten into a groove of pre-ordering and then site verifying for reasonably fast window package turnaround; and, we’ve also provided feedback regarding quality control and maintenance issues. Ideally, this type of relationship makes the projects better and everyone’s lives smoother. We feel loyal to a product line that has served our clients well, and we strive to have our vendors see the value of providing better service. Rising tides raise all boats (yet again).
On the topic of vendor relationship, it also greatly helps to have an advocate who double-checks for code compliance (egress size, tempering requirements, etc.). We’ve had reps bail us out multiple times when we made an error or change that didn’t fully comply with a specific aspect of the code. We like to use Goldfinch Brothers in Everett WA.

There you go, happy glazing and cheers from team BUILD


