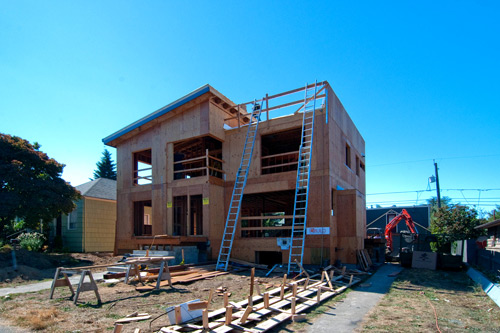
The roofing was recently completed on our Queen Anne project and it’s a great time to share a few important tips on durable, modern roof design. In line with a modern design philosophy, the roof should look so simple and straight-forward that it almost disappears. But this doesn’t necessarily mean that the install is easy or mindless. Another key piece of the modern philosophy is that time, effort and thoughtfulness are each crucial to an end product that “seems” simple. Here’s our top 10 bullet points to tackle a modern roof:
1. Get “dried-in” as soon as possible. Get the framing/nailing inspection as soon as you can and get the roofing sub-contractor on the job. Getting dried-in is one of the most important bench-marks of a project, especially here in the damp pacific northwest. If nothing else, get the paper on the roof to start drying out the project.
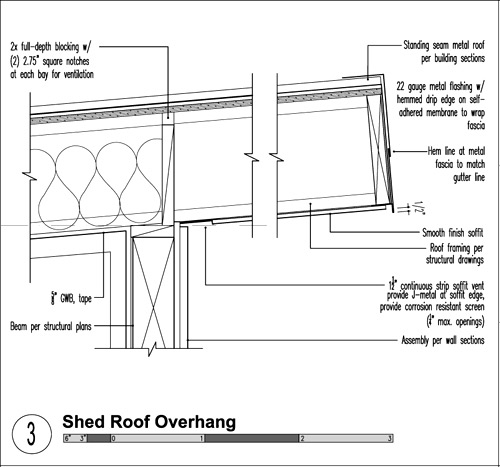
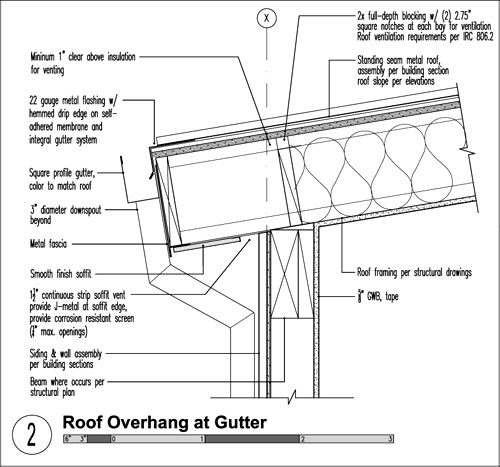
2. Keep the design to a handful of simple details. We have 5 tried and true details that cover a range of roofing situations from standing seam metal to a single-ply membrane. Here’s our typical detail for a standing seam metal roof with a slope of 1:12 or greater and a continuous eave vent.
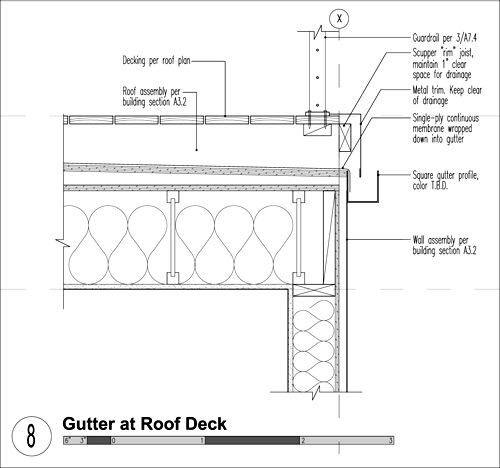
3. Design your roof details to handle multiple conditions. Our single-ply roof membrane is the same detail that we use under decks over habitable areas.
4. Know the properties of metal. Understand how metal is “broken” (which actually means to bend), understand how much it expands, what lengths it comes in, whether it can be delivered to the site in rolls and cut to appropriate length, etc.
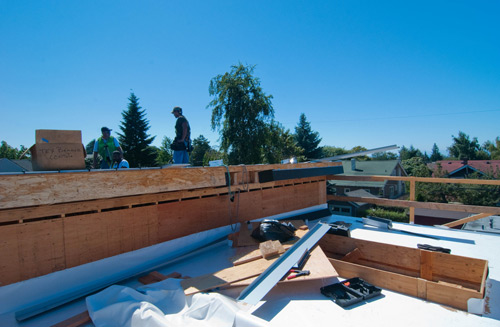
5. Spec the thickest gauge of metal for roofing. Around the Pacific Northwest we use a minimum thickness of 22 gauge for roofs.
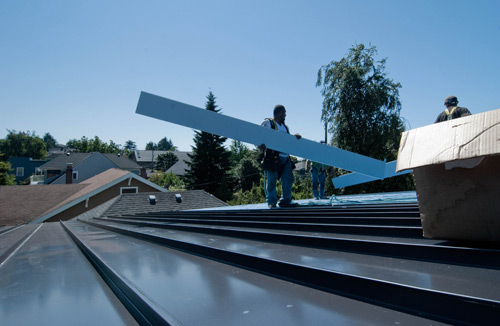
6. Think through the venting during the design stage. The method of venting is very important to the look of the finished structure; lack of planning in this area can lock you into some very unpleasing solutions. There are many options to be considered (soffit venting, wall venting, roof peak vents) and many of them lend a clean, modern look to the project, but they need to be planned for well in advance.
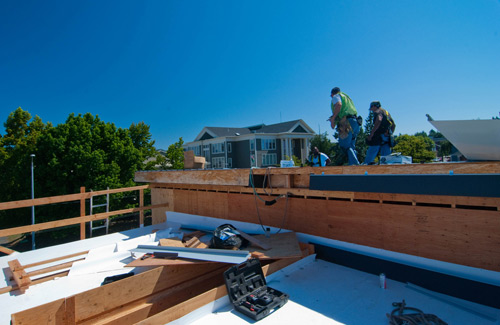
7. Think through the downspout design. Too many bends within a downspout run looks ugly. Trouble-shoot the downspout locations and design with the windows and operable windows. Nothing says “we didn’t think this through” like an operable window that doesn’t operate because it hits a downspout.
8. Don’t use mechanical fasteners on the fascia. Fasteners used on larger areas of sheet steel cause oil-canning of the material and nothing looks more sloppy than unintended oil-canning. Instead, use integral metal connections. The roof installer will need some heads up on this and it’s always best to detail it out.
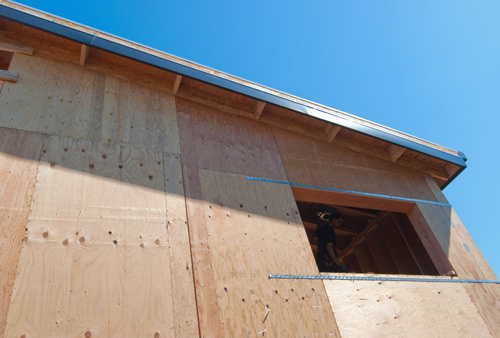
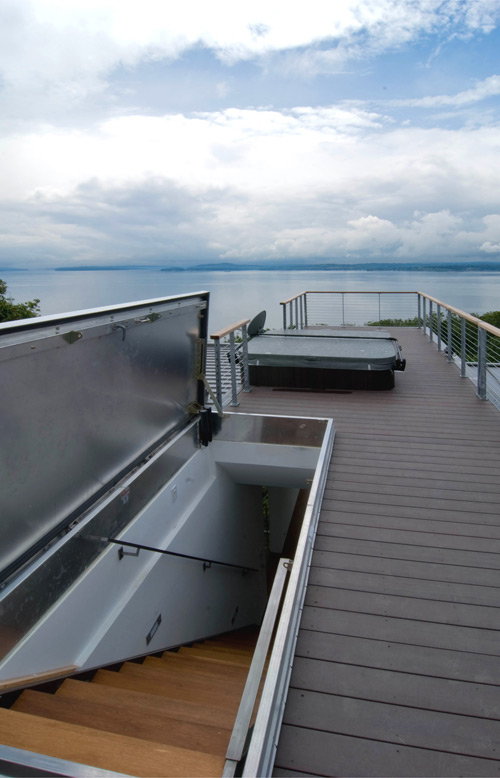
9. Don’t skimp on a roof hatch. More and more, we’re including roof terraces for the homes we design. The detailing and waterproofing of the required roof access hatch is a big deal and we want a product that provides weatherproofing and security for generations. It’s also got to look good. Our favorite is the Bilco roof hatch which is available in large sizes to accommodate an entire run of stairs.
10. Use custom gutter sections. The handful of standard gutter details out there look terrible –they always seem to be overly complicated with their ornamentation and flutes –very un-modern. Custom gutters can be made in square profiles and typically come in 10’ runs (align the seams with other elements at the exterior for an intentional aesthetic).
There you go, happy roofing. Got a suggestion, question or tip of your own? Hit that comments button.


